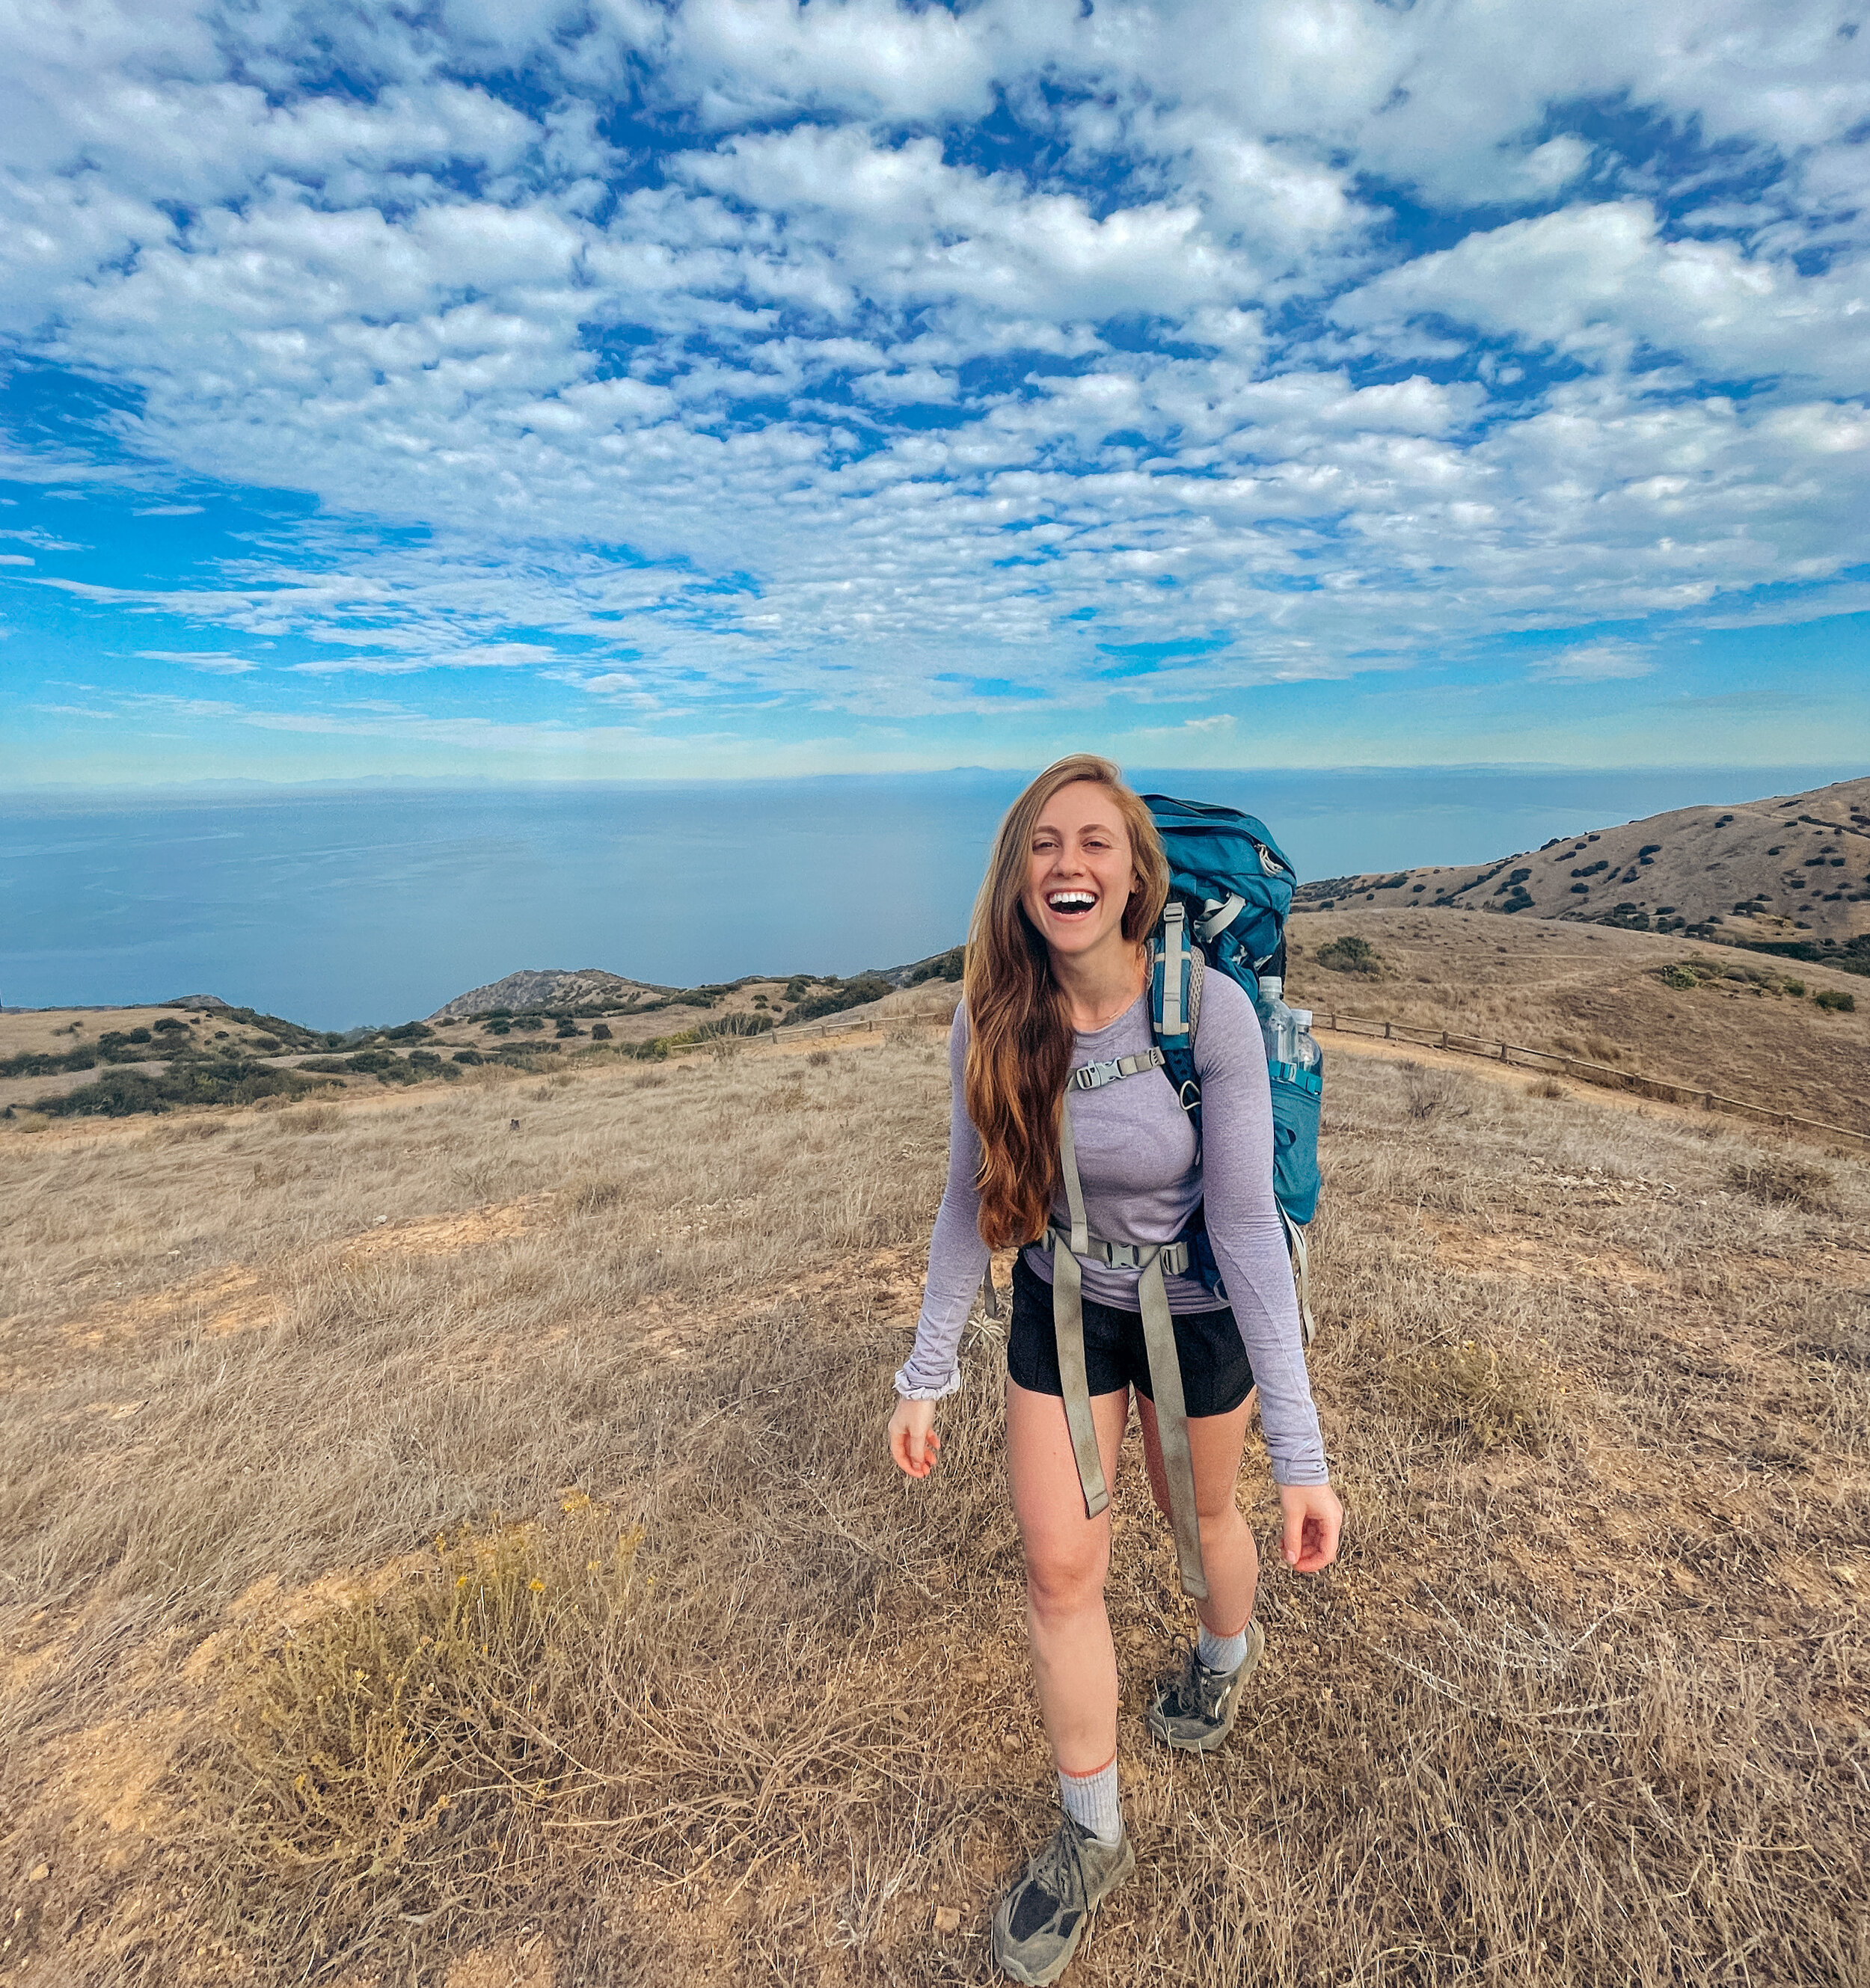
13 Steps to Plan a Backpacking Trip
“Where do I even begin?” “Do I need a permit?” “Am I forgetting something?” Planning a backpacking trip takes time, but no matter how much experience you have, if you plan correctly you’ll feel prepared. Hopefully these 13 steps help you to know where to begin and what not to forget.
1. CHOOSE WHEN TO GO
You can’t start planning a trip without knowing when to go! There’s a lot to consider here.
What time of the year is best? If you want to go to the mountains, the best time of the year is summer (unless, of course, you want to bundle up and snow camp). Keep in mind that this is also the most crowded time of the year. If you want to go to the desert or lower elevations, almost any time of the year works (excluding hot summers in the desert).
How long of a trip are you looking to go on? Just a weekend getaway? Are you able to get off a few days of work, or are you fun-employed and ready to take on a long thru-hike? If you are new to backpacking, I would start with just a night or two. That’s just enough time to understand what works and what doesn’t work for you.

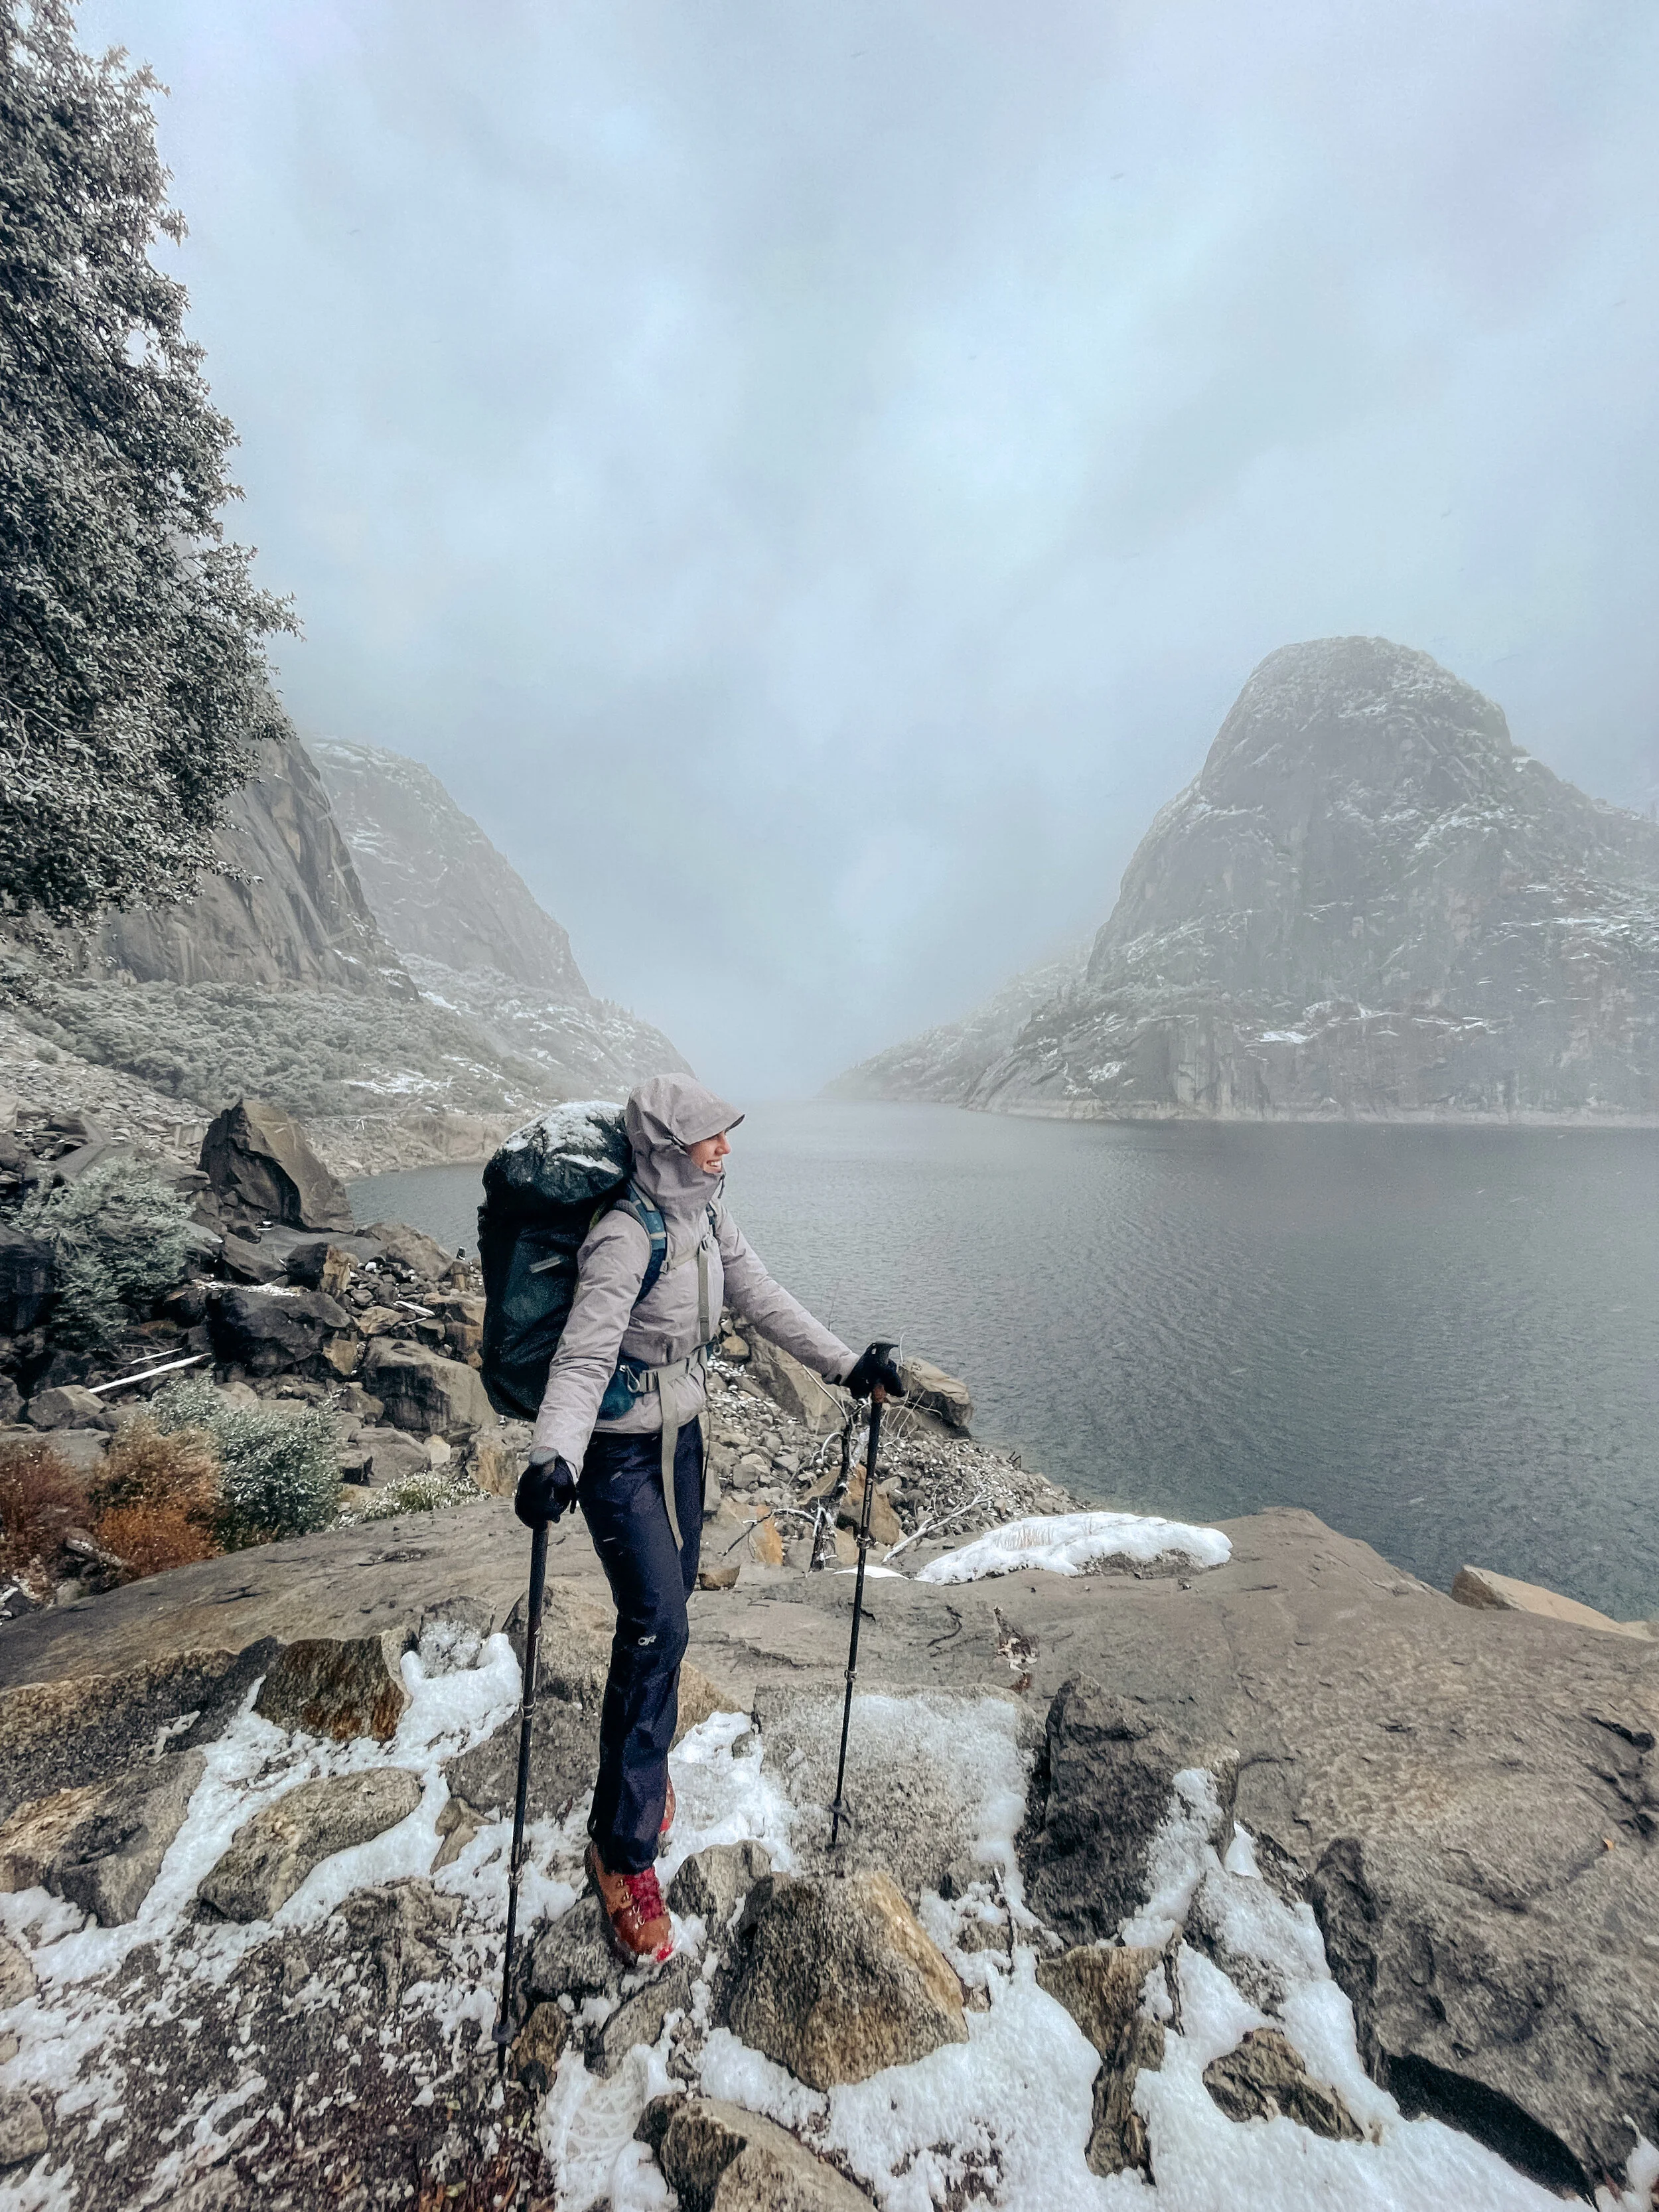
2. DECIDE WHERE TO GO
You may get slightly overwhelmed here as there are SO many amazing places to choose from. Here are some things to consider:
Domestic vs. International
Mountains, desert, lake, or waterfall? What do you want to see?
How many miles per day? A new backpacker may want to start at 5-7 miles in a day. An average backpacker may do about 8-13 miles in a day. It all depends on what you are comfortable with.
How difficult of a trail? How much total elevation gain?
Once you choose a trail, start your research! Read blogs (starting with this one, of course haha) and join discussion groups. Facebook and Reddit are full of trail groups that will provide tons of insight and tips on how to start planning your trip.
3. FIND A FRIEND TO GO WITH
Once you choose a trail, invite your friends! If you can’t find someone to go with, you have two options: post in a trail discussion group to see if someone else is also looking for a trail buddy or go solo.
It’s always nice to have a trail buddy so you can split up the weight of gear and have a friend to talk to; however, going solo is an incredibly empowering experience.

4. GET A PERMIT
The more popular the trail, the more likely you’ll need a permit. Some require backcountry permits that are reserved months in advance. Permits for really popular trails are lottery-based and you need to get them months in advance. This means applicants are chosen at random, after submitting an application, rather than first-come, first-serve. If you aren’t able to get a permit, depending on the trail, you may be able to get a “walk-up” permit right before you start.
Some trails do not allow backcountry (dispersed) camping. In these instances, you may need to book individual campgrounds for each night of the trip.
Most trails are located on public lands, including national and state forests and parks, BLM land, Wilderness Areas, or county land. Permit information can be found online on the state or national agency website.

5. BOOK TRANSPORTATION
Alright, so at this point, you’ve requested time off, picked your trail, found a friend to go with, and reserved your permit. What’s next?
You need to figure out how you’ll get there. Do you need to fly? If so, find the nearest airport you can fly into. Once you arrive, you may need to rent a car to get to the trail. Some national parks offer airport shuttles, so make sure to check beforehand.
If you’re doing a loop or out-and-back trail, you can normally park at the trailhead and end at the same spot. If you are doing a thru-hike, you have a few options:
Have a really nice friend drop you off at one end and pick you up at the other (best option)
Park a car at the end, take a shuttle, flight, or hitchhike to get to the start (or vice versa)
Park one car at each end. You’ll have to drive all the way back to the trailhead at the end when you’re super tired. (worst option)

6. CREATE ITINERARY
This step is more important for longer trips. Shorter trips can be planned as 1 or 2 nights, depending on the mileage you want to do per day.
For longer trips, plan each day with attainable mileage and elevation, but always be open-minded to a change of plans. You may want to factor in one extra day in case you’re slower than you’d hoped or just need a rest day. If you’re doing a thru-hike, you also need to consider where each of your resupply stops will be. This will dictate how many days you have between each stop (no more than about 6-7 days of food fits in my bear canister).
To plan your itinerary, I highly recommend using apps such as FarOut, On X Backcountry, or AllTrails to understand the trail in detail (water, resupply, camping zones, elevation, trail conditions, etc.).
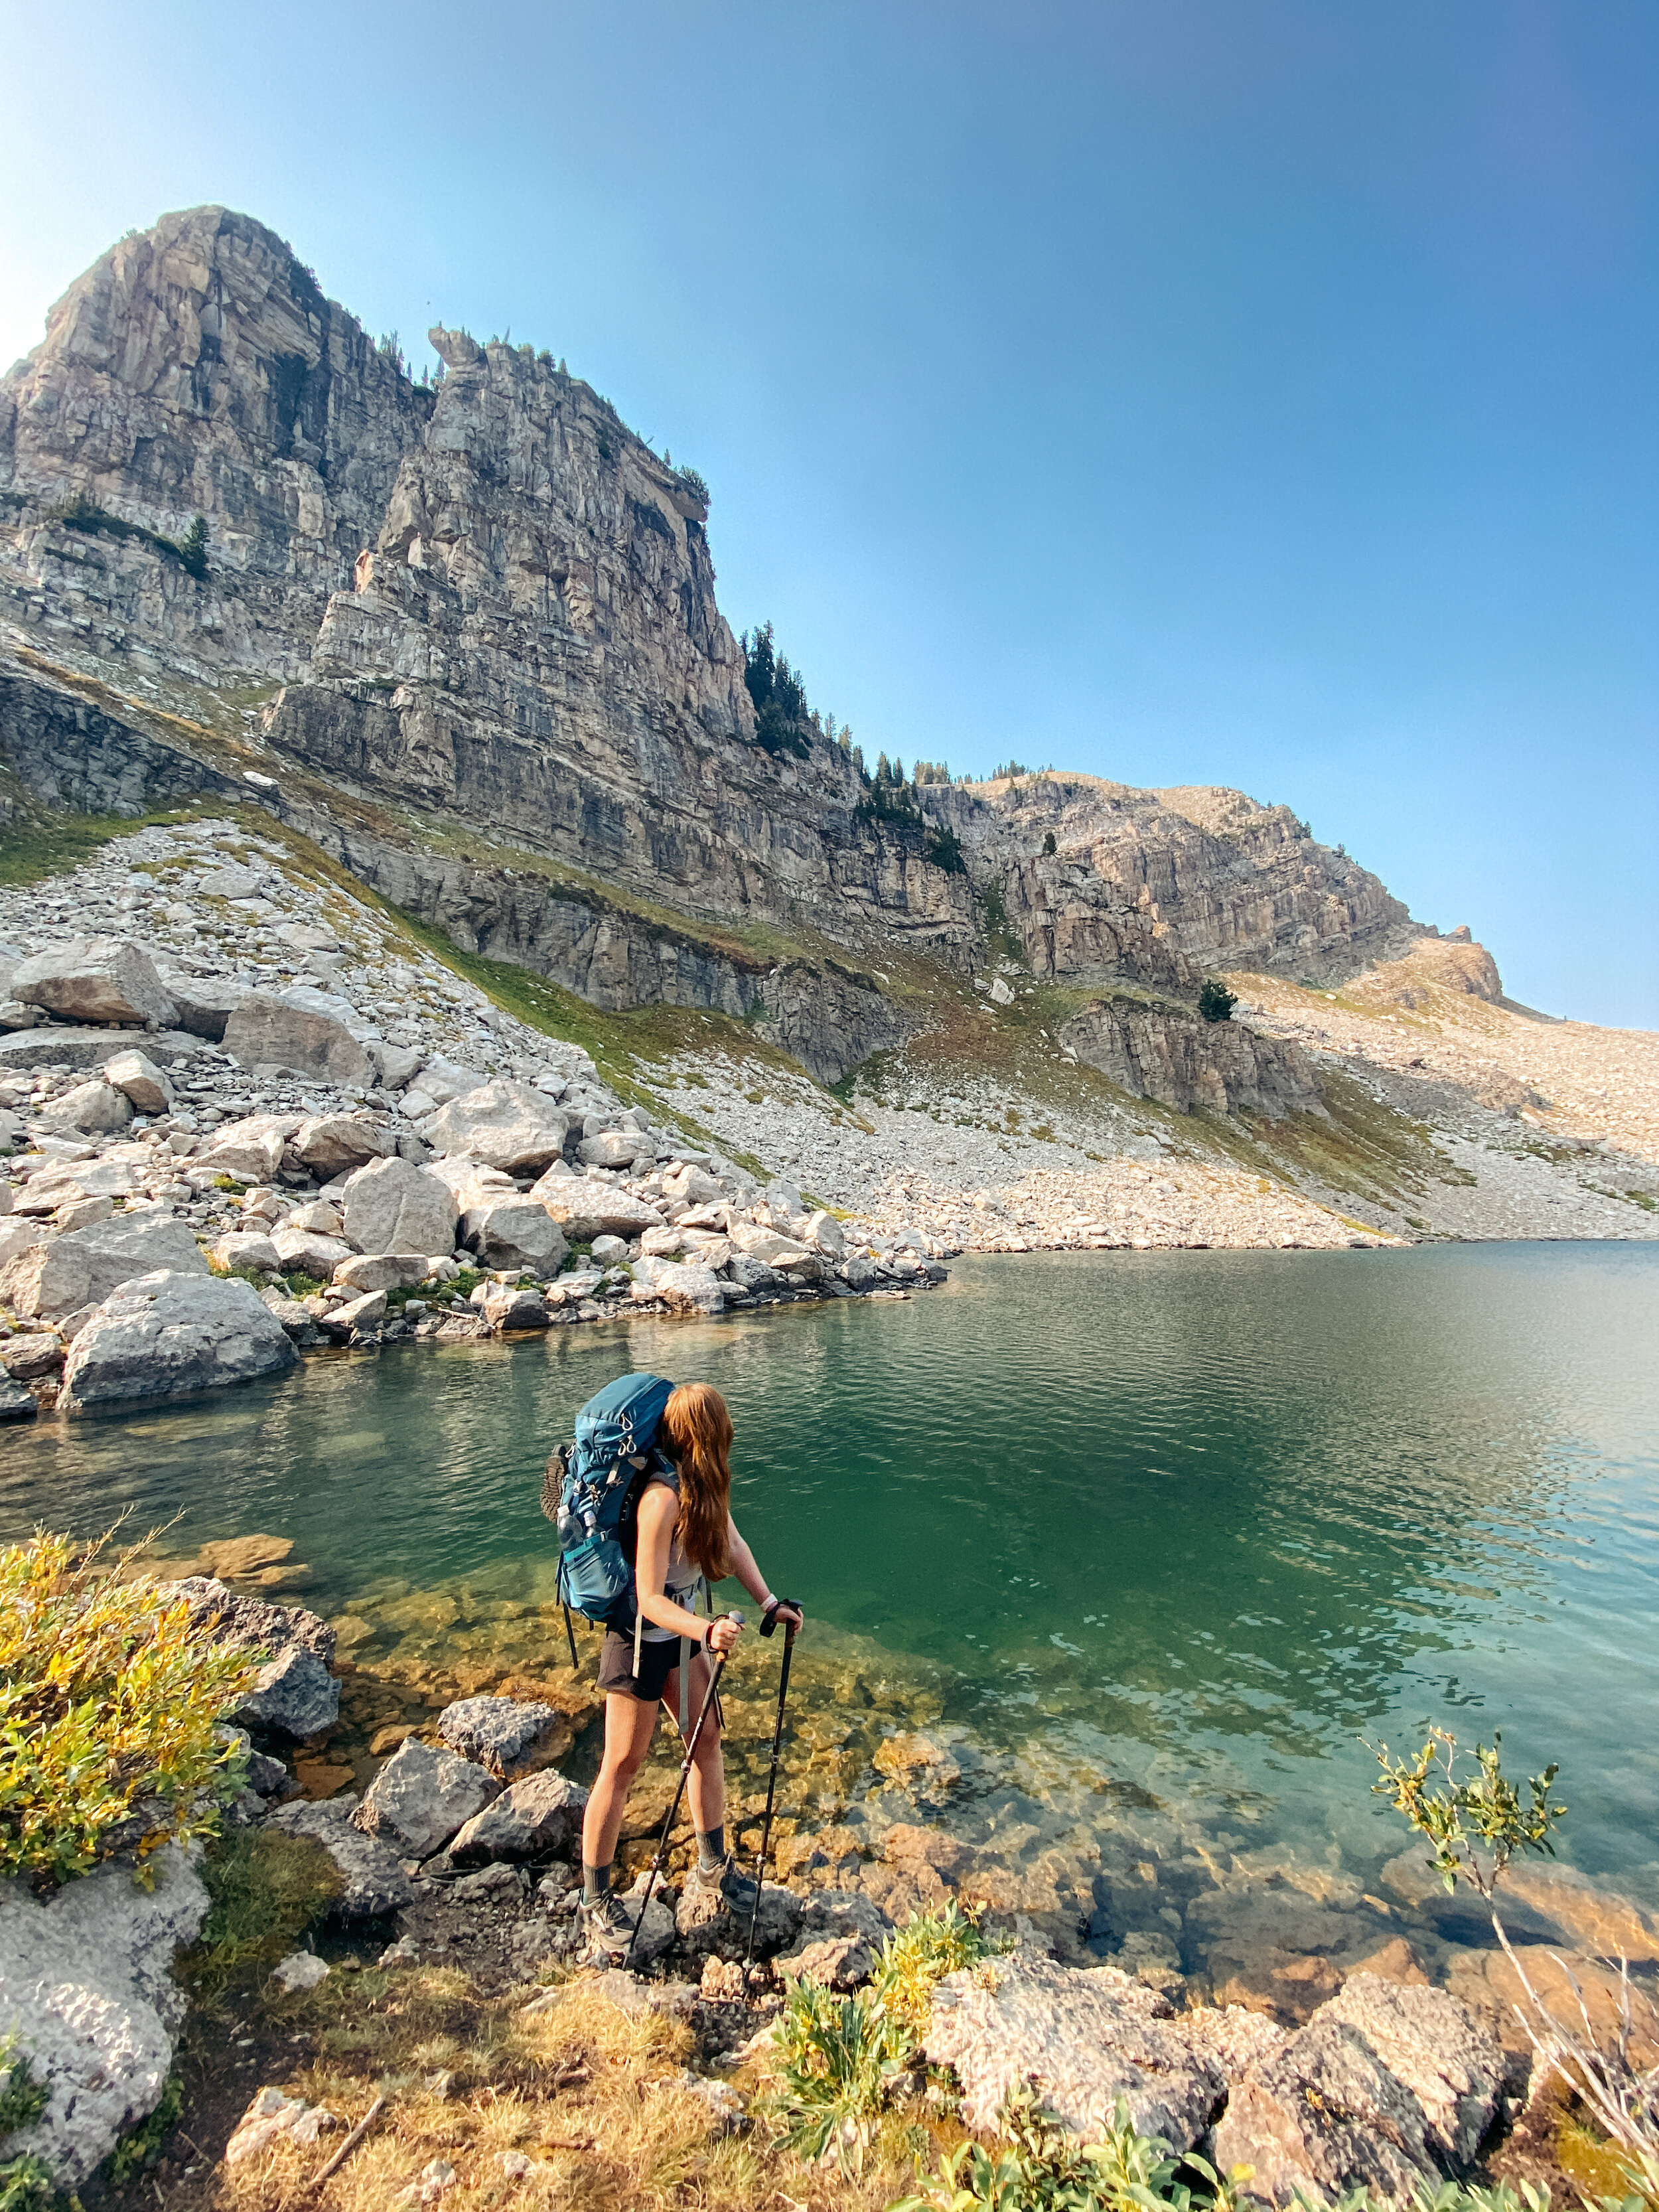
7. PLAN & BUY GEAR
This is the most exciting part. If you’re new to backpacking, don’t be alarmed at how much money you’ll spend. The right gear will last you a long time. If new gear is too expensive, there are budget-friendly options – borrow from a friend or check out REI Used Gear/Outlet.
The more ultralight the gear, the more expensive. The sad truth. If you’re going on a longer trip, it may be worth it to invest. Every ounce counts. Ounces = pounds = pain. You also need to consider the weather and terrain of where you’ll be going. Summer and winter camping require very different types of gear. Check out my backpacking trip gear list for detailed information on what you’ll need.
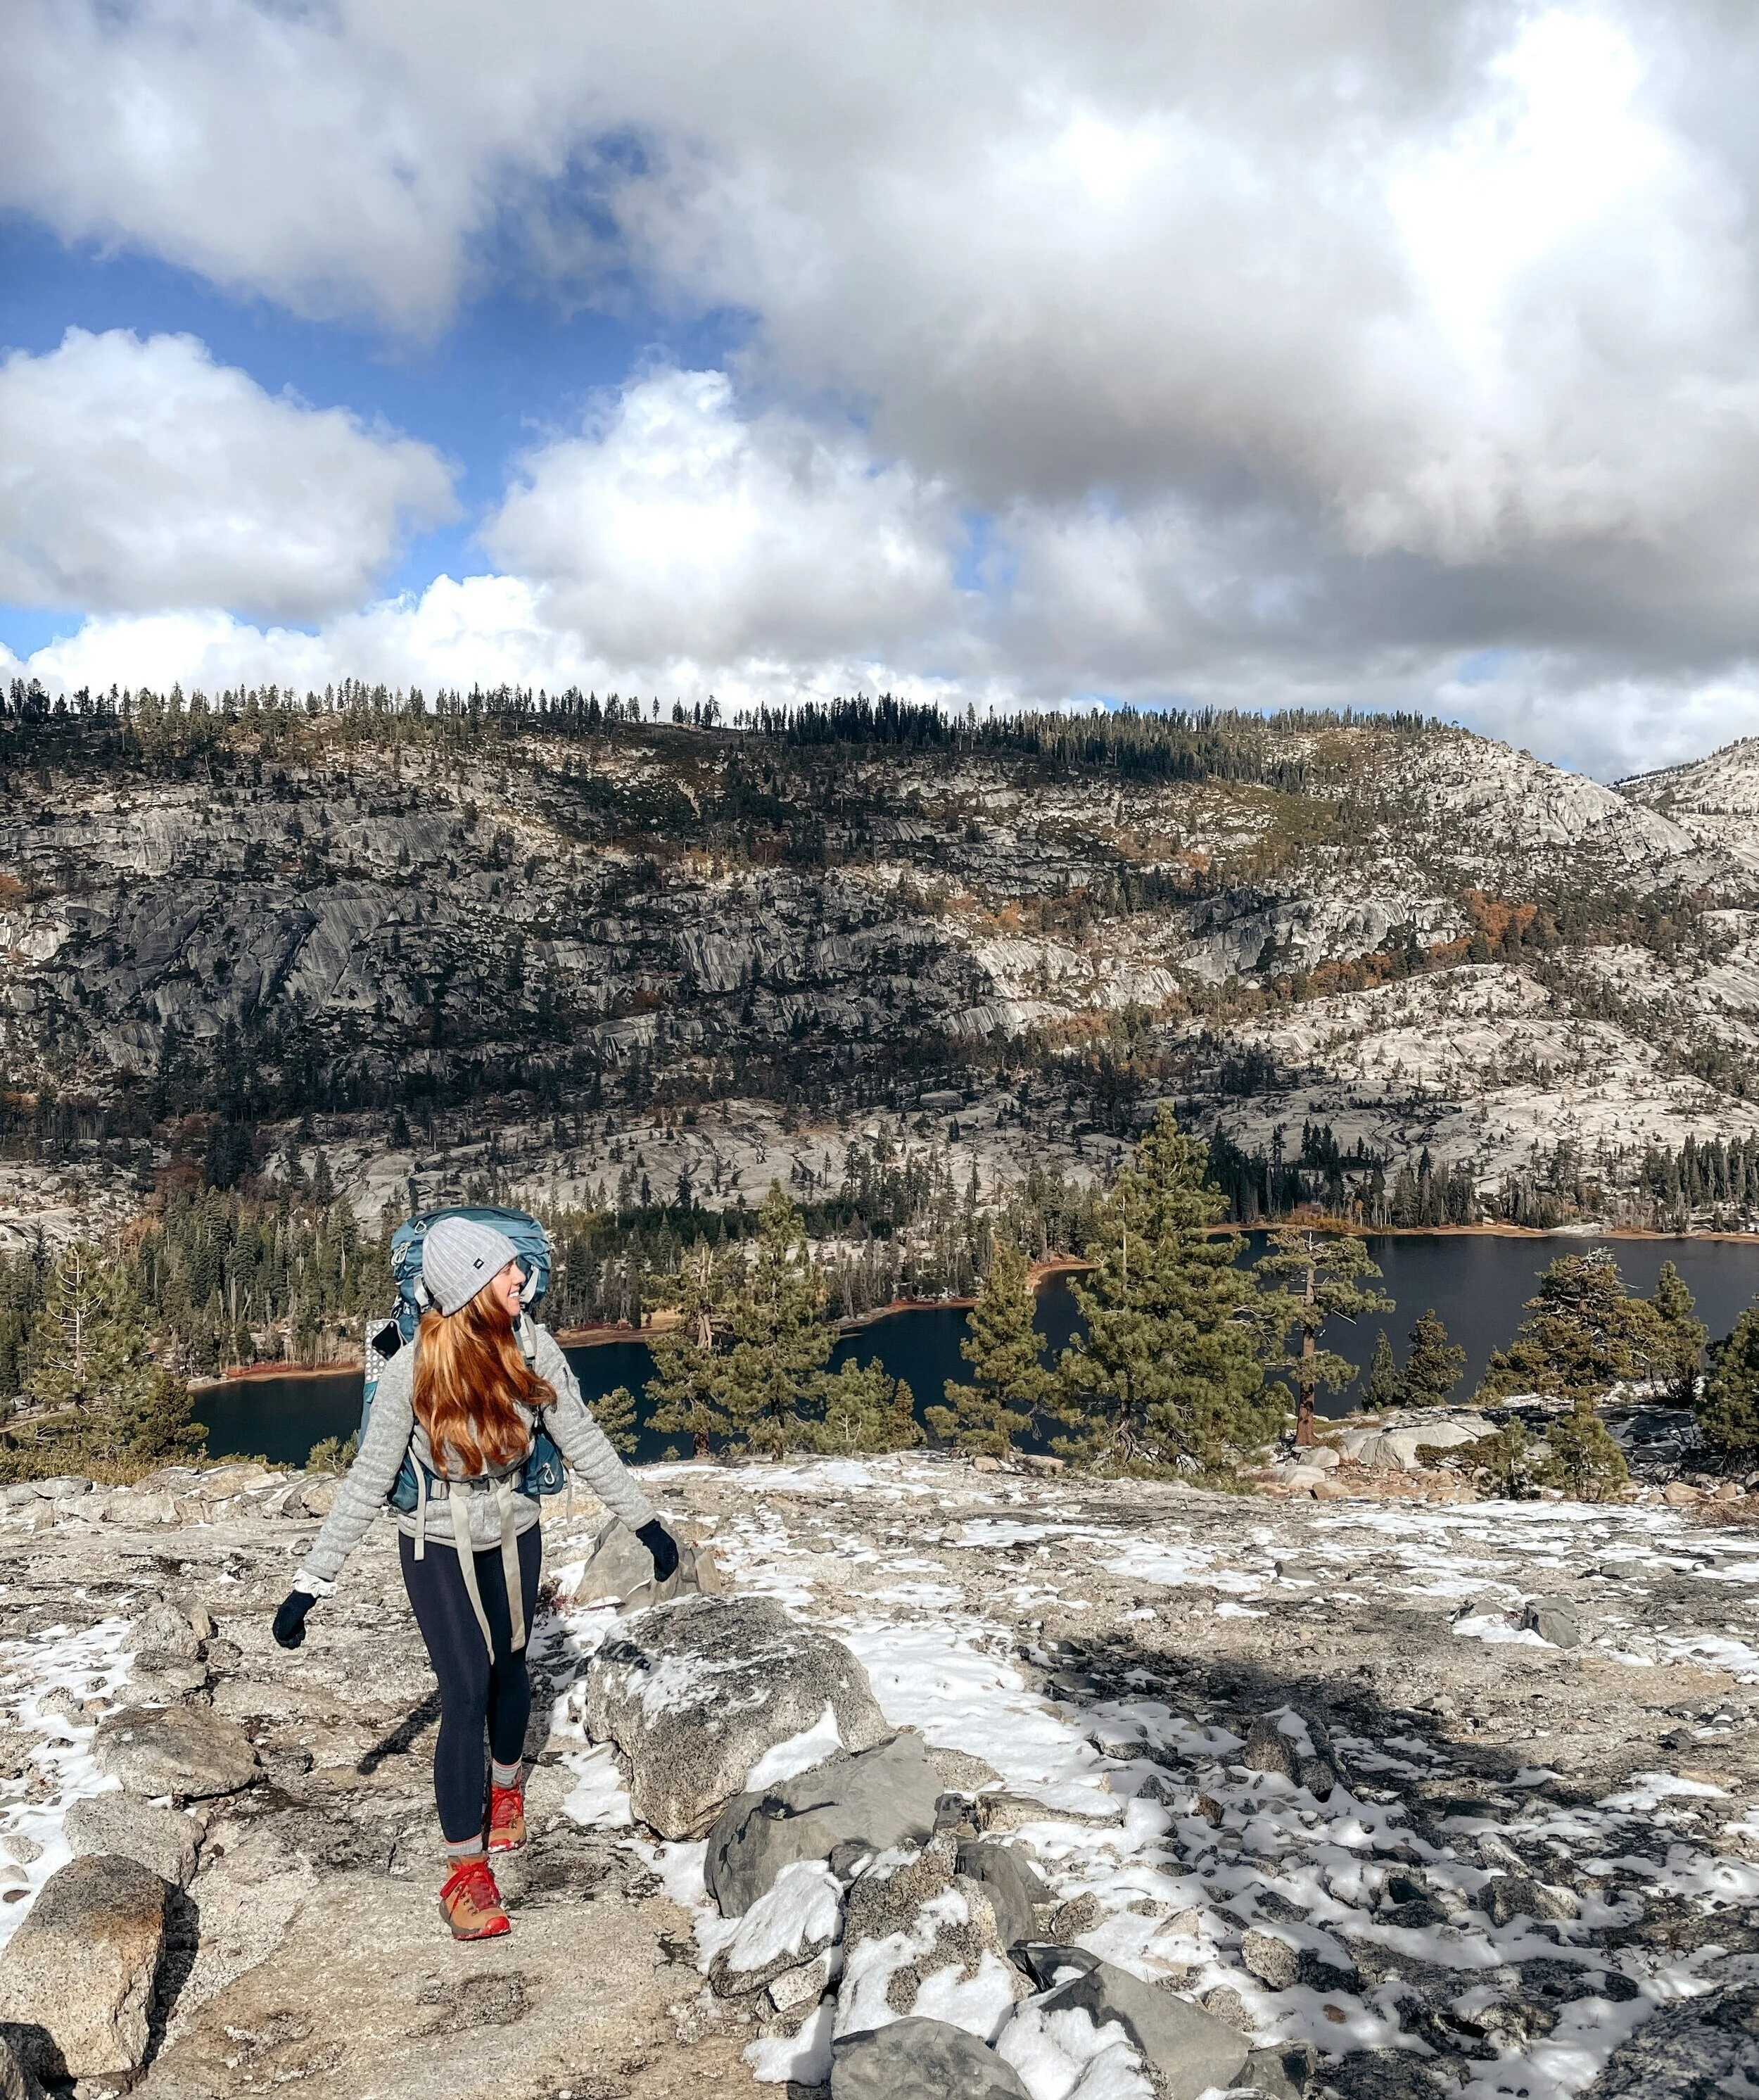
8. TEST GEAR & TRAIN
To start, test out every single gear item – even if this means setting up your tent in your living room or backyard. Make sure everything works exactly the way you want it to. If you need to exchange an item for something slightly different, that’s ok. Every item needs to work perfectly for YOU.
Train by hiking with your backpack and hiking shoes! Even if it’s just a short trip to break everything in. You may realize that your backpack needs slight adjustments or that your shoes are causing blisters. It’ll be hard to enjoy your actual trip if you’re in pain!

9. PLAN FOOD & RESUPPLY
Backpacking food is better than you’d think…or maybe you’re just so hungry at the end of a long day of hiking that any food tastes good. It’s easy to put off food planning until right before you leave, but when you’re carrying all of your food on your back, it needs to be as light as possible. Don’t pack like it’s your last meal on earth – pack exactly what you know you’ll eat.
You’ll first want to consider how many days of food you need (always carry an extra day of food in case of emergency). Then, focus on nutrients, calories, variety, and weight. If you’re heading into bear country, you may need to repackage your meals in order to fit everything in a bear canister. For more information on backpacking food, meal prep, and repackaging, check out my complete backpacking food list and meal plan.
If you need to resupply, you have even more planning to do. Check out JMT resupply or PCT resupply for details on strategy and what to pack in each resupply bin.

10. REVIEW LEAVE NO TRACE
It’s important to think about the footprint we leave in nature. If it’s not left the same way you found it, no one can enjoy it the same way that you did. Leave No Trace is a set of guiding principles that were created to minimize our impact and preserve the wilderness. It covers items like where to set up camp, campfires, packing out trash (pack it in, pack it out!), going to the bathroom, and respecting wildlife. If you’re not familiar with the guidelines, please review them before heading out. You can find a detailed description on each guideline on How to Properly Follow Leave no Trace.

11. MAKE EMERGENCY PLANS
Always tell someone your plan. Exactly where and when you are going.
Plan an evacuation route. If there’s a wildfire, big storm, injury, etc., you’ll be thankful you made a plan to get out.
Carry a backcountry satellite communication device (like a Garmin InReach). The majority of the time, you won’t have cell service in the backcountry, so it’s important to have a way to text or call family or call 911 if needed.

12. CHECK WATER AVAILABILITY & WEATHER
If there’s limited water along the trail, you may want to call the ranger station and check availability before going. Always be prepared to carry extra water if needed. If you’re going on a thru-hike, apps like FarOut will help you know in real time exactly where there is and isn’t water available.
Always check the weather. You don’t want to go all the way there only to find out the trail is closed due to weather or that you have all the wrong gear for the conditions.
13. PACK UP & GO
The absolute best step. Pack your bag and have the most amazing time! The planning can be stressful at times, but once you’re in the wilderness, nothing else matters. You’ll be physically challenged, pushed outside your comfort zone, and covered in dirt... but trust me, it’s all worth it. Your first backpacking trip will change your life.