The Ultimate John Muir Trail Gear List
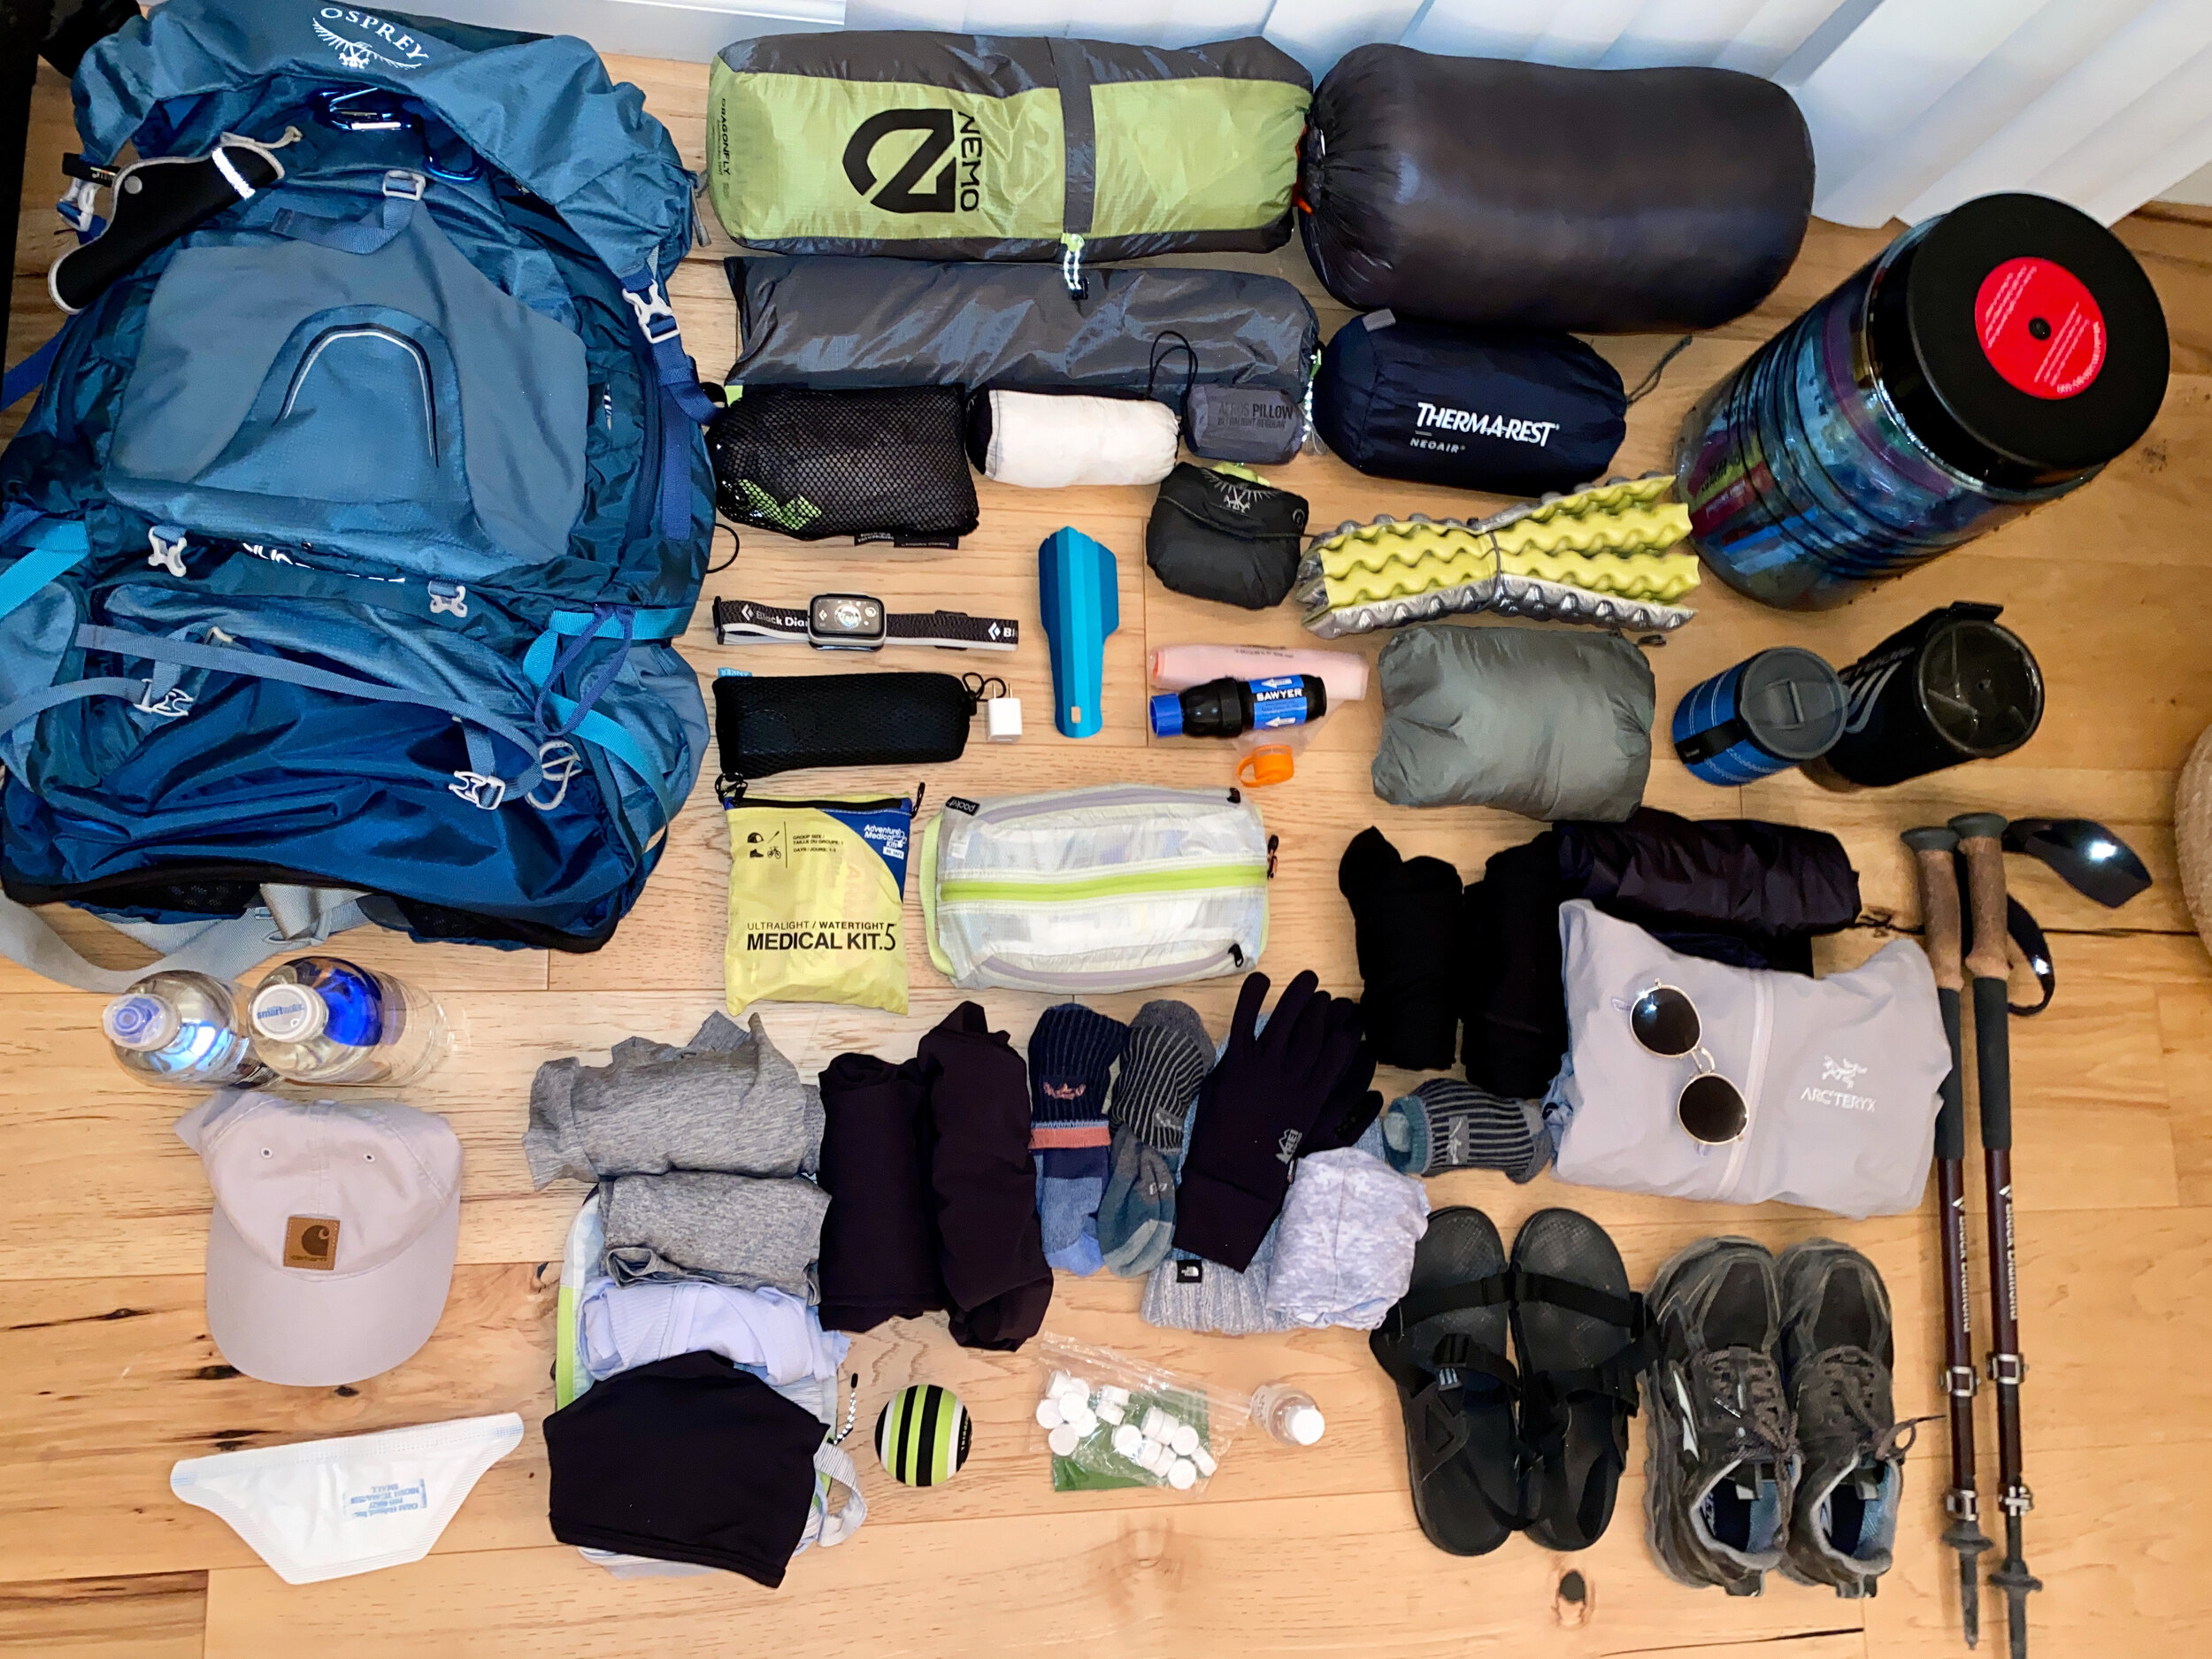
Alright here we go! This is my packing list for 20 days on the John Muir Trail. I’ve invested in mostly ultralight gear (ounces = pounds = pain) so these aren’t all budget-friendly options, but every single item on this list gets my full check of approval. I cover all the essentials for a comfortable trip but of course you can adjust it to your needs…we all have those few “luxury” items we can’t live without.
You can check out my Lighterpack for the approximate weight of everything in my pack. My base weight is about 21 pounds. The max weight of my bag with 6 days of food and full water is 34 pounds. At some point I hope to go lighter but this was a very comfortable weight for me!
Jump Ahead
TEN ESSENTAILS:
On every outdoor adventure, you should start by packing the Ten Essentials. These items are necessary to keep you safe when the unexpected happens. To learn more about them, check out my post, The Ten Essentials.
HIKE:
Backpack
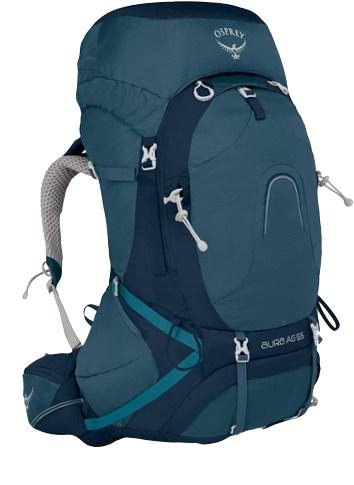
I have always been a fan of Osprey backpacks. They definitely aren’t the lightest bags but they’re super supportive, adjustable, and comfortable for days on end. I have the Osprey Aura 65L and it fits like a glove (make sure to get it sized at REI). It’s the perfect size and even fits an annoyingly large bear canister. I love that it’s compartmentalized into three sections that make it easy to organize your gear. Hip pockets are key so you don’t have to throw off your bag every time you need to get your phone or chapstick or other hiking essential.
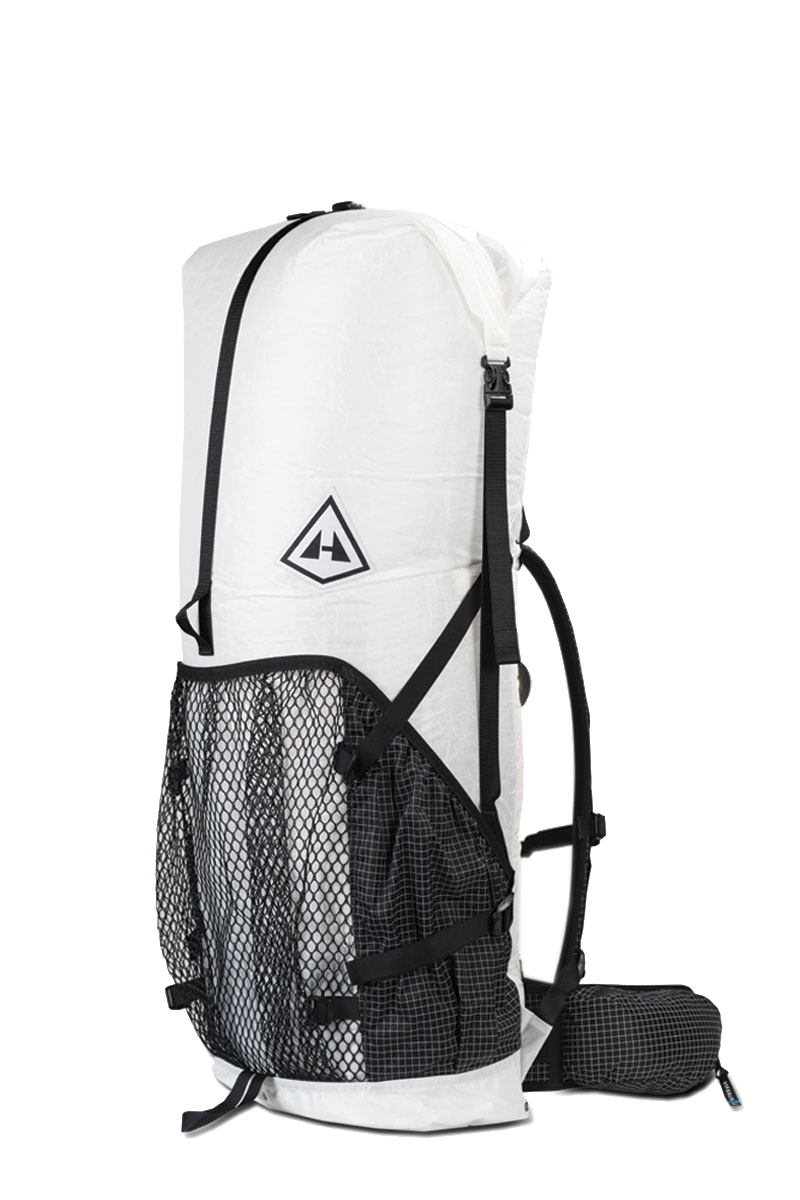
If you’re looking for an ultralight backpack and don’t mind spending a little more, I recommend checking out Hyperlite Junction 55L. I absolutely love this pack and used it for the entire Pacific Crest Trail . It’s lightweight, waterproof, and comfortable.
Backpack Cover
Always carry a rain cover for your backpack as you never know when it’ll start down-pouring in the mountains. The Osprey Ultralight Pack Rain Cover Large fits on the Osprey Aura or Atmos 65L.
If you have a Hyperlite backpack or other pack made of dyneema fabric, it should be waterproof. Make sure to check before heading out in the rain!
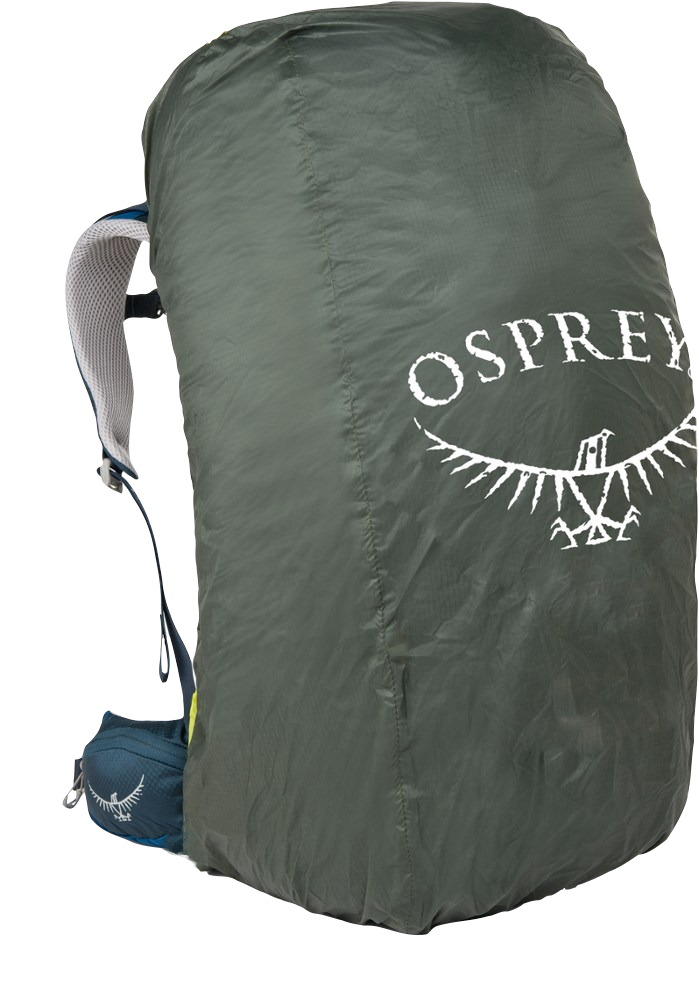
Osprey Ultralight Pack Raincover
Trekking Poles
Okay so you may all think trekking poles look nerdy and don’t want to use them but I guarantee you’ll change your mind once you try them. I had this exact same thought and now I can’t go backpacking without them. They make such a difference in maintaining balance and a consistent pace.
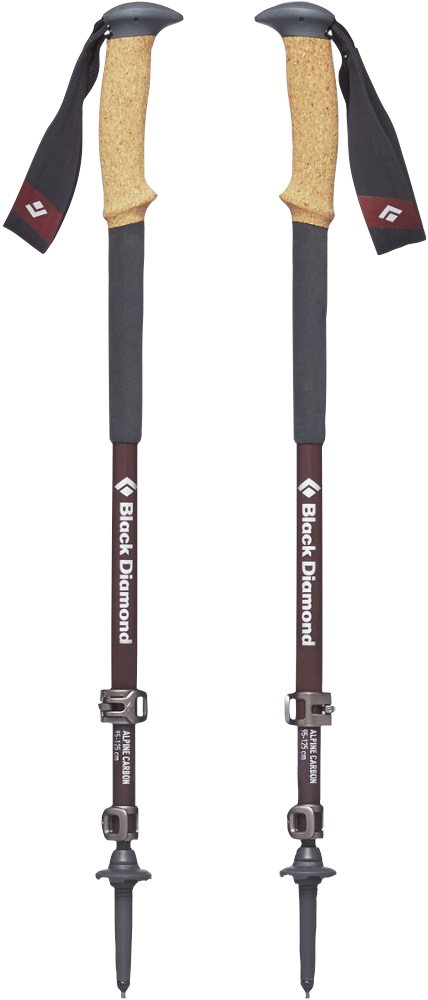
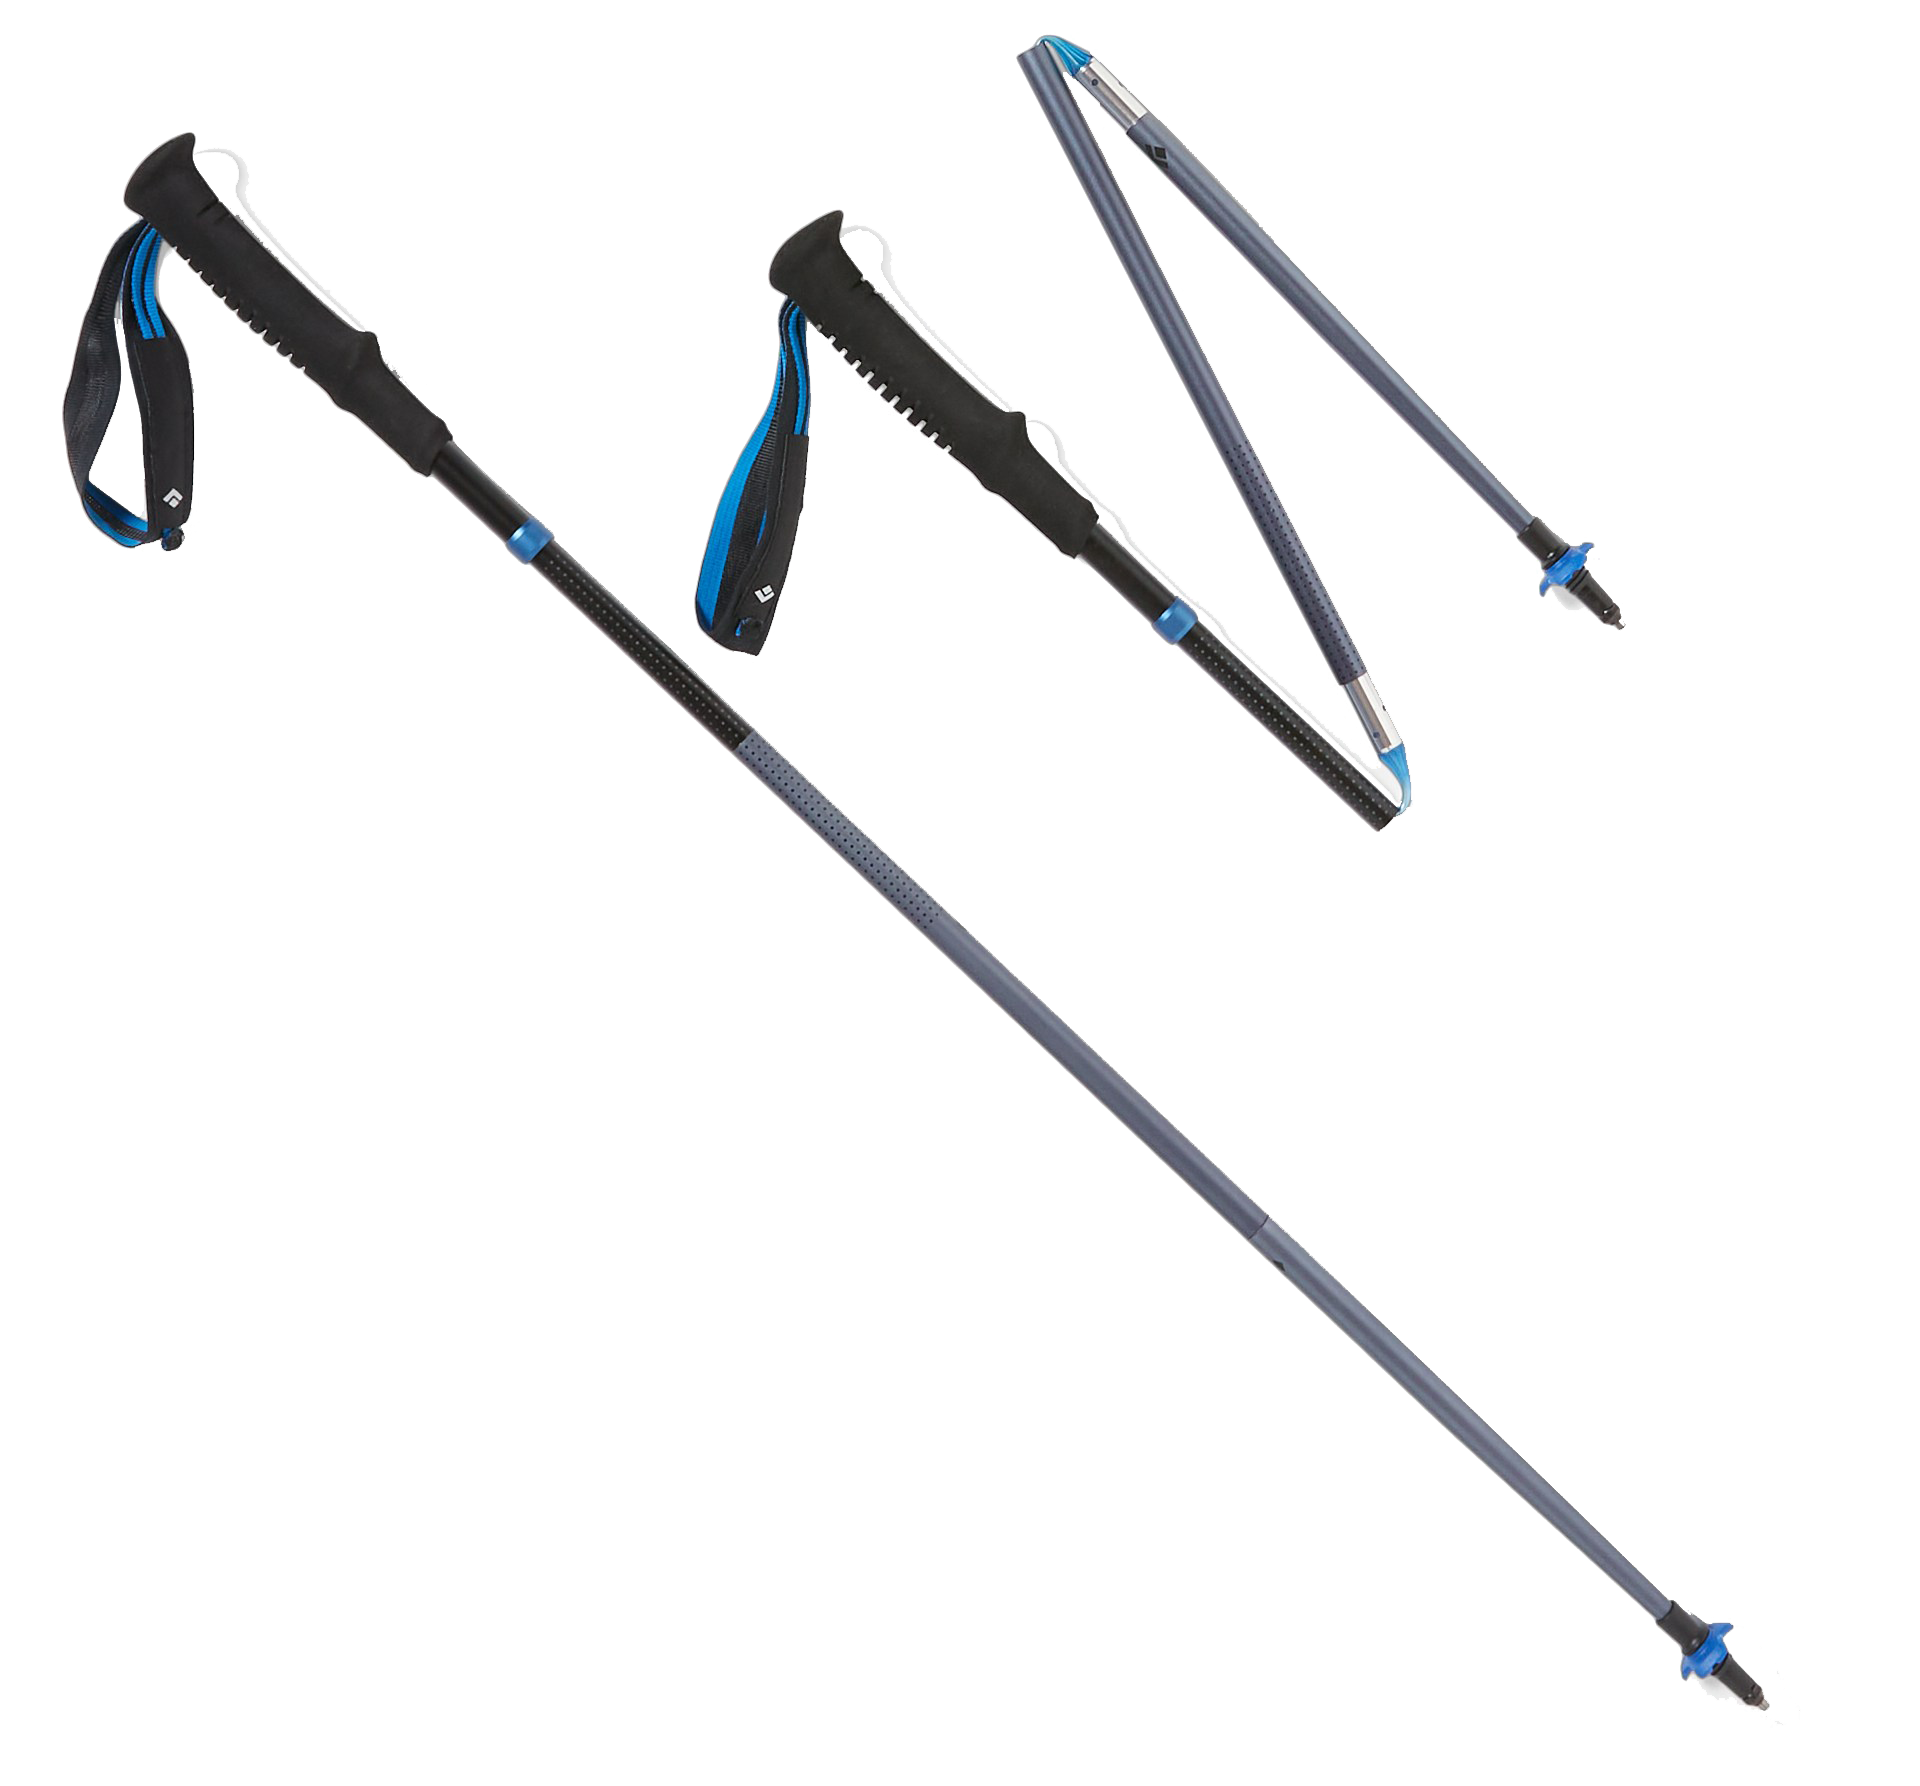
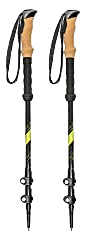
I tried a few different options before finding my perfect pair. There are multiple features to take into account – material, gender, and grip.
Material (aluminum or carbon fiber) – carbon is significantly lighter while aluminum is more durable.
Gender (women or unisex) – women’s poles are shorter and have a smaller diameter hand grip. All poles are adjustable but unisex has a larger span of adjustments.
Grip (cork or foam) – this comes down to how sweaty your hands get. If you have sweaty hands, 100% get cork as it helps absorb the sweat. If you don’t sweat as much, foam is a comfortable option.
Collapsed length — all trekking poles collapse to different lengths. If you are traveling, it is more convenient to have a shorter collapsed length, or even a pair that folds down into thirds.
I have very small and sweaty hands and was looking for a more ultralight option so I ended up with women’s carbon fiber poles with cork grip — Black Diamond Alpine Carbon Cork. I also use the Black Diamond Distance FLZ Trekking Poles as they are comfortable and collapsible, which makes them perfect if you are traveling to get to the trail. For a more budget-friendly option try the Cascade Mountain Tech Trekking Poles – Carbon Fiber.
SLEEP:
Tent + Footprint
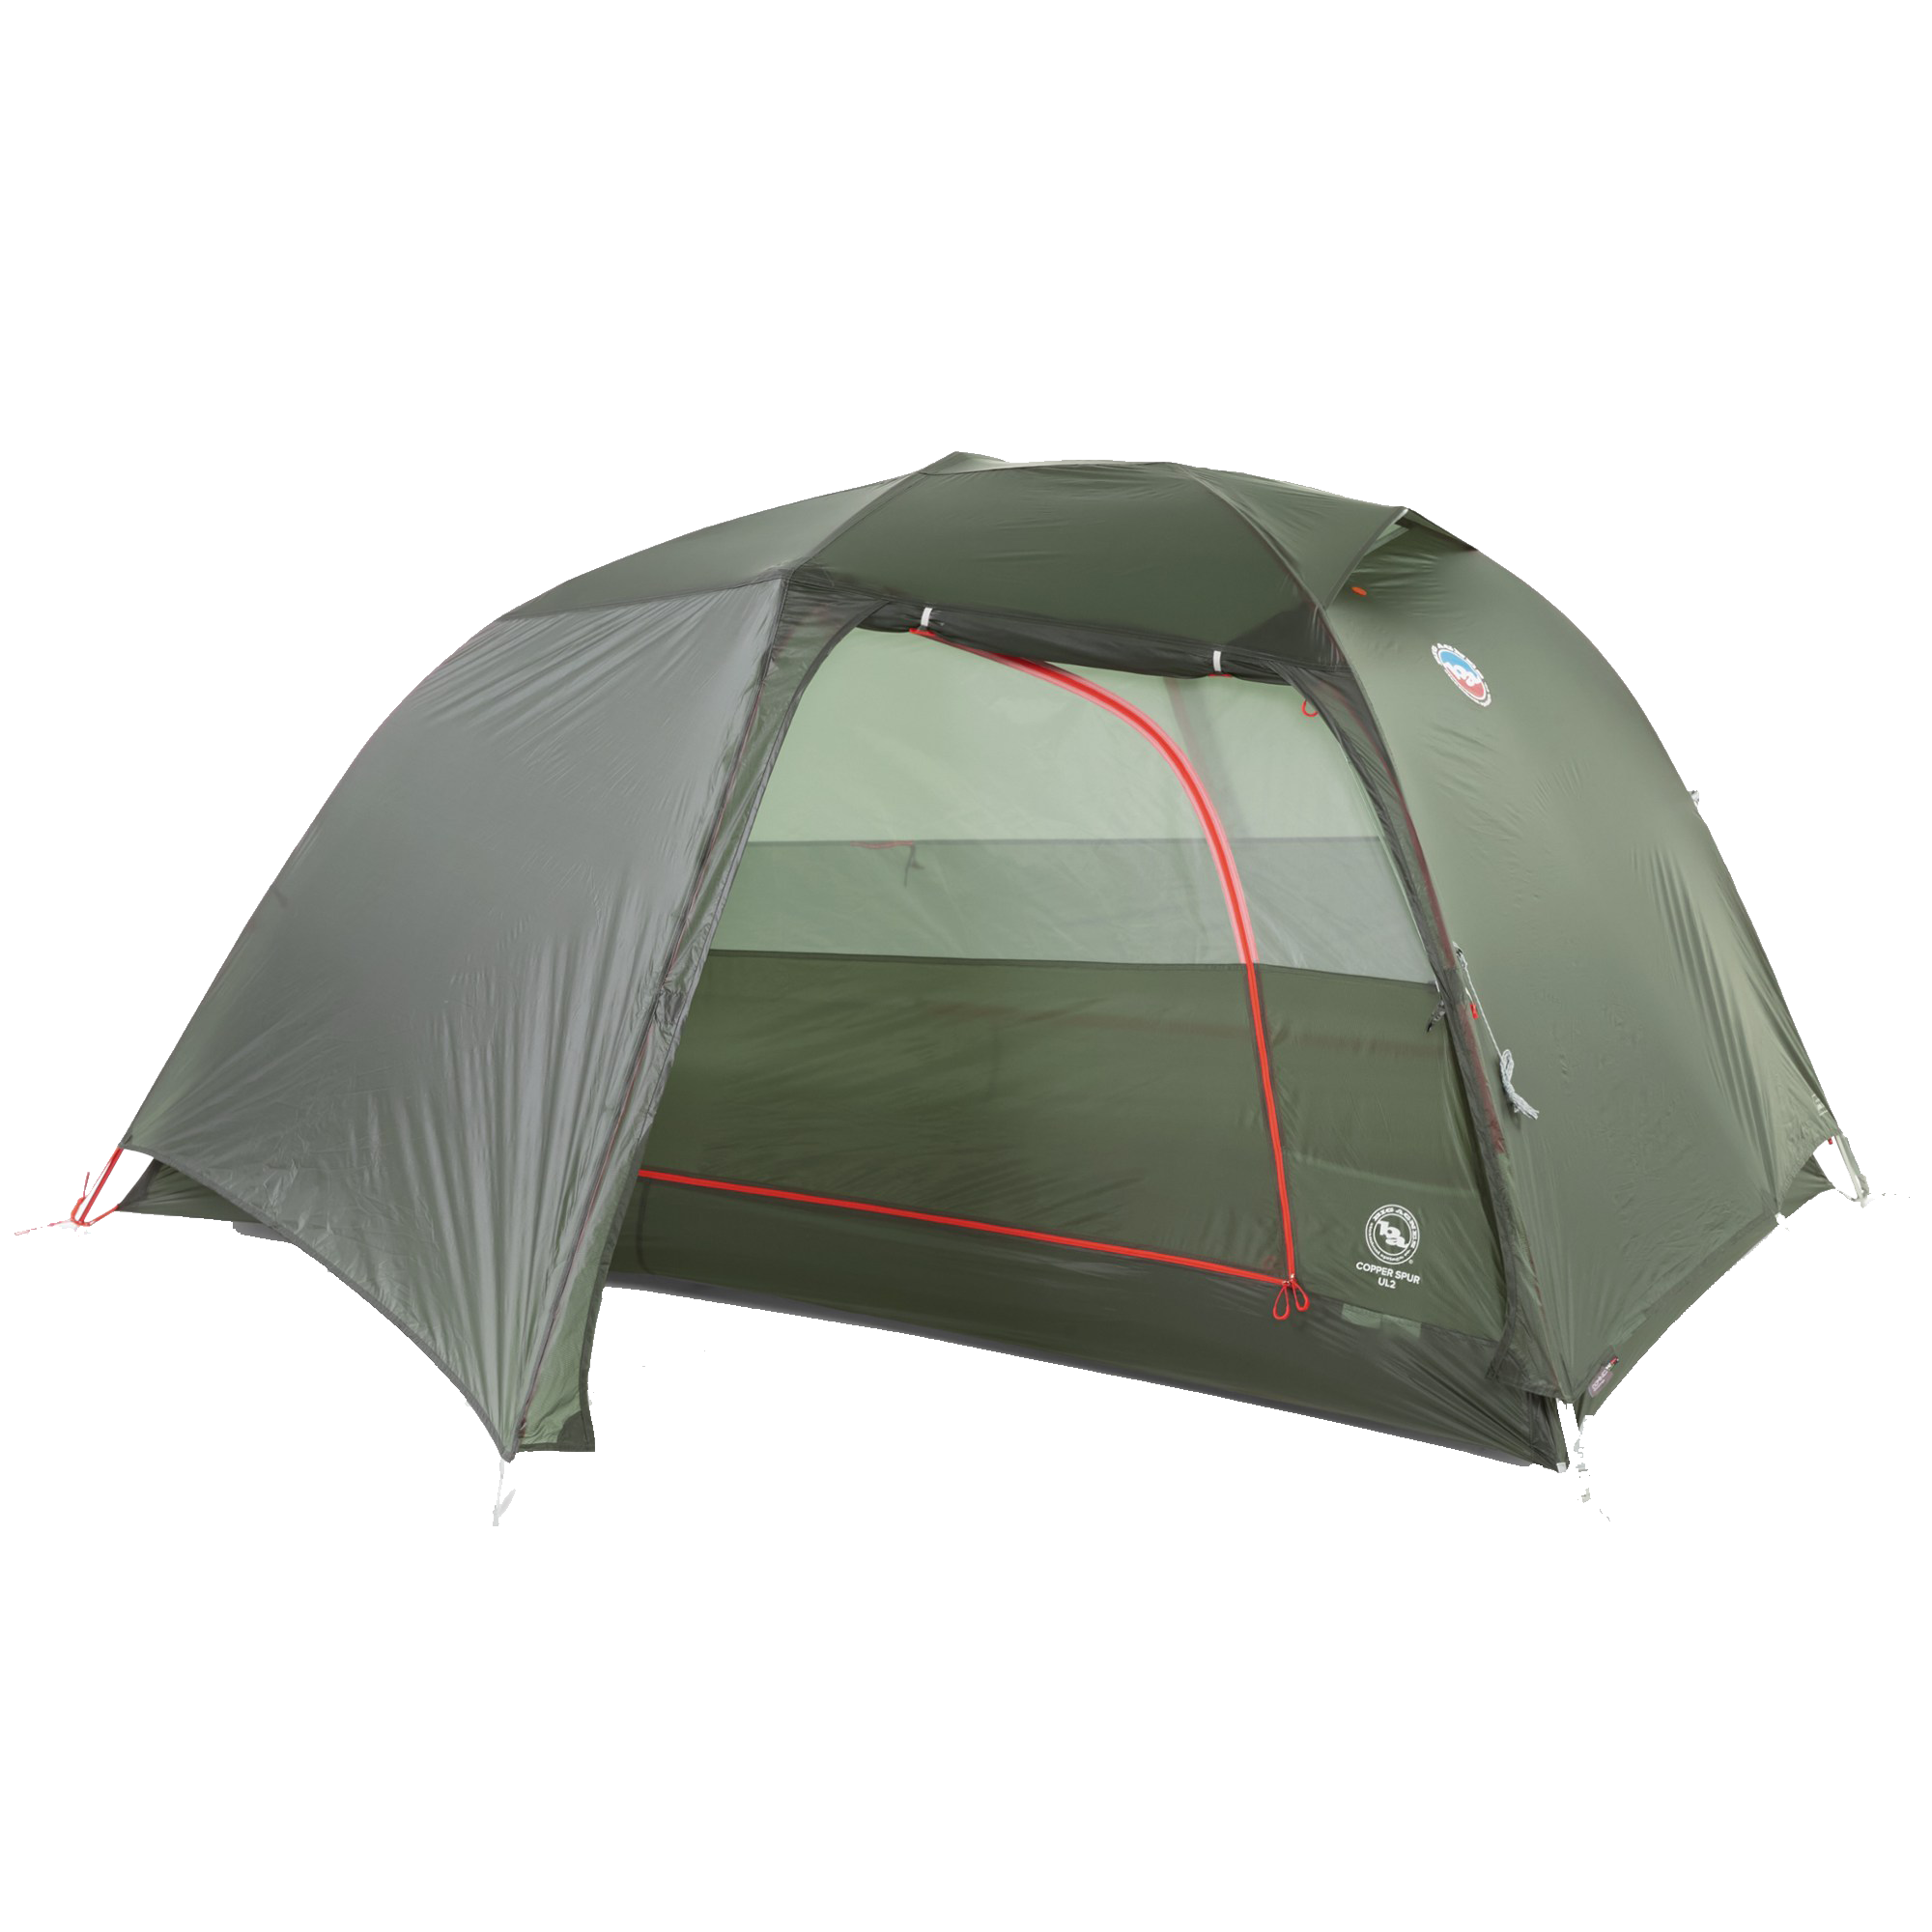
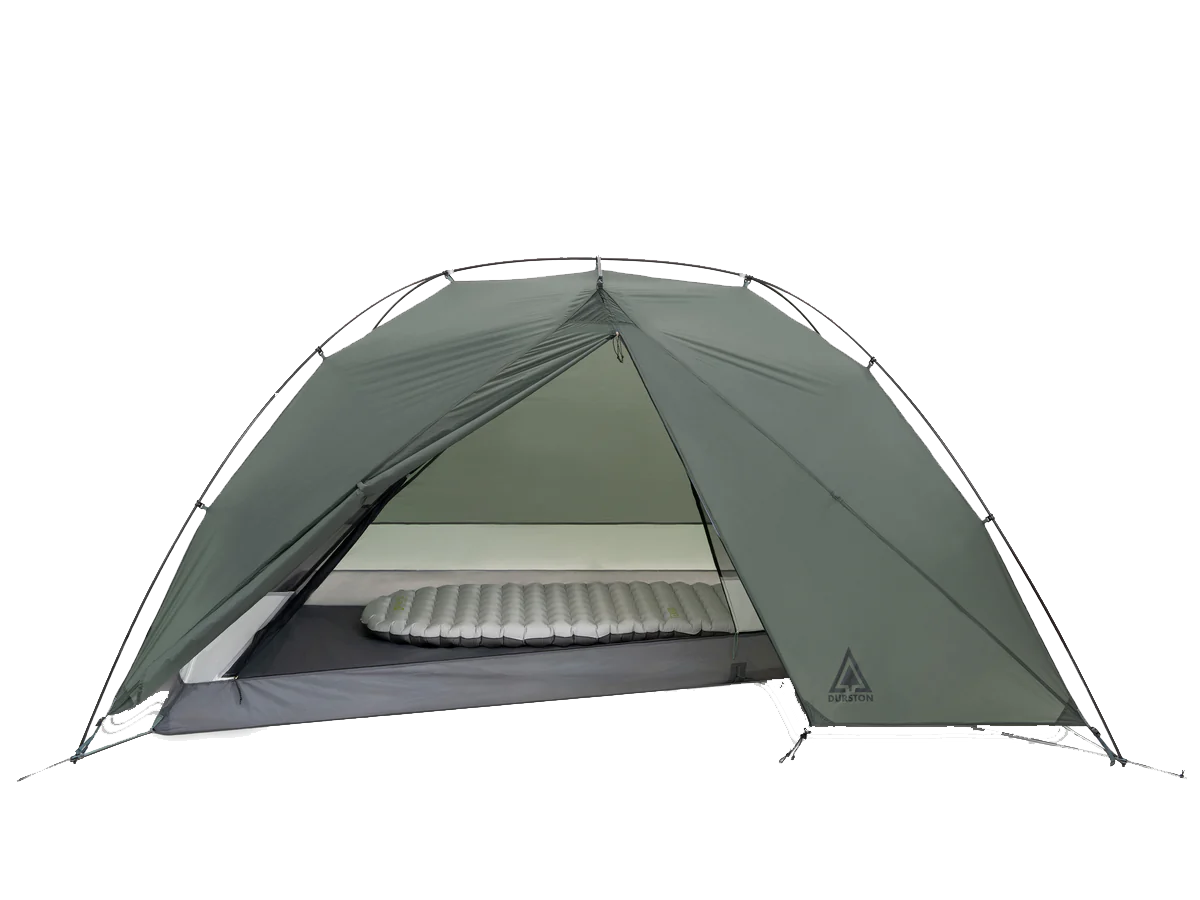
There are so many tent options out there and it can definitely be overwhelming. The best tents are ultralight, durable, weather-proof, and easy to set up. However, the more ultralight, the smaller the space and more you’ll be cuddling with the person you’re sharing it with. If you’re looking for a two person tent, I highly recommend the Big Agnes Copper Spur UL2. It isn’t the cheapest option but it has every feature you could want. It’s freestanding and has two doors (some ultralight only have one) and two vestibules. If you’re looking for a lighter freestanding tent, the Durston X-Dome 2 is incredible. It’s very well designed, while still staying light.
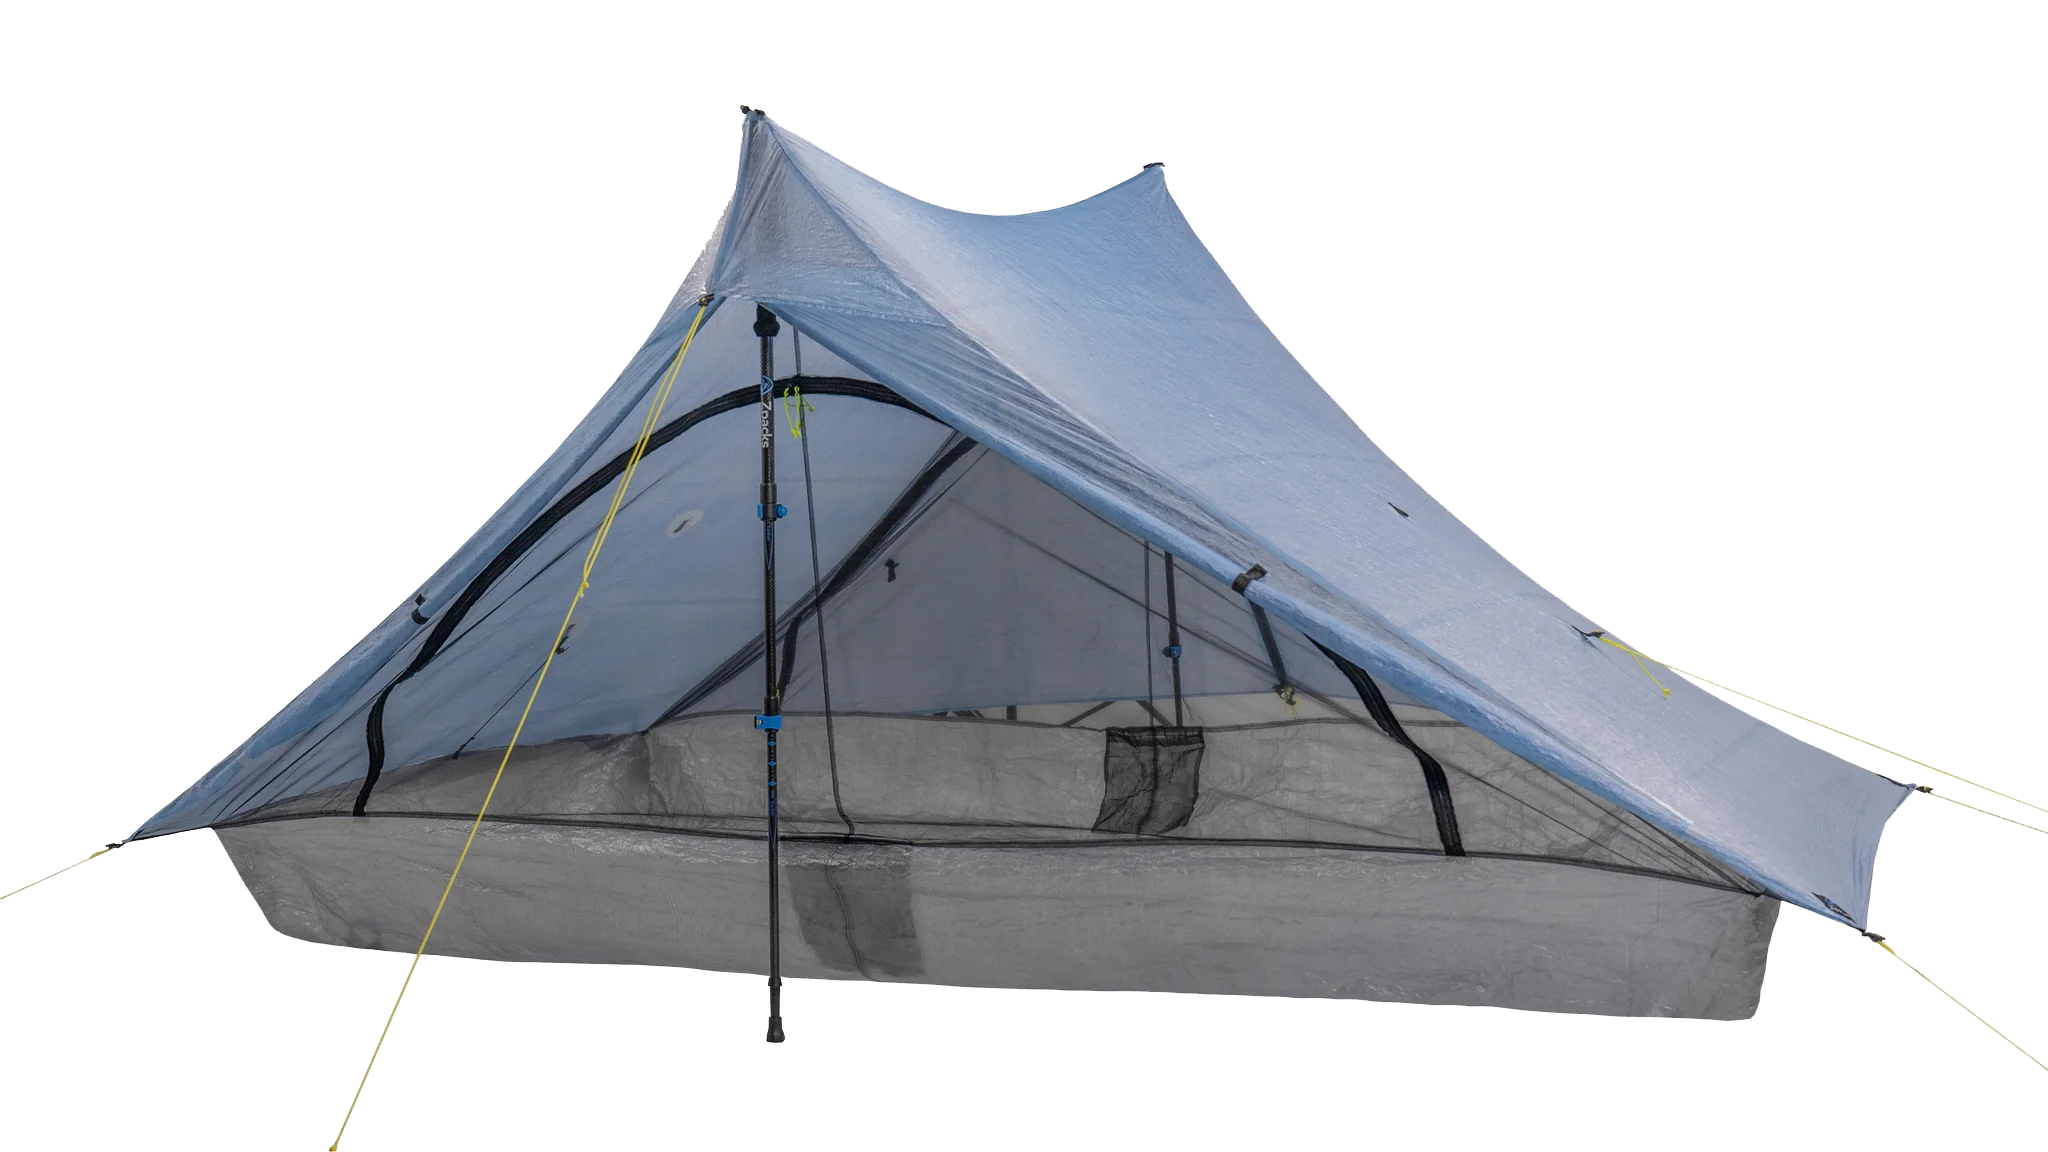
Another great ultralight option is the Zpacks Duplex Zip. It’s non-freestanding meaning you set it up with trekking poles instead of tent poles. They’re not cheap but more than worth it if you want to save substantial weight.
If you’re looking for a one person tent, my personal favorite is the Big Agnes Copper Spur UL1. It’s freestanding, ultralight, and spacious. You can fit your backpack inside while you sleep and still have extra space.
Make sure to get the tent footprint that goes with whichever tent you get to protect it from wear and tear or getting dirty!

Sleeping Bag
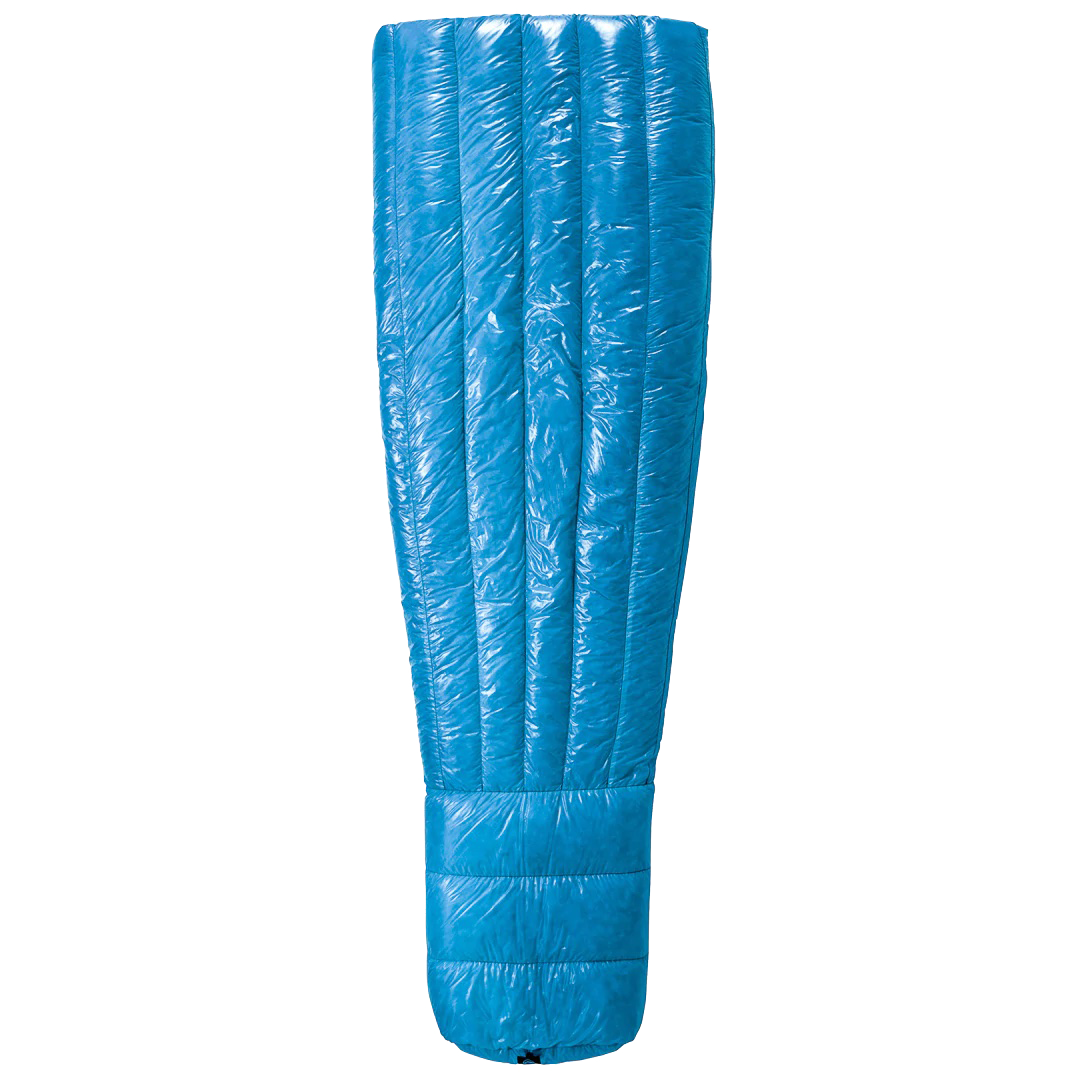
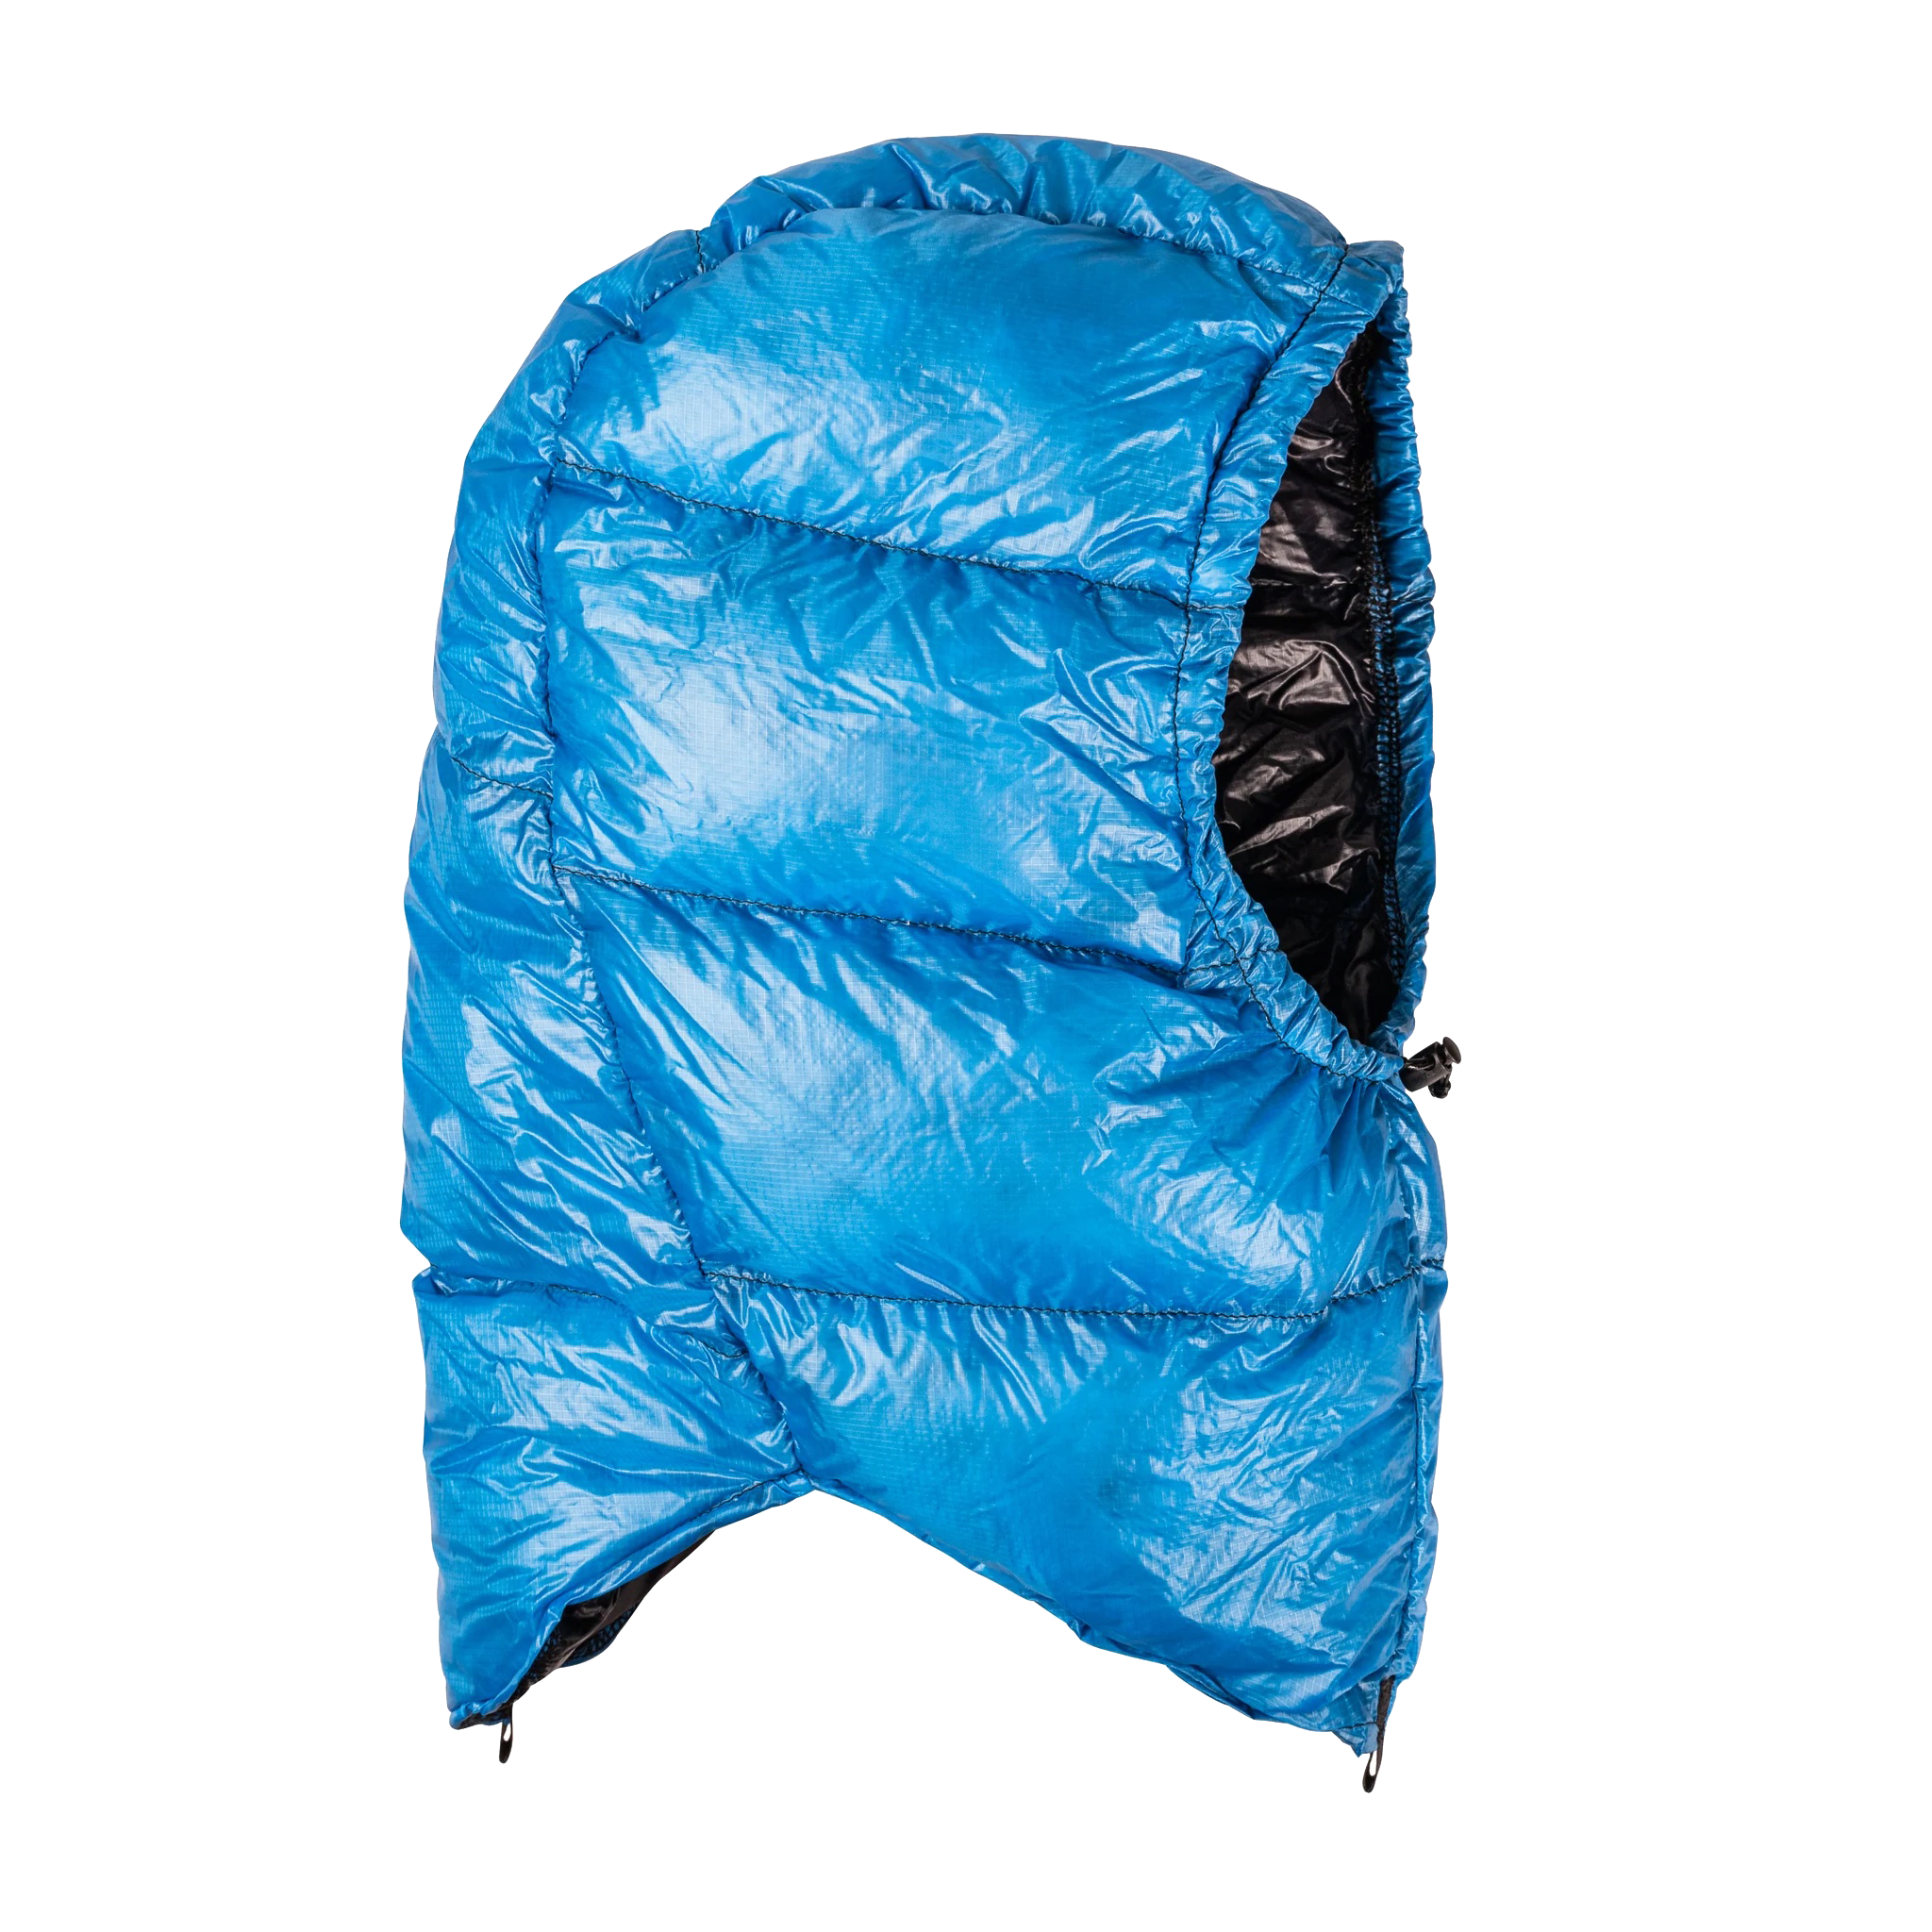
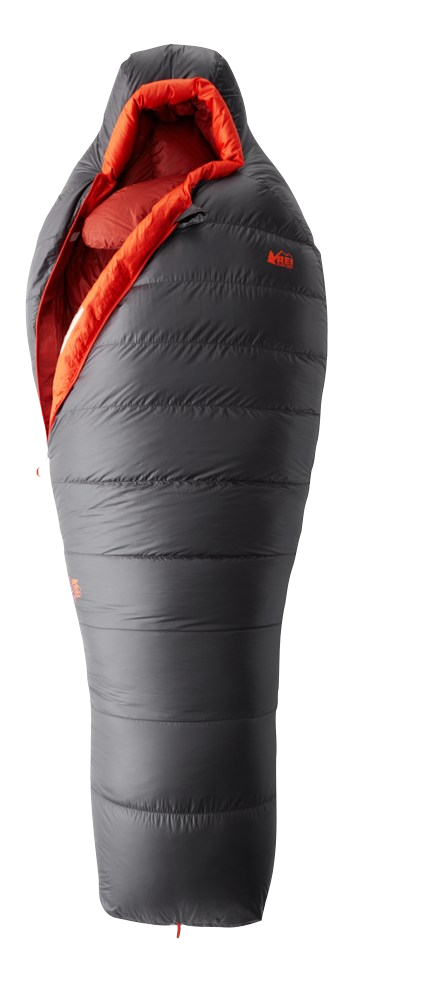
There’s nothing worse than camping in the freezing cold without a warm sleeping bag. You can always unzip a little if you’re too hot. I use a Zpacks 10 degree sleeping bag - a full zip bag without a hood. However, I also have the Zpacks Down Hood to supplement the bag and keep my head warm. The full combination is extremely lightweight and keeps me warm at night!
I also have the REI Magma 15 sleeping bag and absolutely love it. It’s not too heavy and I’ve never gotten too cold (tested down to 20 degrees).
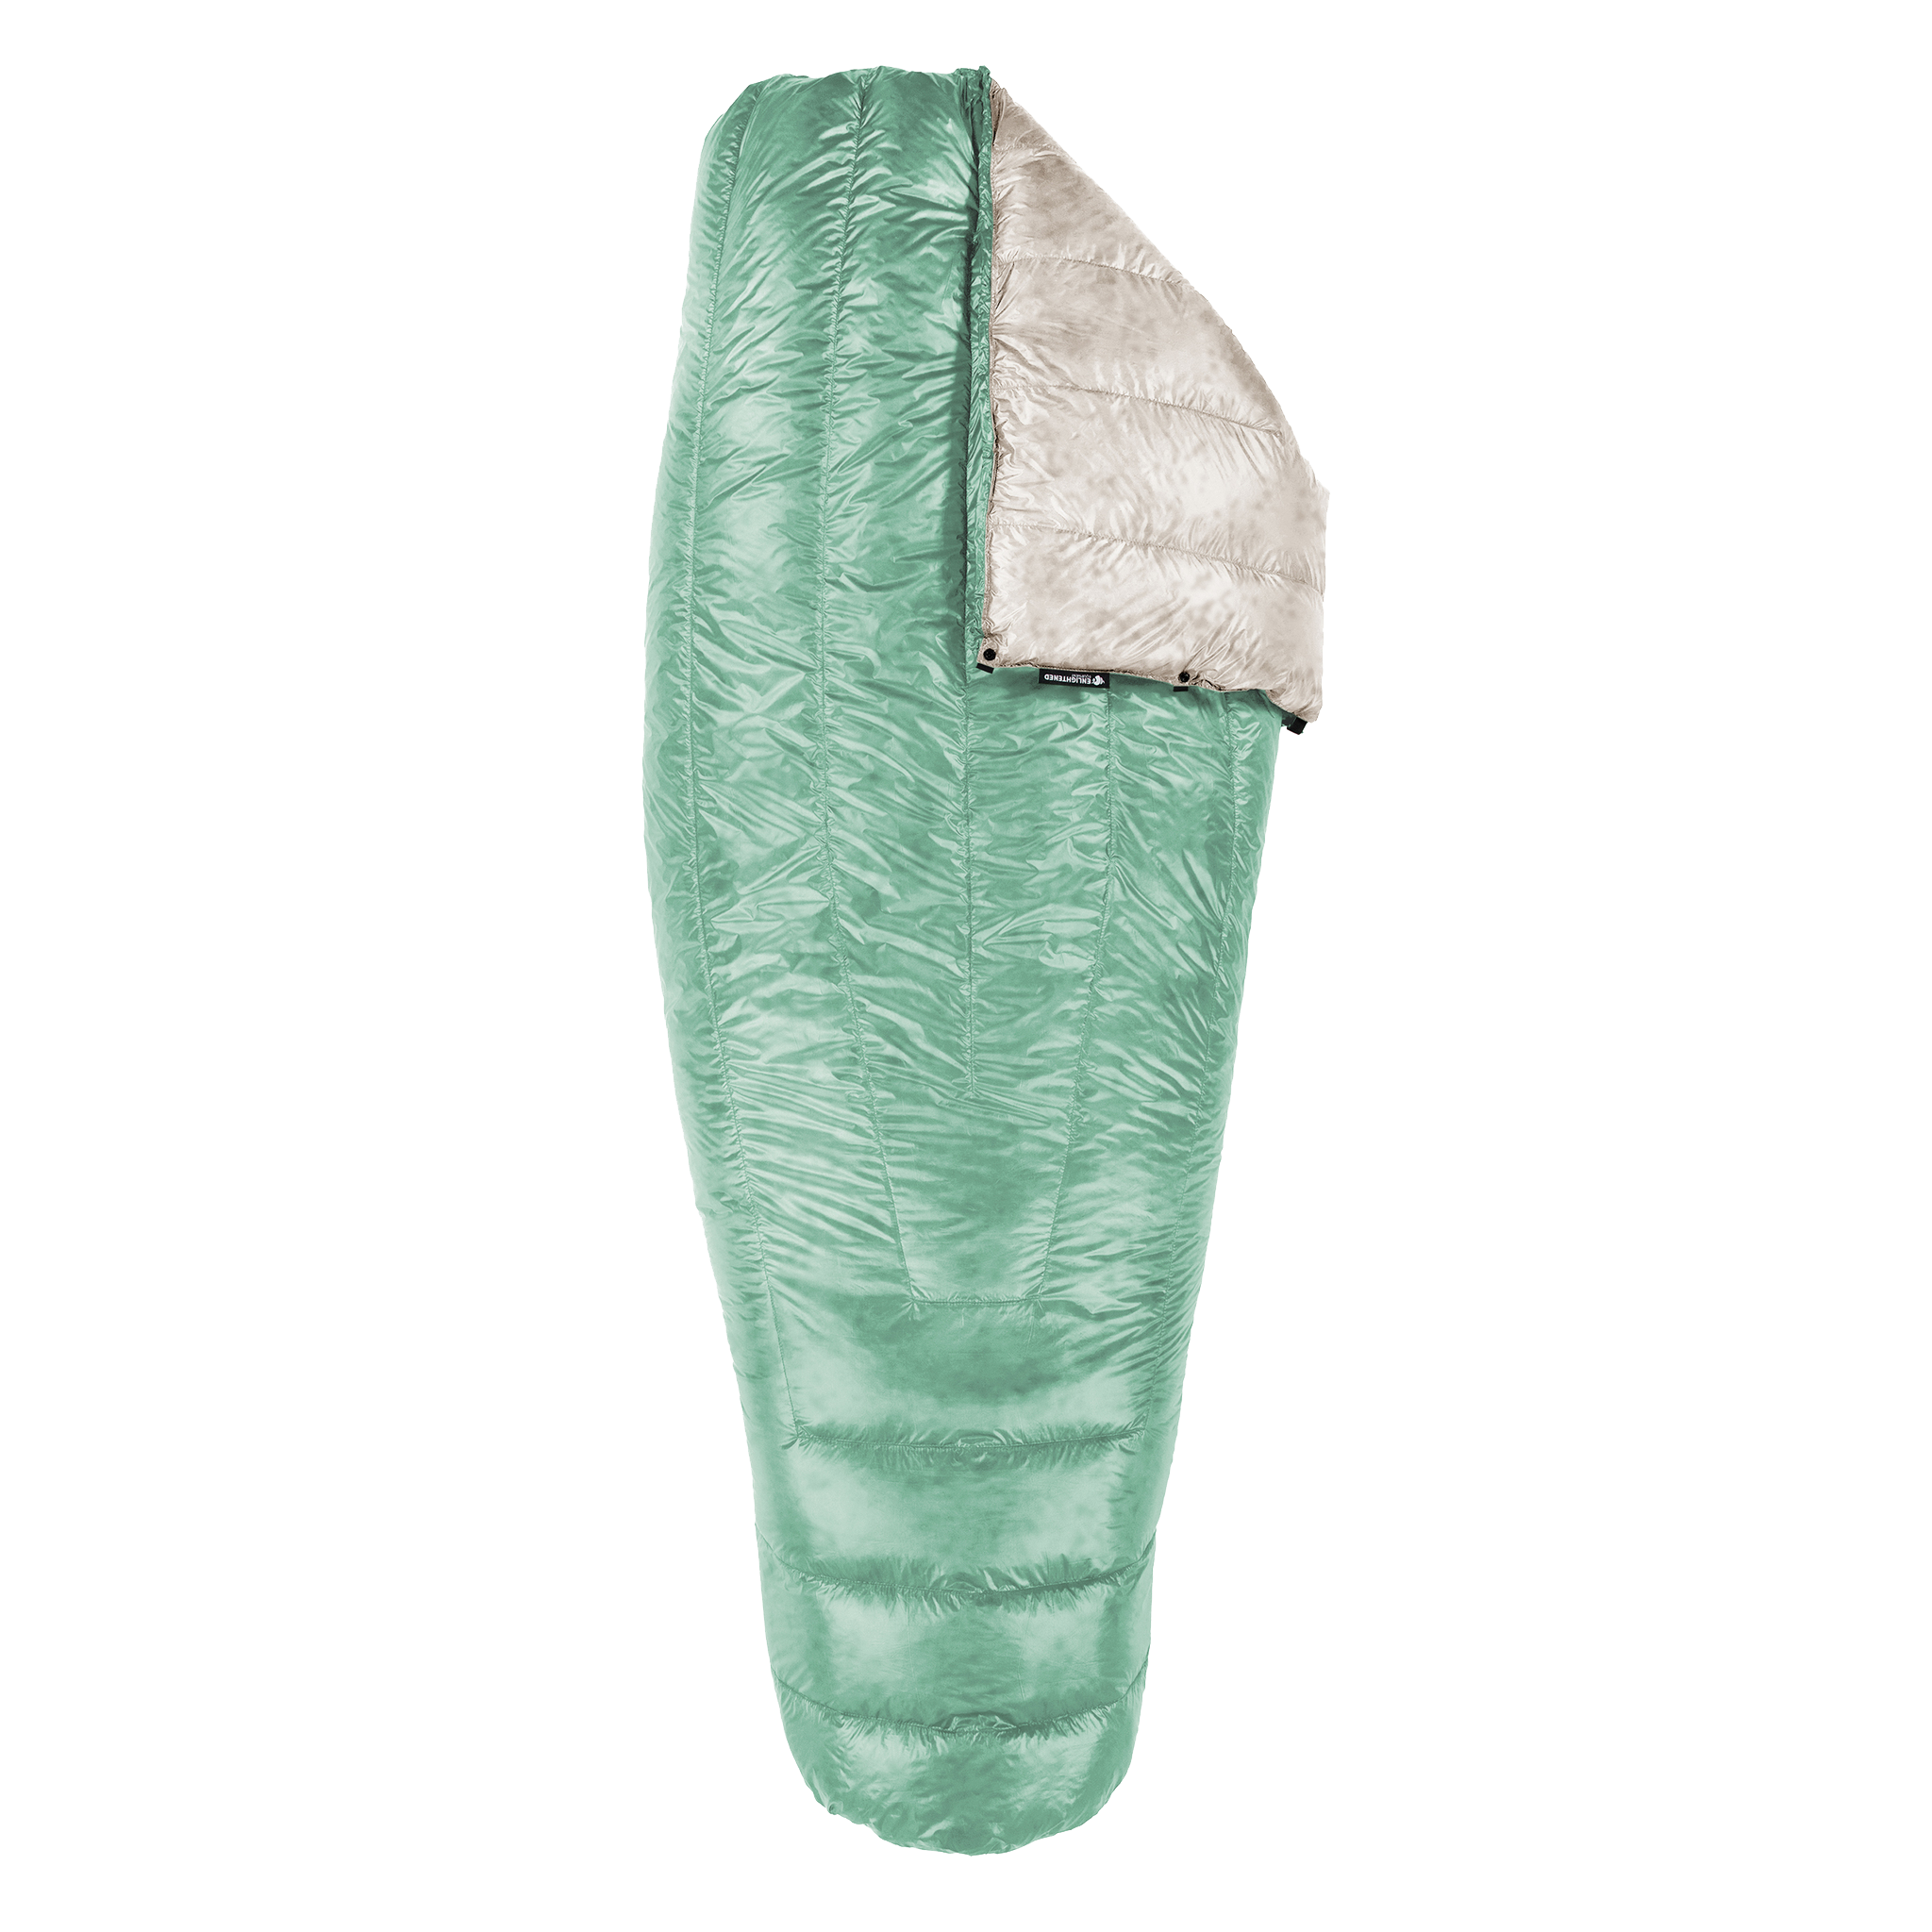
If you aren’t a fan of a mummy bag or want to save some weight, a quilt is also a great option. A quilt is not a sleeping bag and is meant to be used with a sleeping pad to provide insulation between you and the ground. The Enlightened Equipment Enigma 10 degree quilt is the best choice for a quilt.
Sleeping Pad
The greater the R-value the greater the insulation. R-values can range from less than 2.0 (minimally insulated) to greater than 5.5 (extremely insulated). No one wants to sleep on a cold ground. I have the Therm-a-rest Neo-Air Xlite which has an R-value of 4.2. Yes, it sounds like a potato chip bag but you quickly get used to it. You’ll be happy to have the insulation on a cold night in the Sierras!

Therm-a-rest Neo-Air Xlite
Pillow
I’m so happy with my choice of pillow. Sea to Summit Aeros Ultralight Pillow. It’s only 2.5oz., quick to blow up, comfortable, and fits right into the top of my sleeping bag. If you want to save weight, you can use a stuff sack full of clothes as a makeshift pillow.

Sea to Summit Aeros Ultralight Pillow
KITCHEN:
Cooking System + Fuel
The BRS Stove is small, lightweight, and compatible with many different pots. If you want to stick with an ultralight setup, the Toaks 650mL Titanium Pot is a great option.
If it’s cold out, make sure to always sleep with your fuel in your sleeping bag or the fuel may stop working!
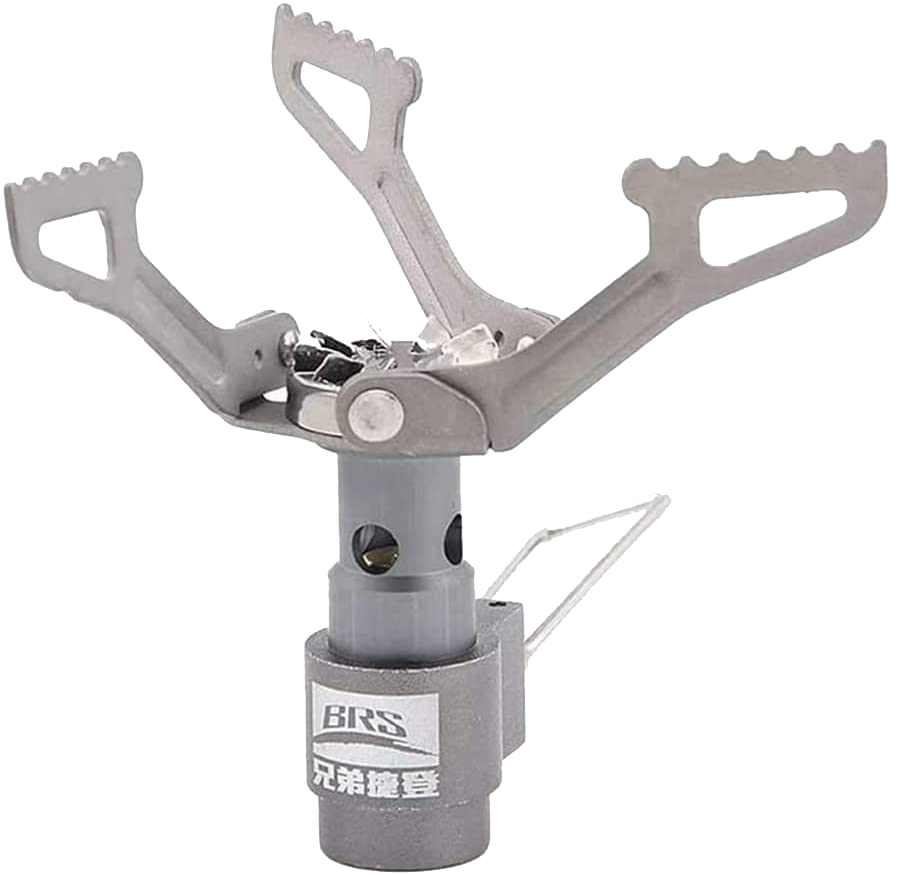
BRS Stove
Mug
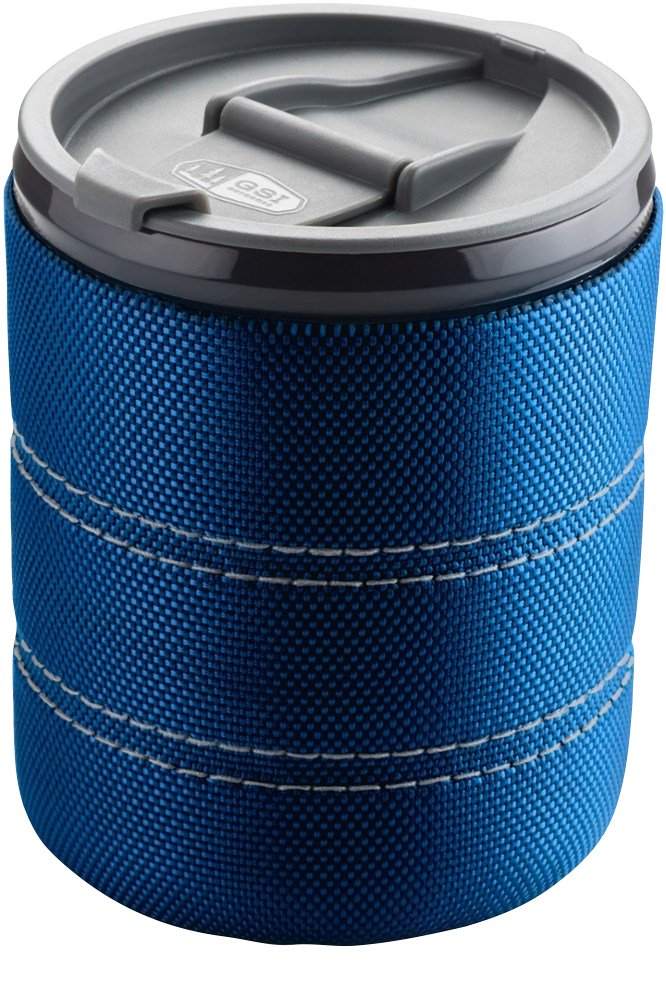
I use the GSI Outdoors Infinity Backpacker Mug and it keeps my coffee hot forever. Added bonus that it only weighs 3.5oz. If you want an even more ultralight option, Sea to Summit Frontier mug is only 2.4 oz but doesn’t have a closed lid.

Spork
The longer the better. Trust me, you’ll want those lasts bits of food at the bottom of the bag at the end of a long day. Snow Peak Titanium Spork – Long is perfect.

Snow Peak Titanium Spork - Long
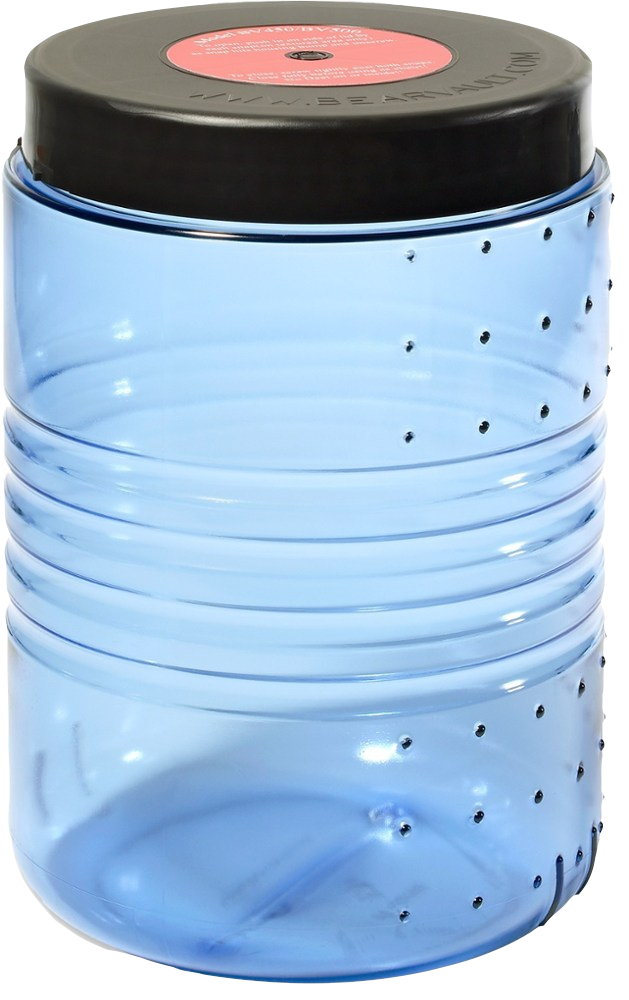
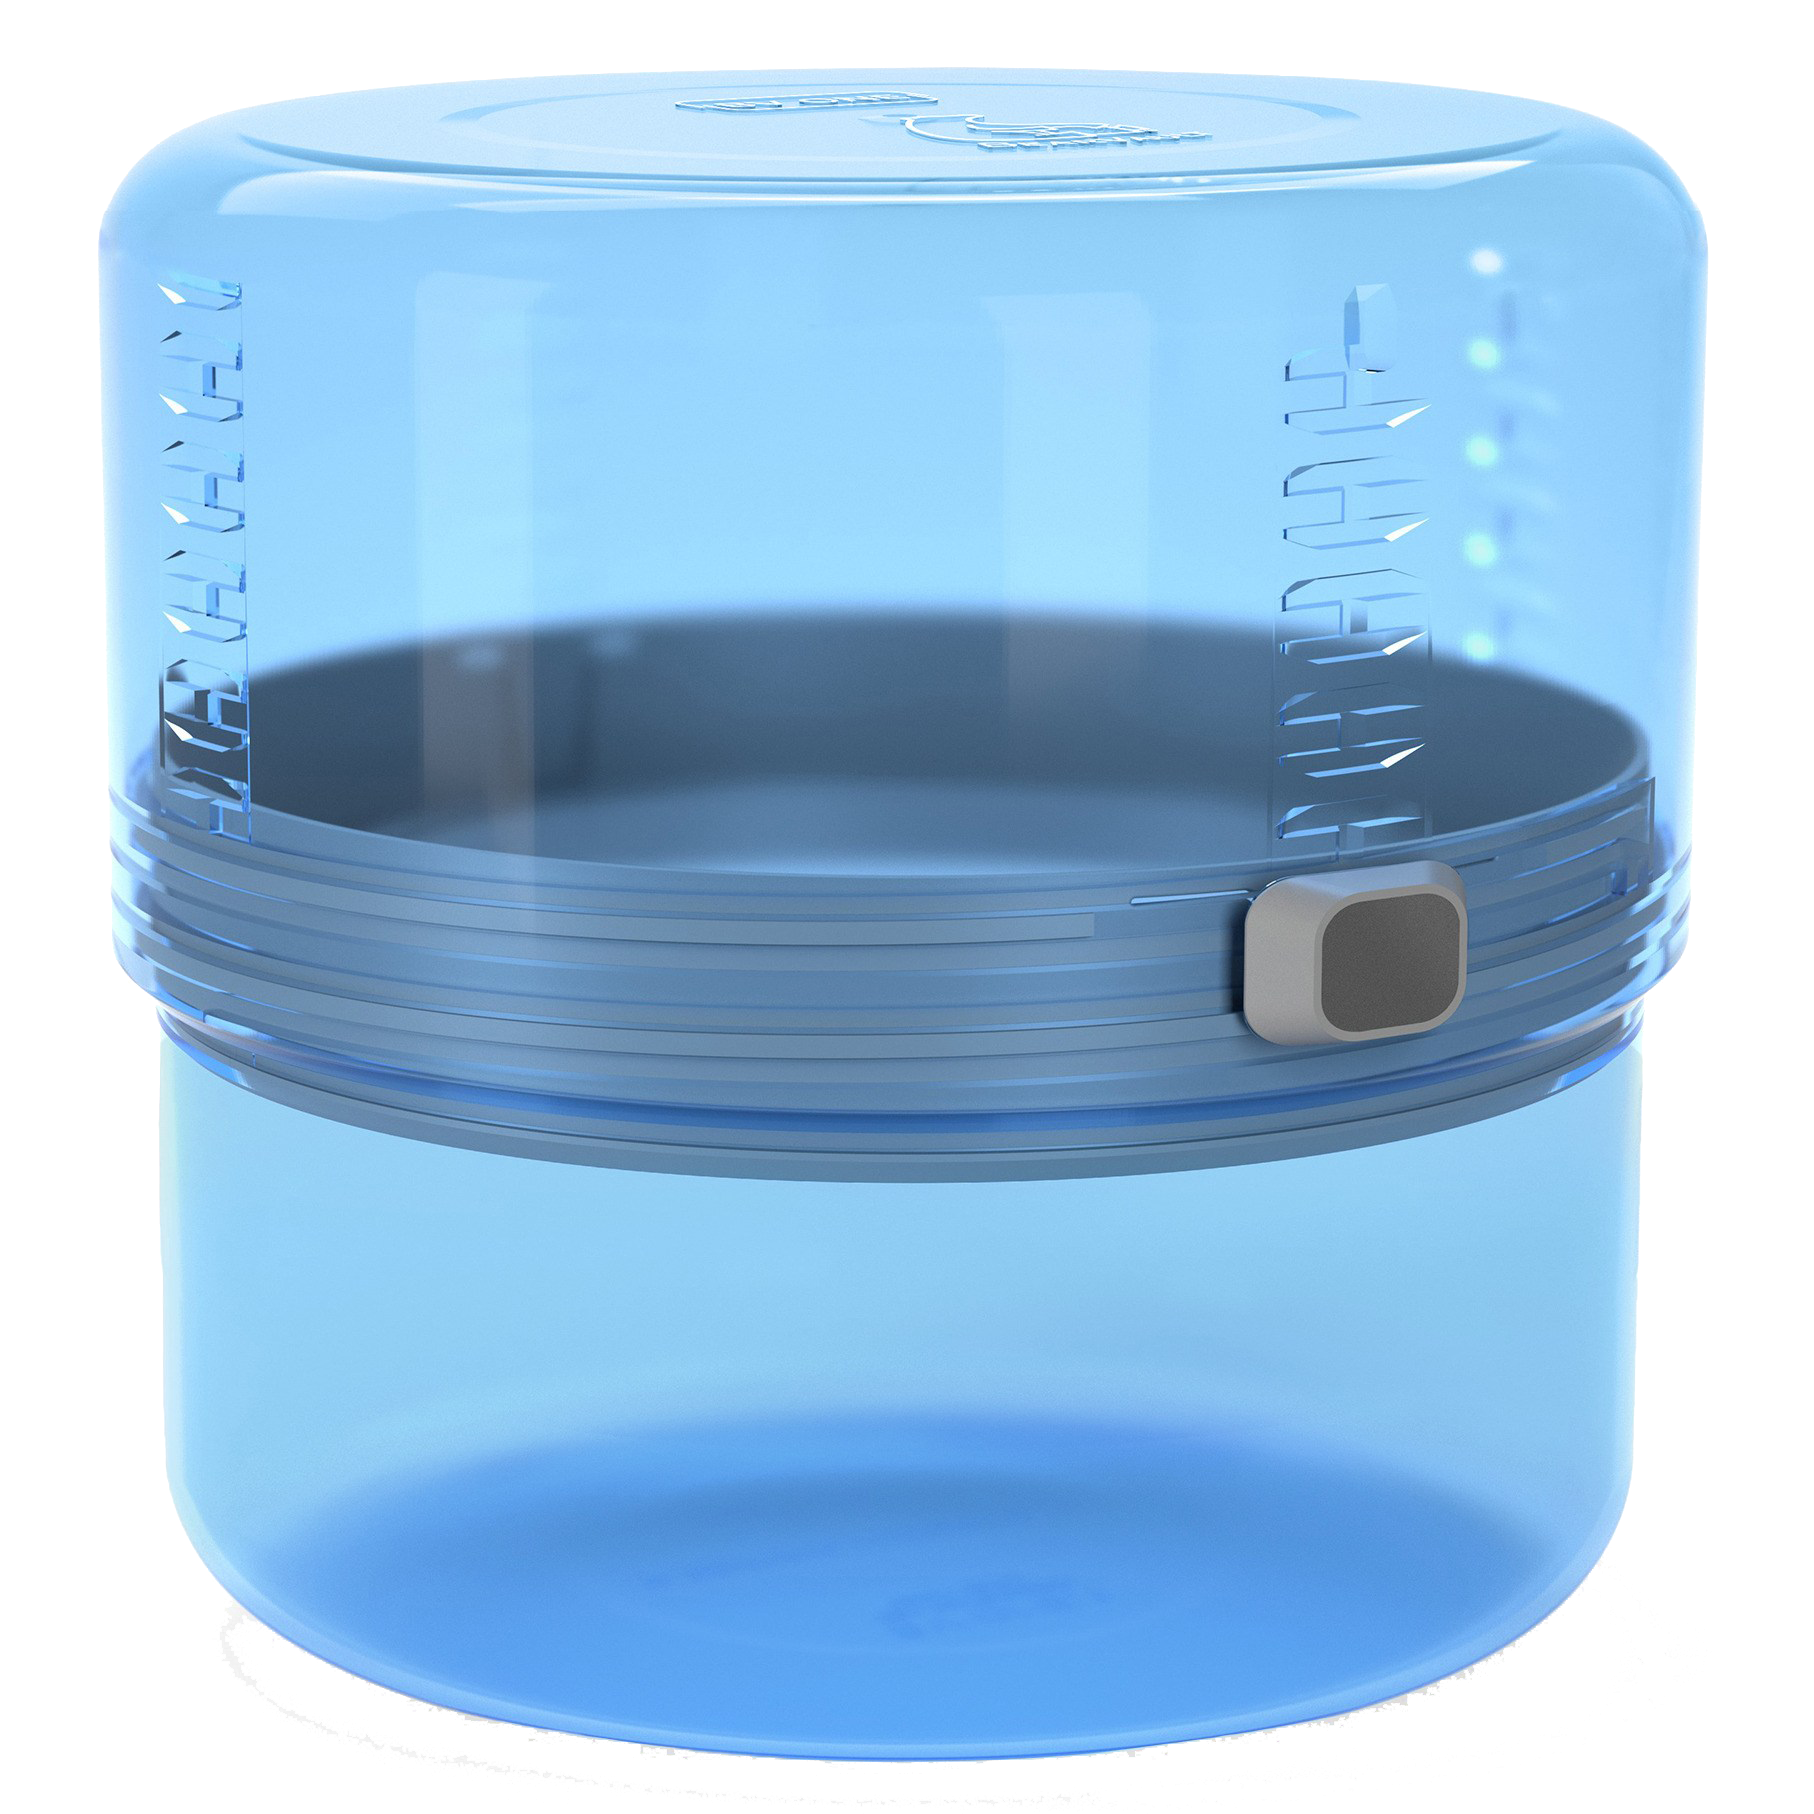
Bear Canister
This will take up about 90% of your backpack so be prepared. For the JMT you’ll need a BV500 Bear Vault (can fit up to about 7 days of food). They are heavy, bulky, and impossible to open in the cold, but necessary to keep the bears away!! The BV One is a new bear canister option that’s lighter and more compact, but it has not been approved for use in Yosemite National Park.
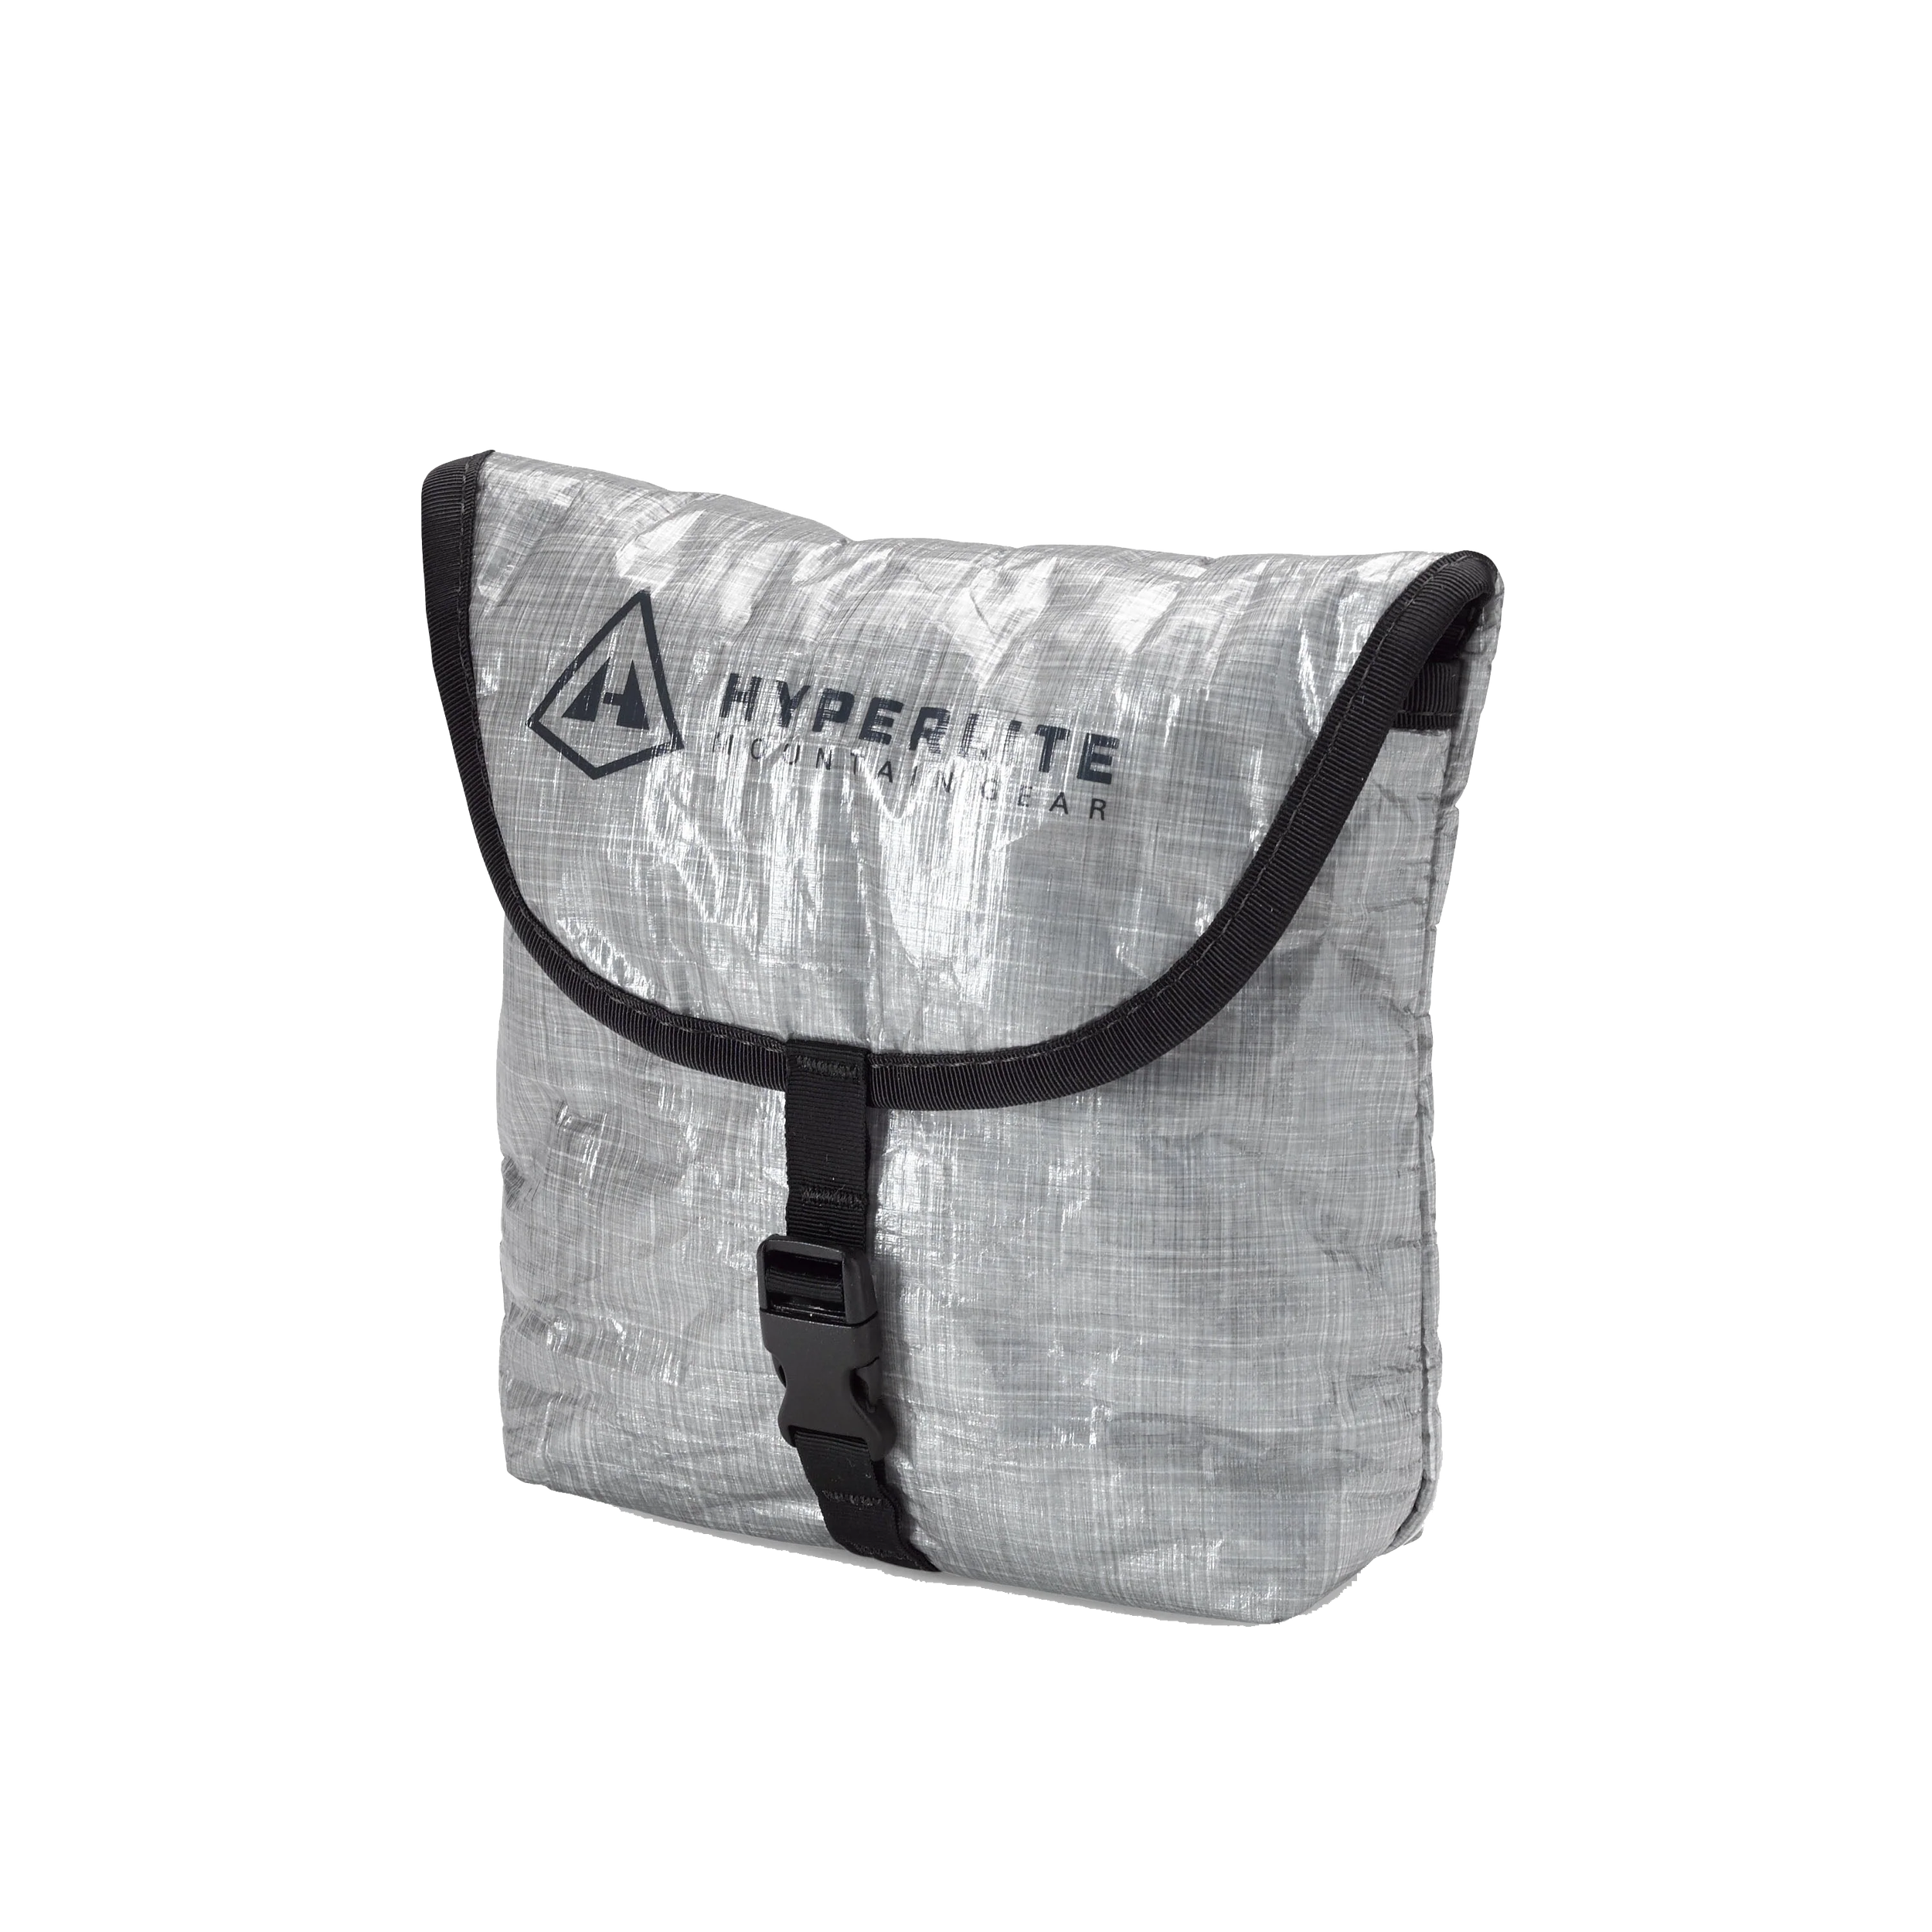
Cozy
Re-packaging all of your backpacking food into freezer bags is key to saving space and weight. However, once you re-package, there’s no place to “cook” your food after adding hot water, especially in the cold. I use the Hyperlite Cozy as it fits a freezer bag perfectly and lasts a long time. However, in the past I’ve used a DIY cozy that fit a freezer bag perfectly and could be reused for every meal. Click here to see directions on how to make your own!

WATER:
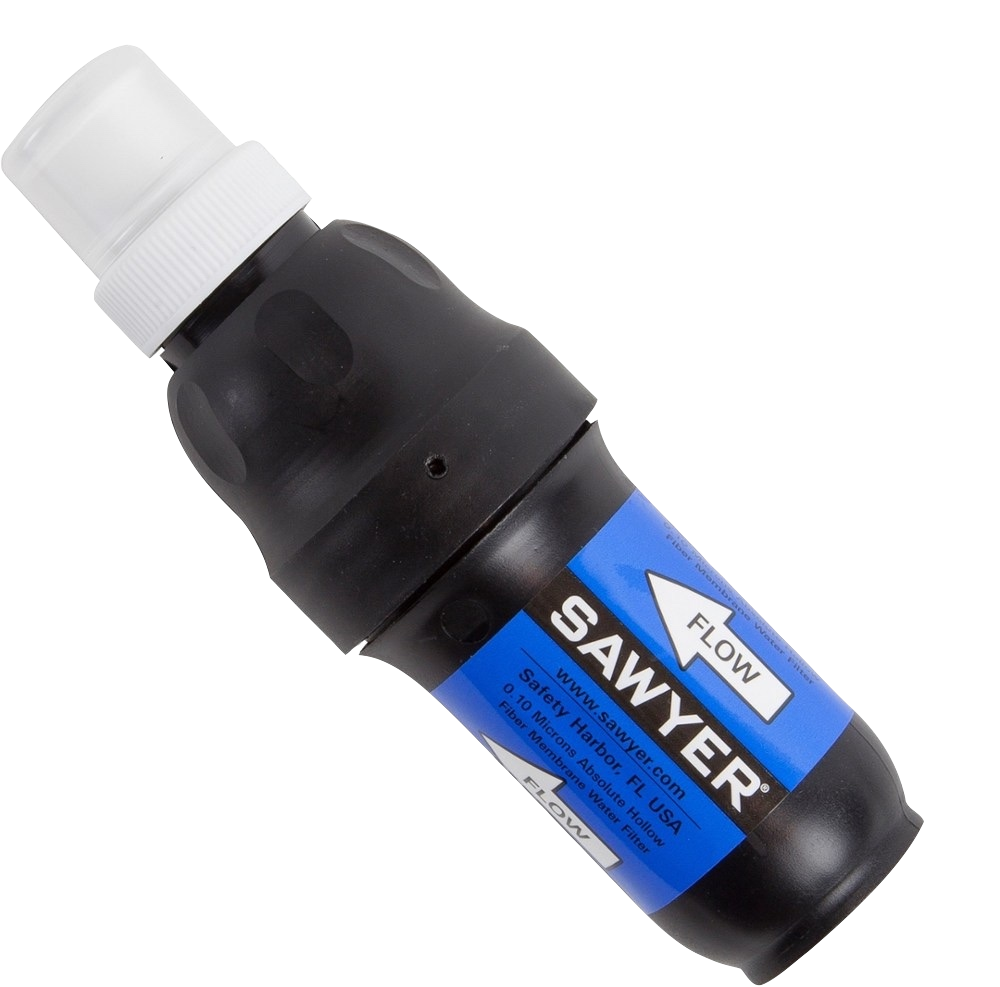
Filtration System + Dirty Water Bag
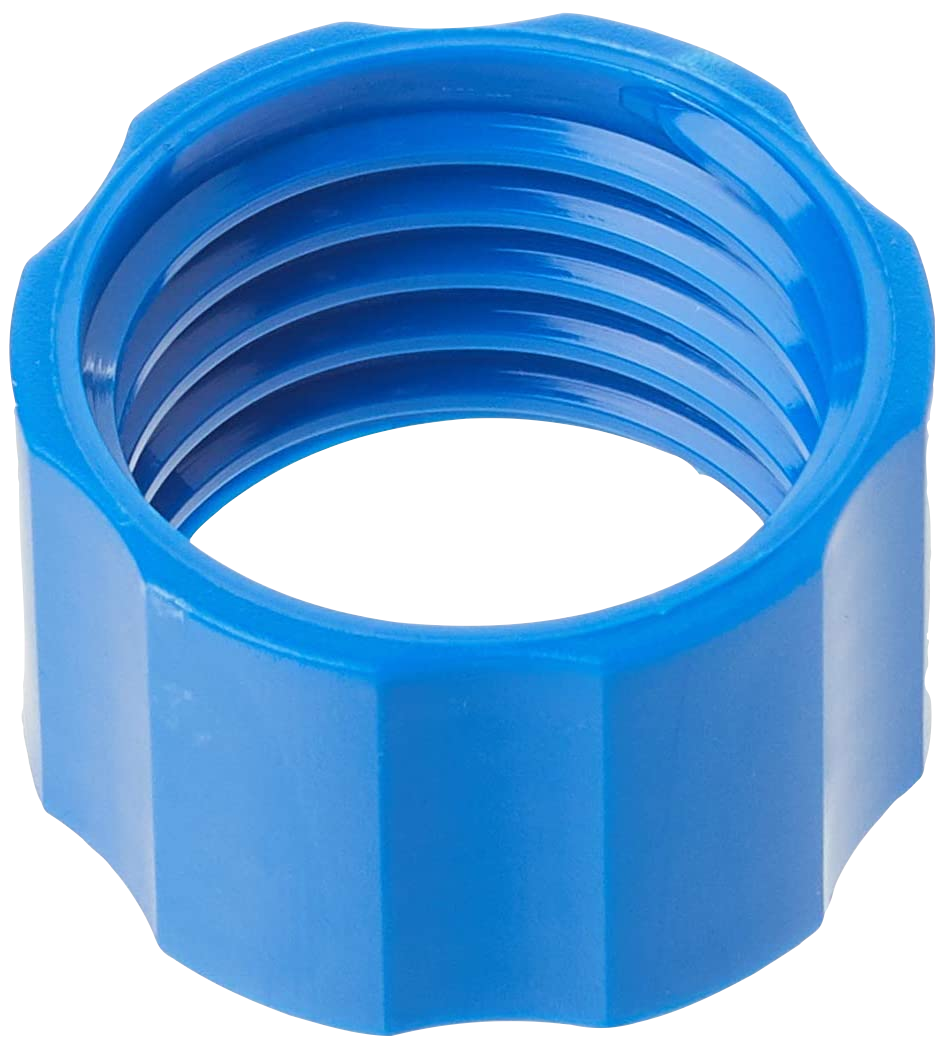
Sawyer Squeeze Water Filter. The best. So incredibly quick and easy to use and fits perfectly onto all smart water bottles (ditching my bladder was one of the smartest choices I made). You can use this piece as a connector between the Sawyer and water bottle (and it can be used to backflush your sawyer when it needs cleaning).
I highly recommend purchasing the Sawyer Squeeze that comes with a CNOC 2L Dirty Water Bag. It’s extremely durable and makes it easy to collect dirty water.
If it’s cold out, make sure to always sleep with your water filter! Otherwise, any water stuck in the inside may freeze.


my complete filtration system
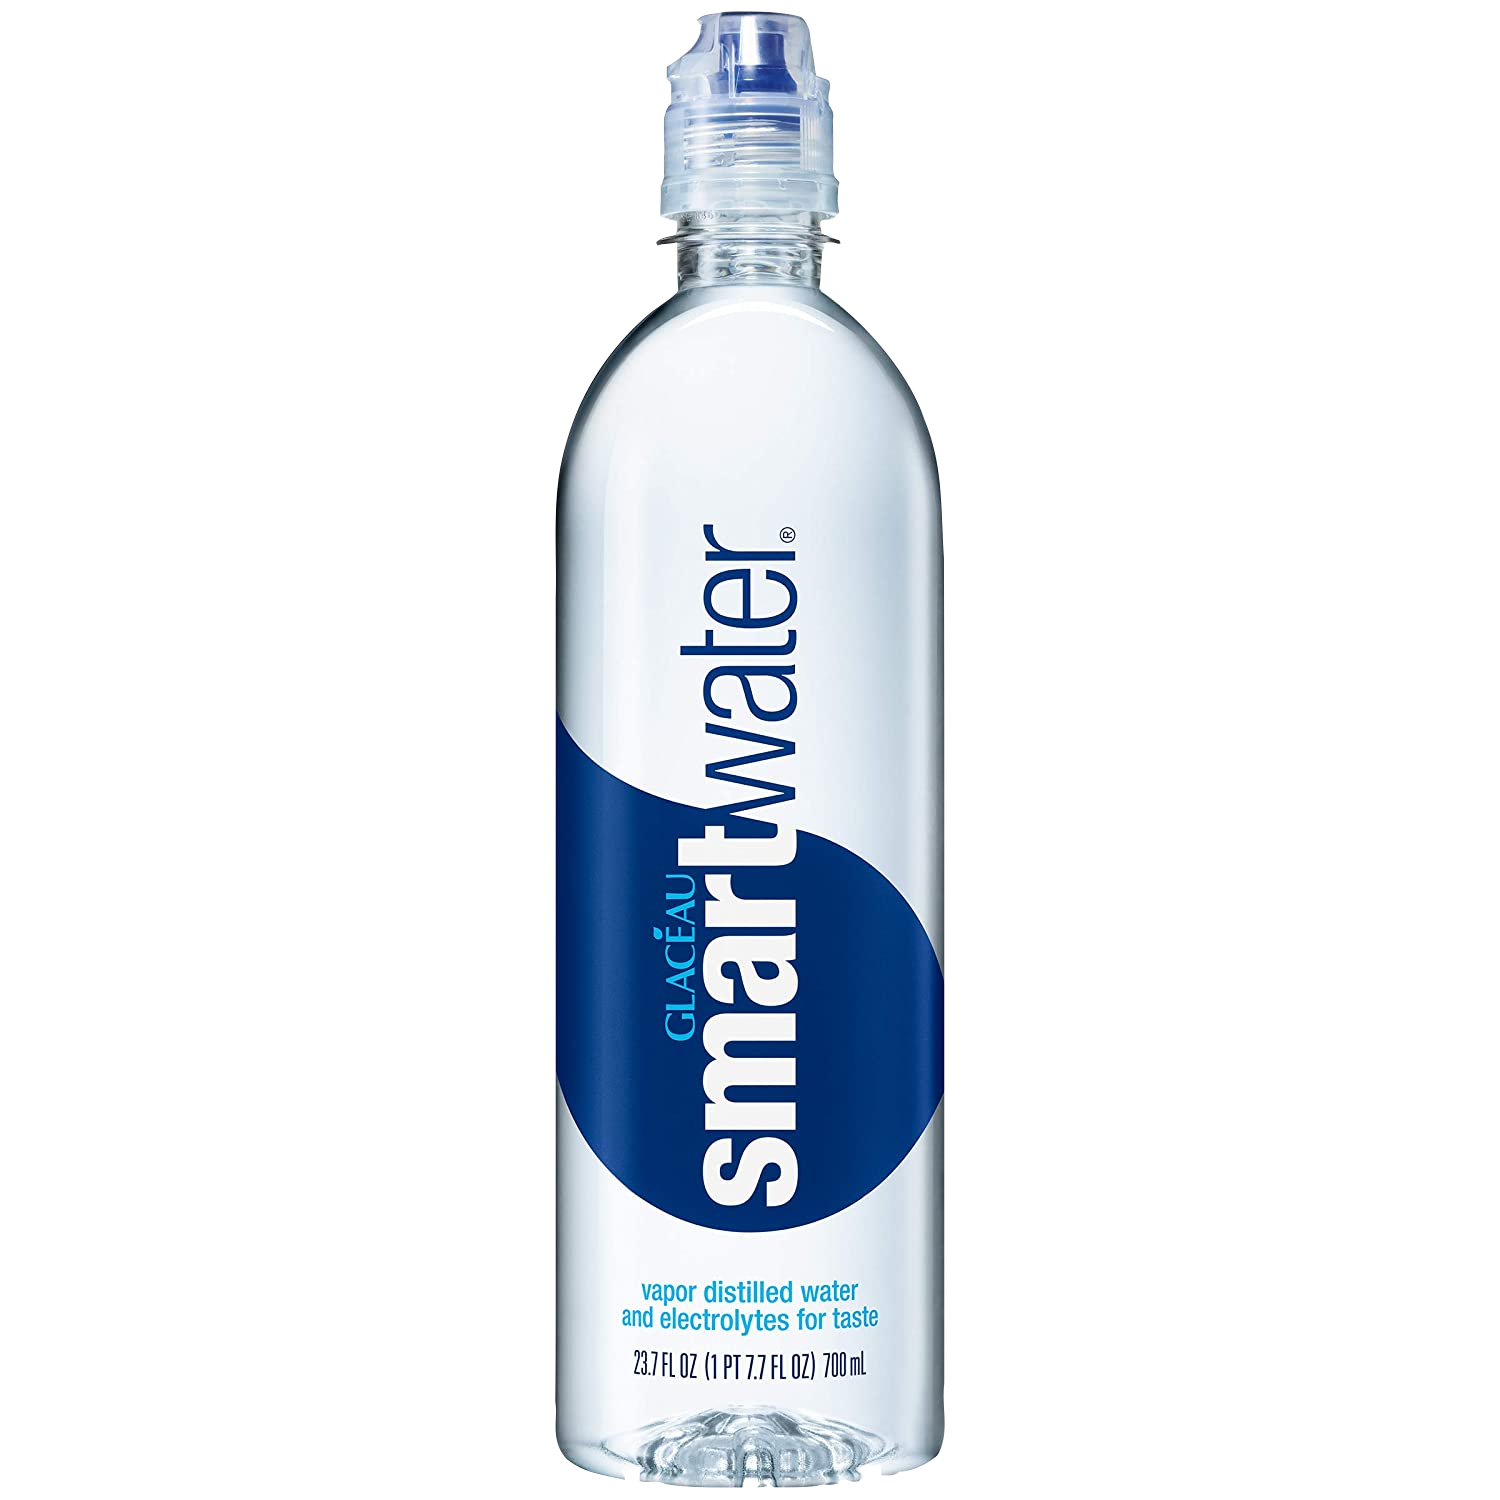
Water Bottles
I bring 2 smart water bottles (1 L and 1 700mL with a sports cap). They’re durable, lightweight, fit onto the Sawyer, plus I can see how much water I’m drinking. I also like to add electrolytes to the 700mL bottle once per day.

Purification Drops
Always have a backup form of water purification just in case. The Chlorine Tablets are a great option.
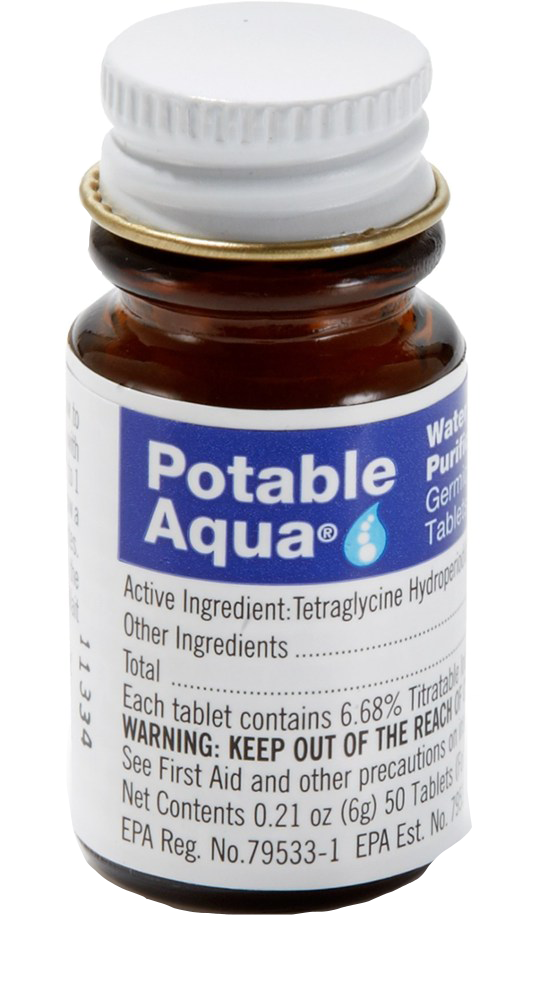
Chlorine Tablets
ELECTRONICS:
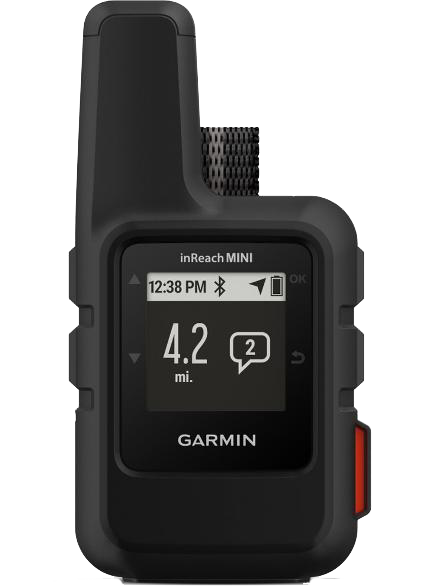
GPS Device
Garmin InReach Mini 2. This is a must have. It’s the only way to have two-way communication outside of cell service and therefore my parents’ favorite gear item (letting them know I’m still alive lol). There’s an SOS button in case of an emergency that will send a helicopter right away…so don’t accidentally press it!!
FYI to activate your device, you must pay a yearly subscription fee as well as a monthly plan. Each month you’ll chose a specific plan that works for you, or turn it off if you don’t plan to use it.
Portable Charger
I chose to use two Nitecore NB10000 Battery Packs. There is a Nitecore NB20000 option but I found it better to have two 10k packs just in case one fails. Together they last me 6 days charging my phone (on airplane mode), Apple watch, Garmin InReach Mini, and camera batteries. They recharge completely in only 4 hours which is convenient for short resupply stops.
One battery pack only weighs 5.29 oz.

Nitecore NB10000 Battery Pack
Charging Cords
Don’t forget your charging cords! You will also need the battery pack cord and a block for the wall in order to recharge your battery pack at resupply stops.
*NOTE always sleep with your electronics as they will lose charge if they are too cold.
MISCELLANEOUS:
Headlamp (+ extra batteries)
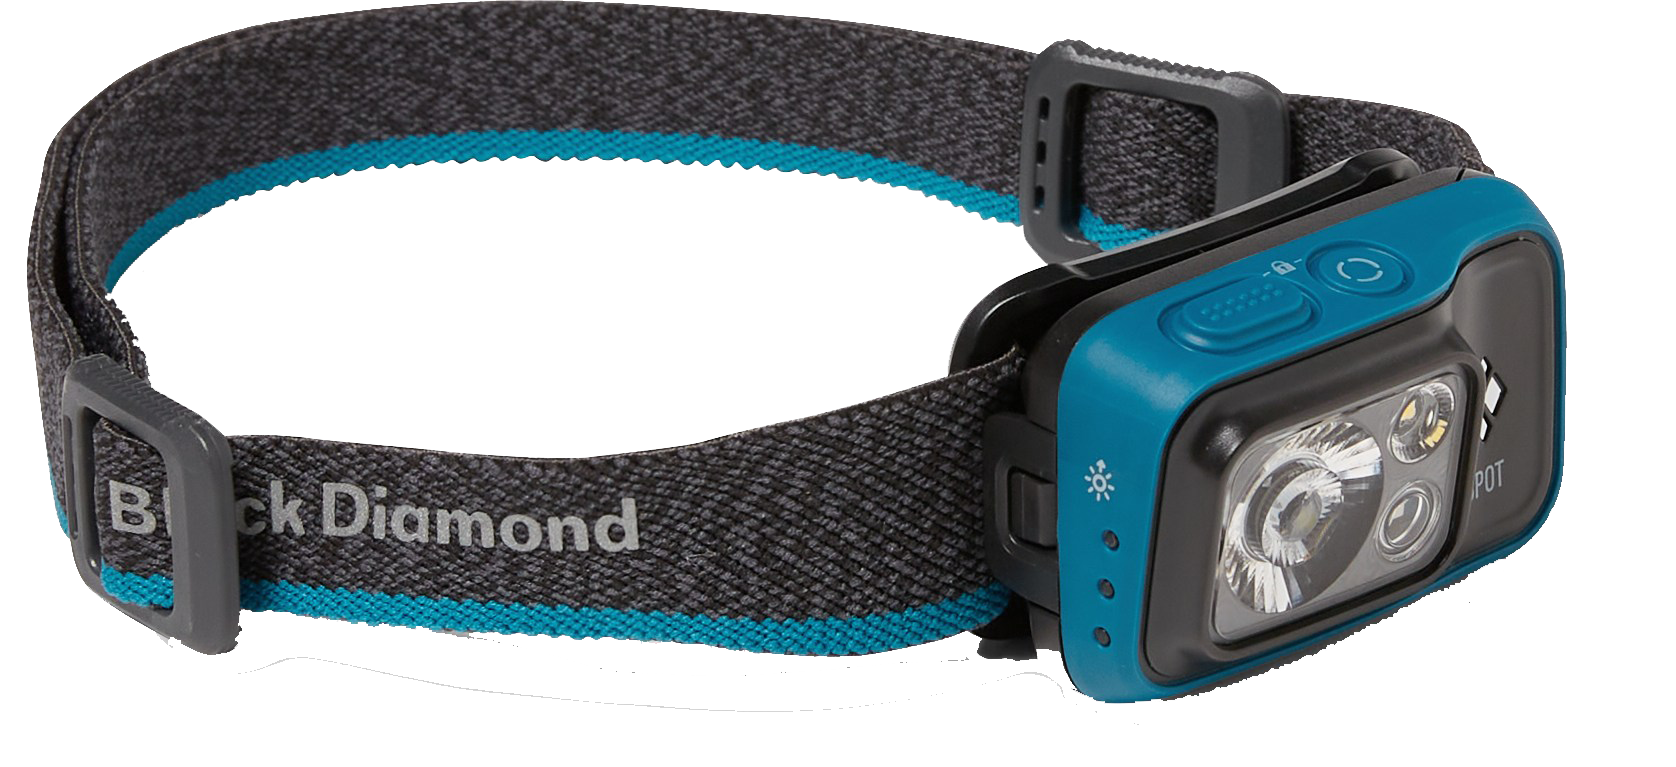
To ensure that my clumsy self can hike in the dark without falling, I have a powerful headlamp. Nitecore NU25 Headlamp does the trick. It’s super bright and the battery lasts a long time. It also works as a “lantern” inside the tent (place it on the top mesh panel) or a flashlight while going to the bathroom in the night. Obviously don’t use your phone’s flashlight or you’ll run down the battery!
Another great option is the Black Diamond Spot 400 Headlamp.

Pee Rag
This may be my favorite item. Kula Cloth is a reusable antimicrobial pee cloth. It keeps you from having to carry tons of toilet paper (and pack it out).

Kula Cloth
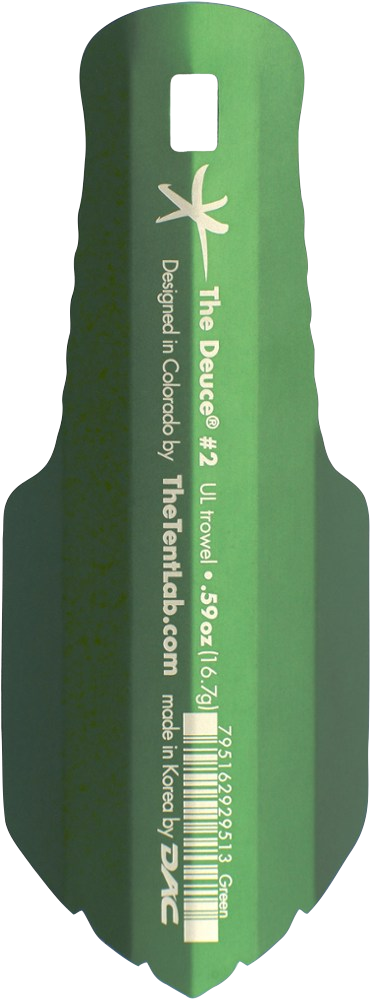
Trowel (+ toilet paper)
Dig your hole and do your business. Deuce Backcountry Trowel is easy to use and super durable.
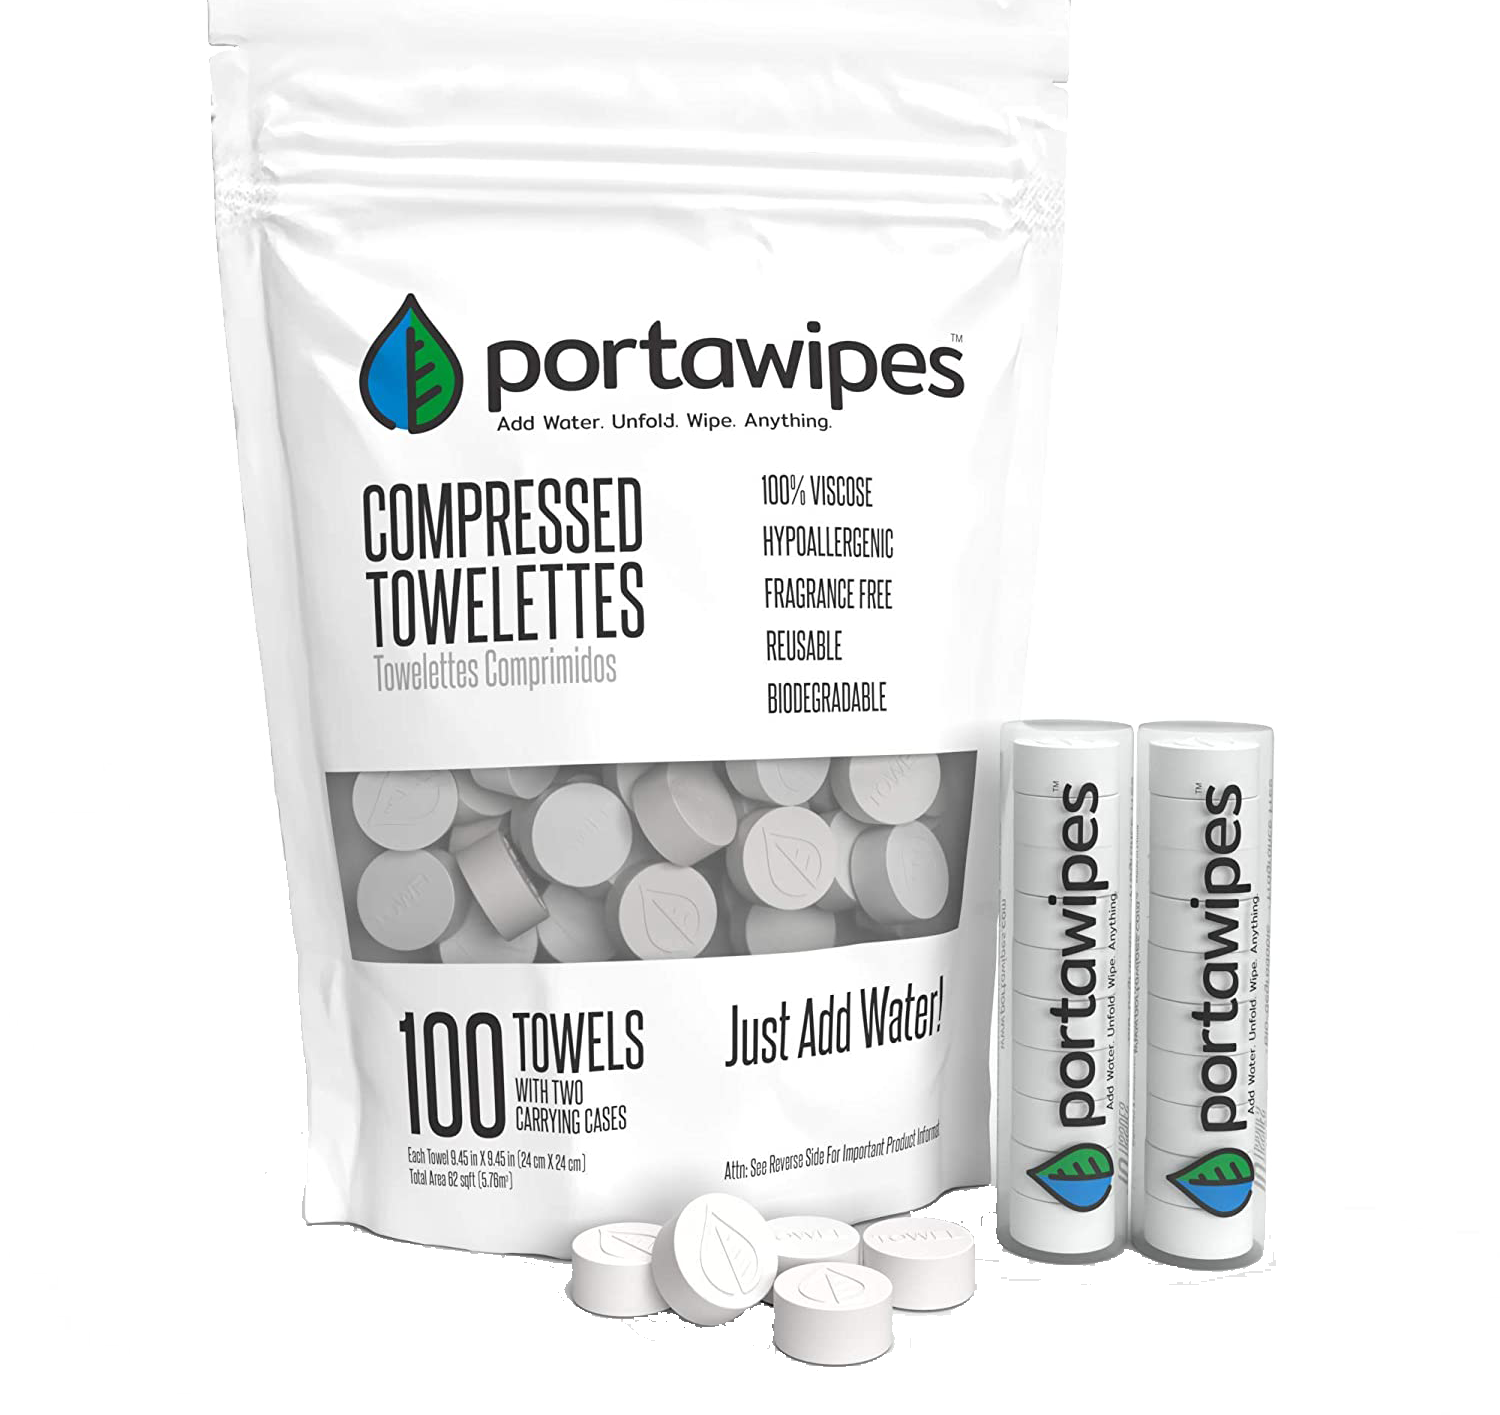
Instead of toilet paper I like to bring Portawipes. They are small, coin size dehydrated towels that just need a few drops of water to expand. Make sure to pack them out even if they are gross (I like to use dog poop bags)! Check out How to Properly Follow Leave No Trace to learn more about how to properly go to the bathroom in the wilderness.
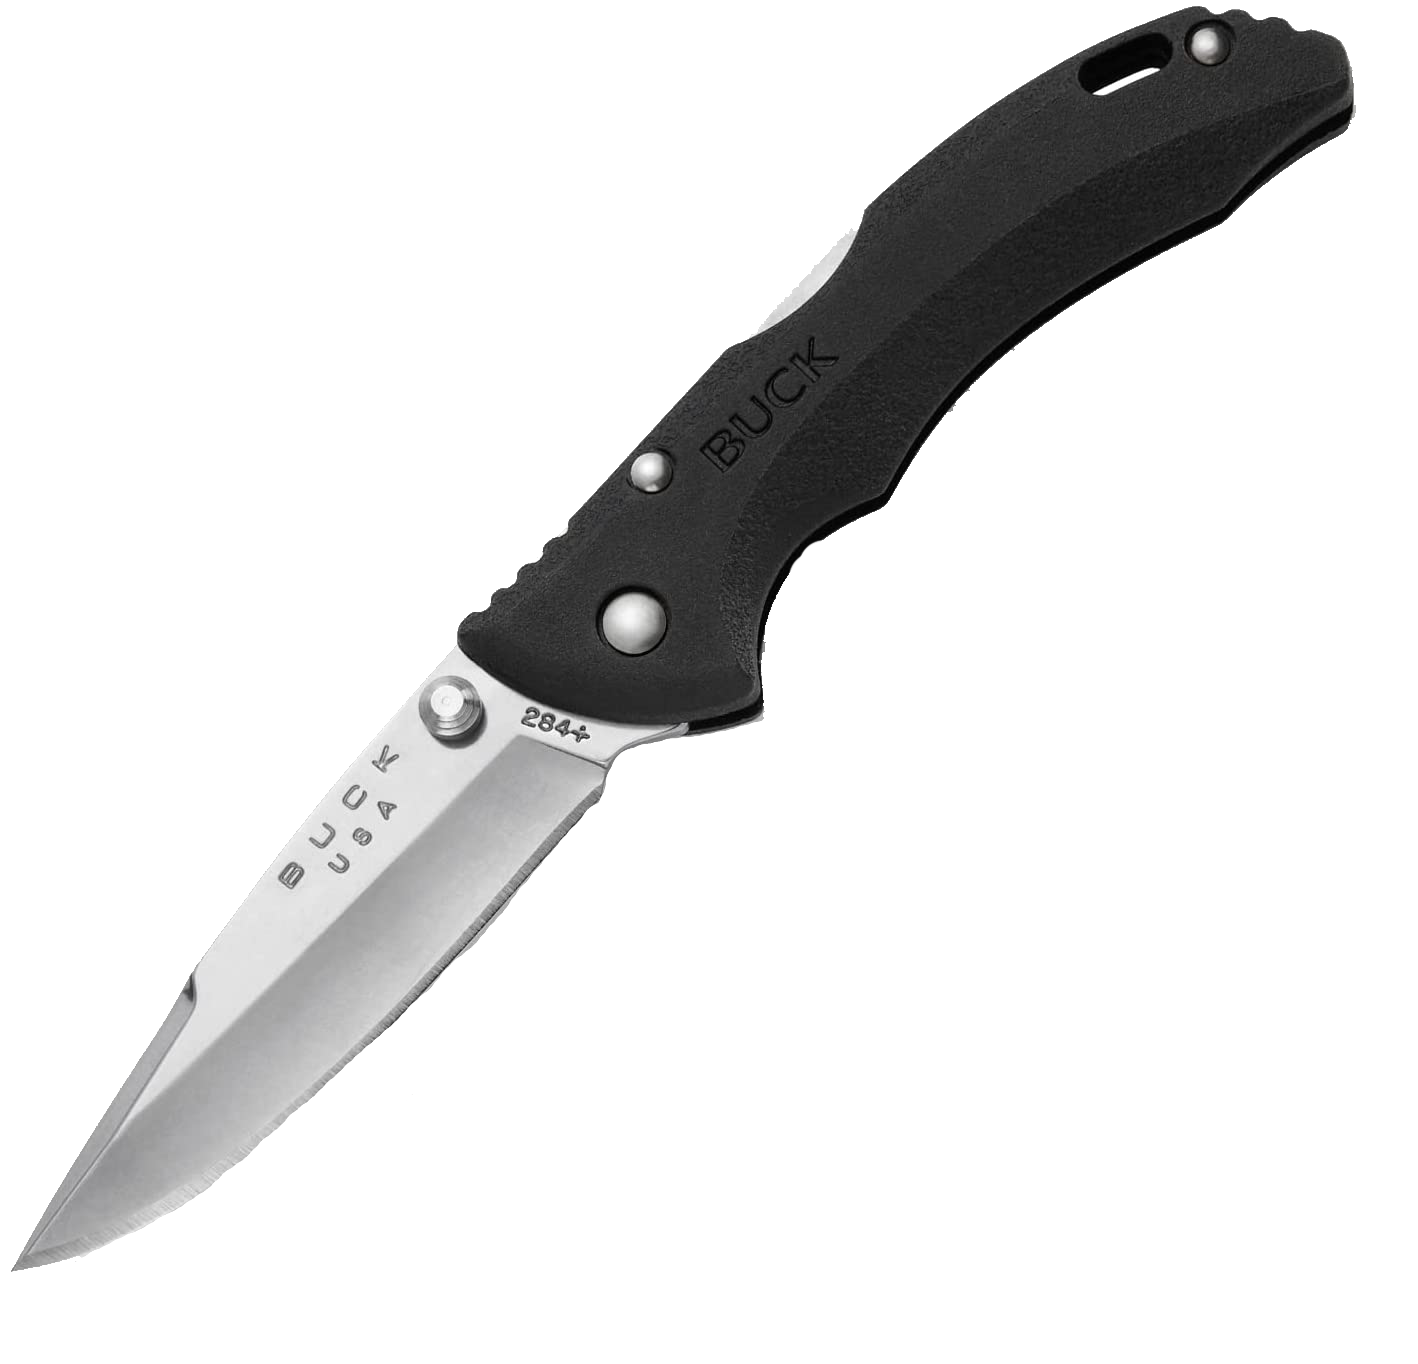
Multi-Tool
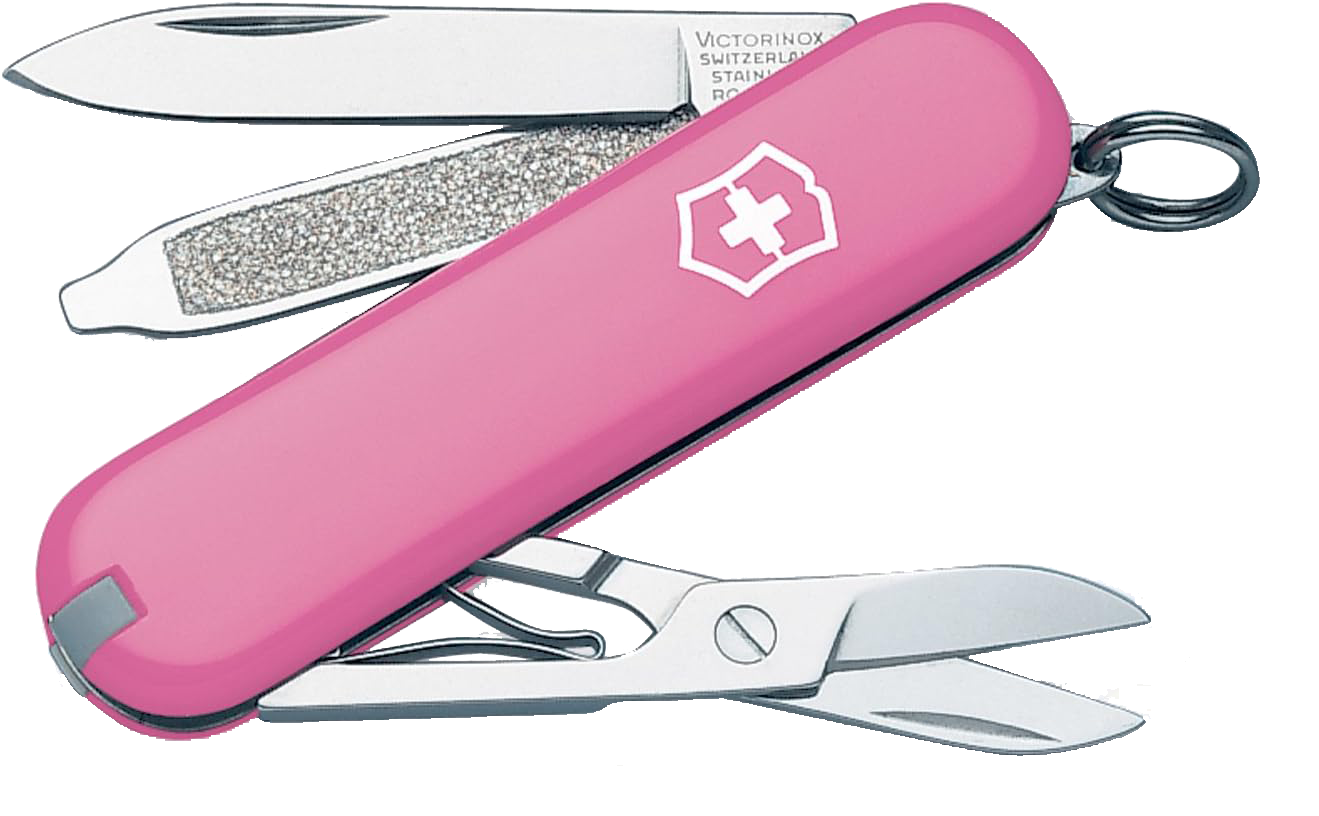
Small, lightweight, durable and has all the tools you could possibly need. Scissors and pliers are definitely necessary. I use this Mini Swiss Army Knife and a small knife.
Water-proof matches
UCO Survival Matches. Always bring in case of an emergency.

UCO Survival Matches
Massage Ball
HIGHLY recommend this small, ultralight, Rawology Cork Ball. I use this every night on my legs and shoulders. Relieves a lot of pain and tight muscles.

Rawology Cork Ball
Seat Pad
Trust me, you want this in your backpack. Sitting on sharp rocks while trying to enjoy your lunch isn’t too fun. Therma-a-Rest Z Seat Pad.

Therm-a-Rest Z Seat Pad
CLOTHING
Hiking Shoes
What shoes to use is one of the most debated topics in hiking/backpacking. I use to be a boot girl but made the switch to Altra Lone Peak Trail Runners and have never looked back. They are lightweight, quick drying, comfortable and have a huge toe box so you’re less likely to get blisters or toe bang while hiking downhill. I’m already on my second pair and I’m obsessed.

Altra Lone Peak Trail Runners
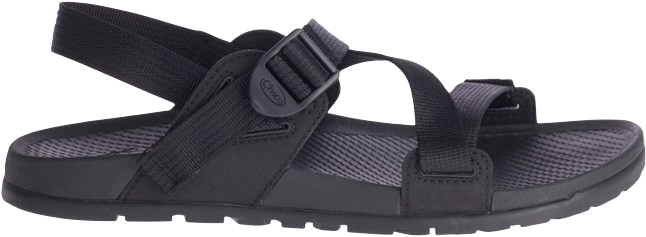
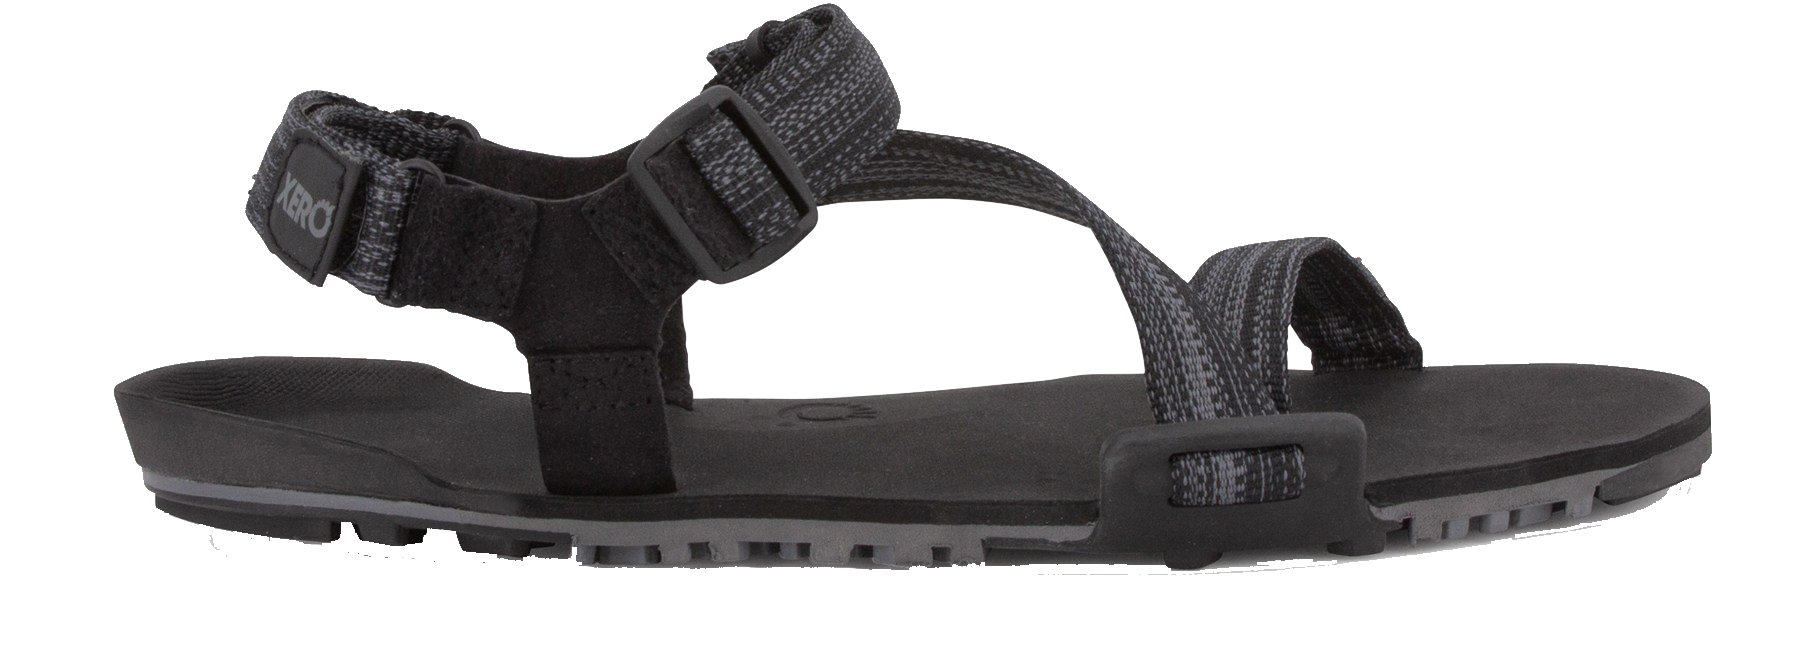
Camp Sandals
At the end of a long day of backpacking, the first thing you’ll want to do is take off your hiking shoes. I like the Chaco Lowdown Sandals because they’re lightweight (ish), comfortable, and can also be used as a water shoe to cross creeks or to swim in rocky lakes. Xero Sandals are another great option if you want something super ultralight.
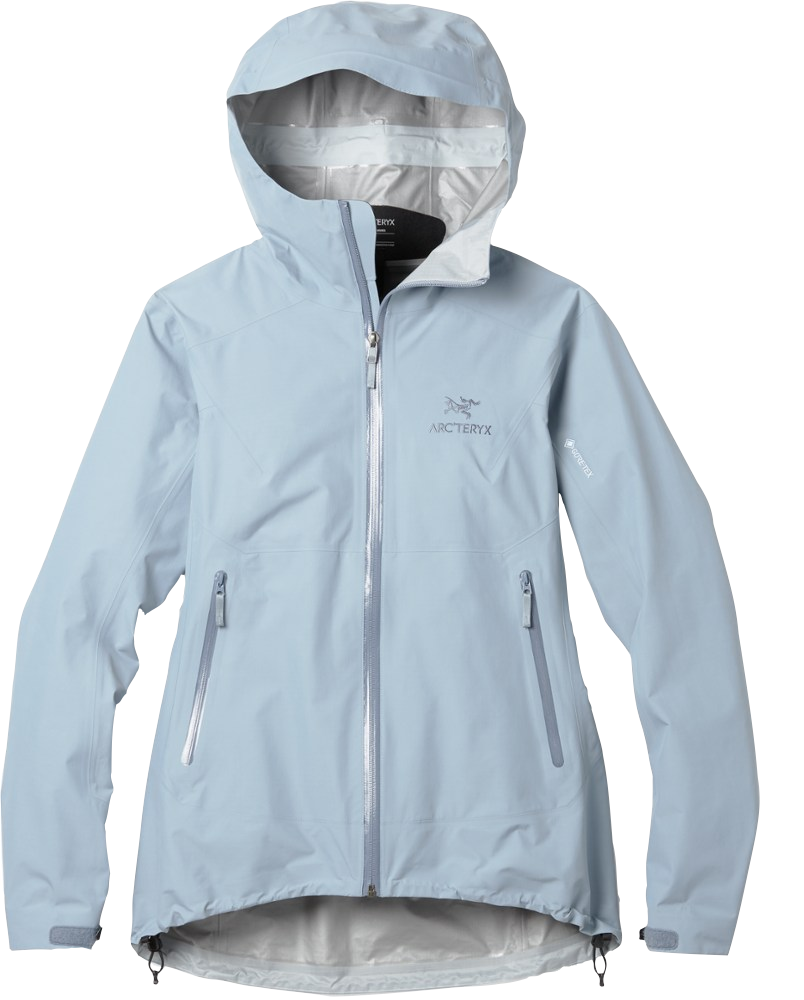
Down Jacket
I have the Arc’teryx Cerium LT and it’s lightweight, extremely warm, and can pack into itself into a little tiny ball. I have found this to keep me warm even in sub-freezing temperatures. However, sometimes I’ll layer my rain jacket on top as an extra wind-breaker.

Arc’teryx Cerium LT

perfect for a chilly morning
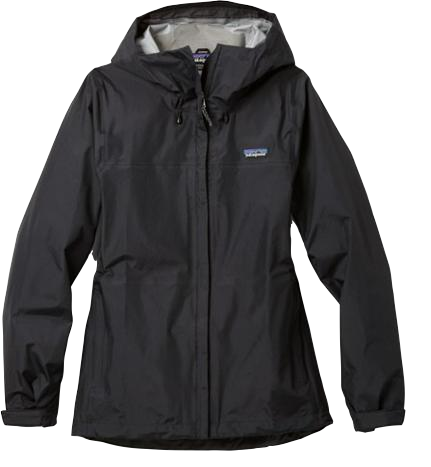
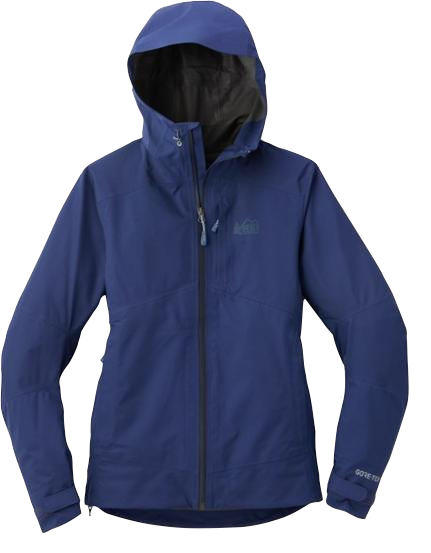
Rain Jacket
I splurged on this one and never looked back. Arcteryx Beta LT Rain Jacket is worth every penny. If you are looking for something cheaper, I would recommend either the Patagonia Torrentshell 3L Jacket or the REI XeroCloud 3L Jacket. Make sure the “type of waterproofing” is Gortex (completely waterproof membrane).
Rain Pants
No, these are not cute. Yes, you will be happy you have them. Not only do they keep you dry when it rains, they are wind-proof and therefore add another layer of warmth in the cold. I have the OR Helium Rain Pants which are very lightweight and comfortable.
I last minute chose to not bring these on the JMT as I was heading out late in the season with no rain in the forecast. If you’re heading out early season, you’ll be happy to have them.

OR Helium Rain Pants
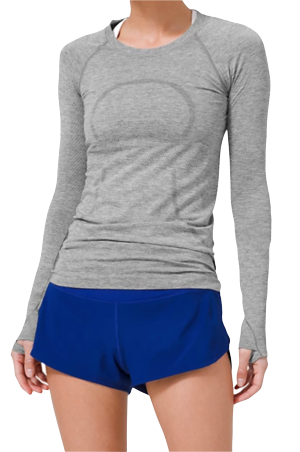
Tops
This is personal preference. I normally hike in a long sleeve shirt to get as much sun protection as possible (especially at high altitudes). The Outdoor Research Echo Hoodie is amazing. If you prefer to not have a hood, the Lululemon Swiftly Tech Long Sleeve 2.0 works well and is odor-resistant (at least for a few days haha). All of these options are made of synthetic fibers, like polyester and nylon, which are breathable and lightweight.
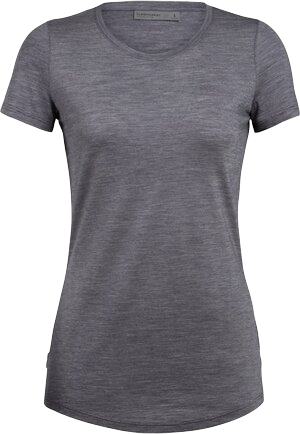
If you prefer to hike in a short sleeve, the Icebreaker Cool Lite Sphere Low Crewe Shirtis a good option.

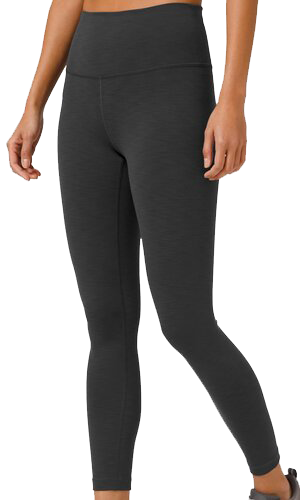
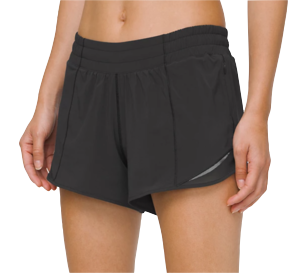
Bottoms
Again, this is all personal preference. I like to bring one pair of shorts and one pair of leggings. My favorite leggings are either the Lululemon Wunder Train High Rise Leggings. My favorite shorts are the Lululemon Hotty Hot Shorts (running shorts). If you want a biker style short instead, the Arc’teryx Essent Short 6 are great.
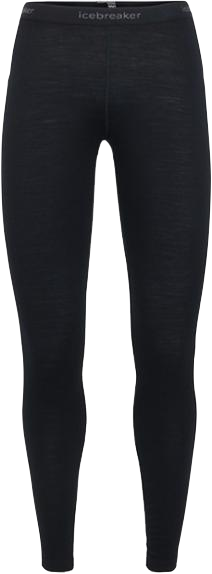
Sleep Clothes
I like to wear thin merino wool base layers to sleep. They keep me warm when I’m cold and they don’t get smelly for days. I have the Icebreaker Oasis 200 Base Layer and the Icebreaker Merino Wool 200 Oasis Leggings.

Sports Bra
Whatever works best for you! I love the Lululemon Free to be Wild Bra. It’s cute and has just the right amount of padding/support.

Lululemon Free to be Wild Bra
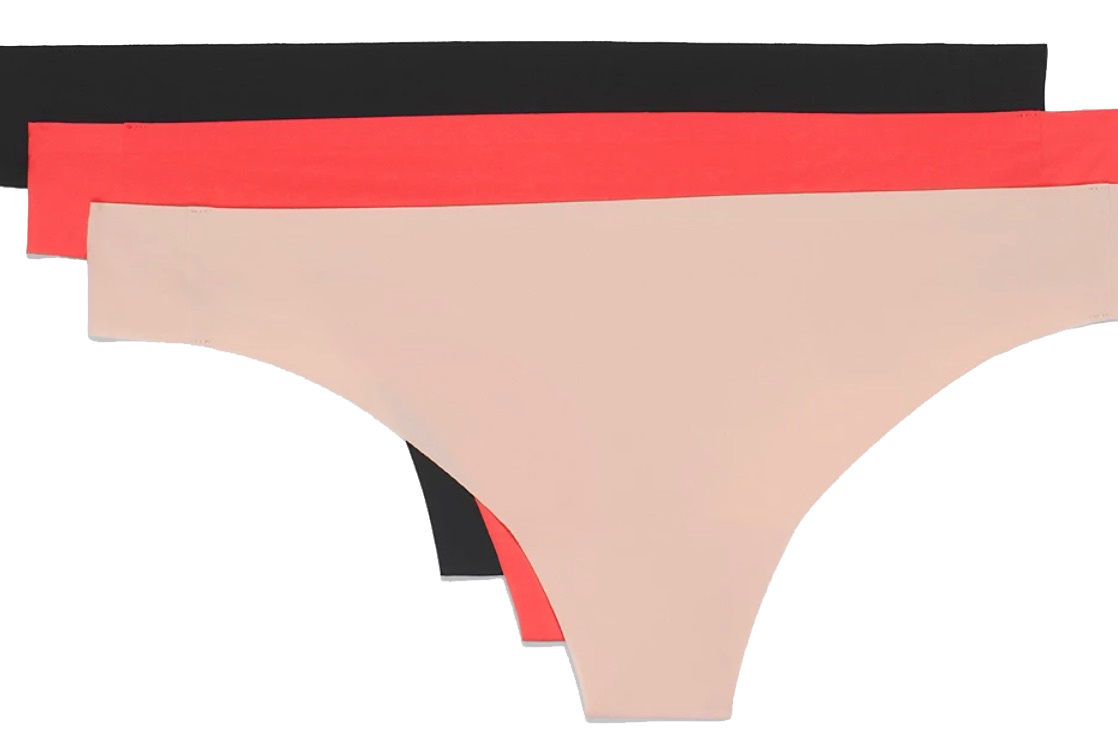
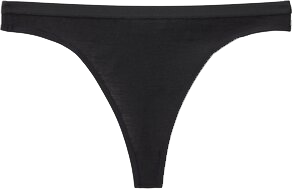
Underwear
I personally like thin seamless workout underwear like the Lululemon Seamless Thong. However, merino wool underwear is definitely a better option to resist odors. If you choose to go the “hiking underwear” route, Icebreaker Siren Thong is a great choice.
Socks
Darn Tough Socks are the best hiking socks I’ve ever worn. You don’t need anything else. Make sure to get merino wool as it helps to breathe and wick away moisture. Plus, they have a lifetime warranty!

Darn Tough Socks
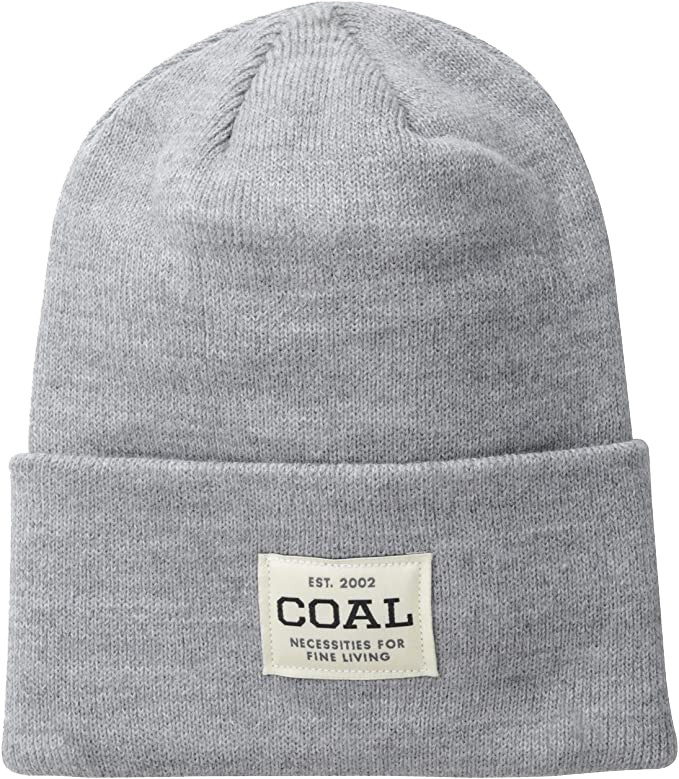
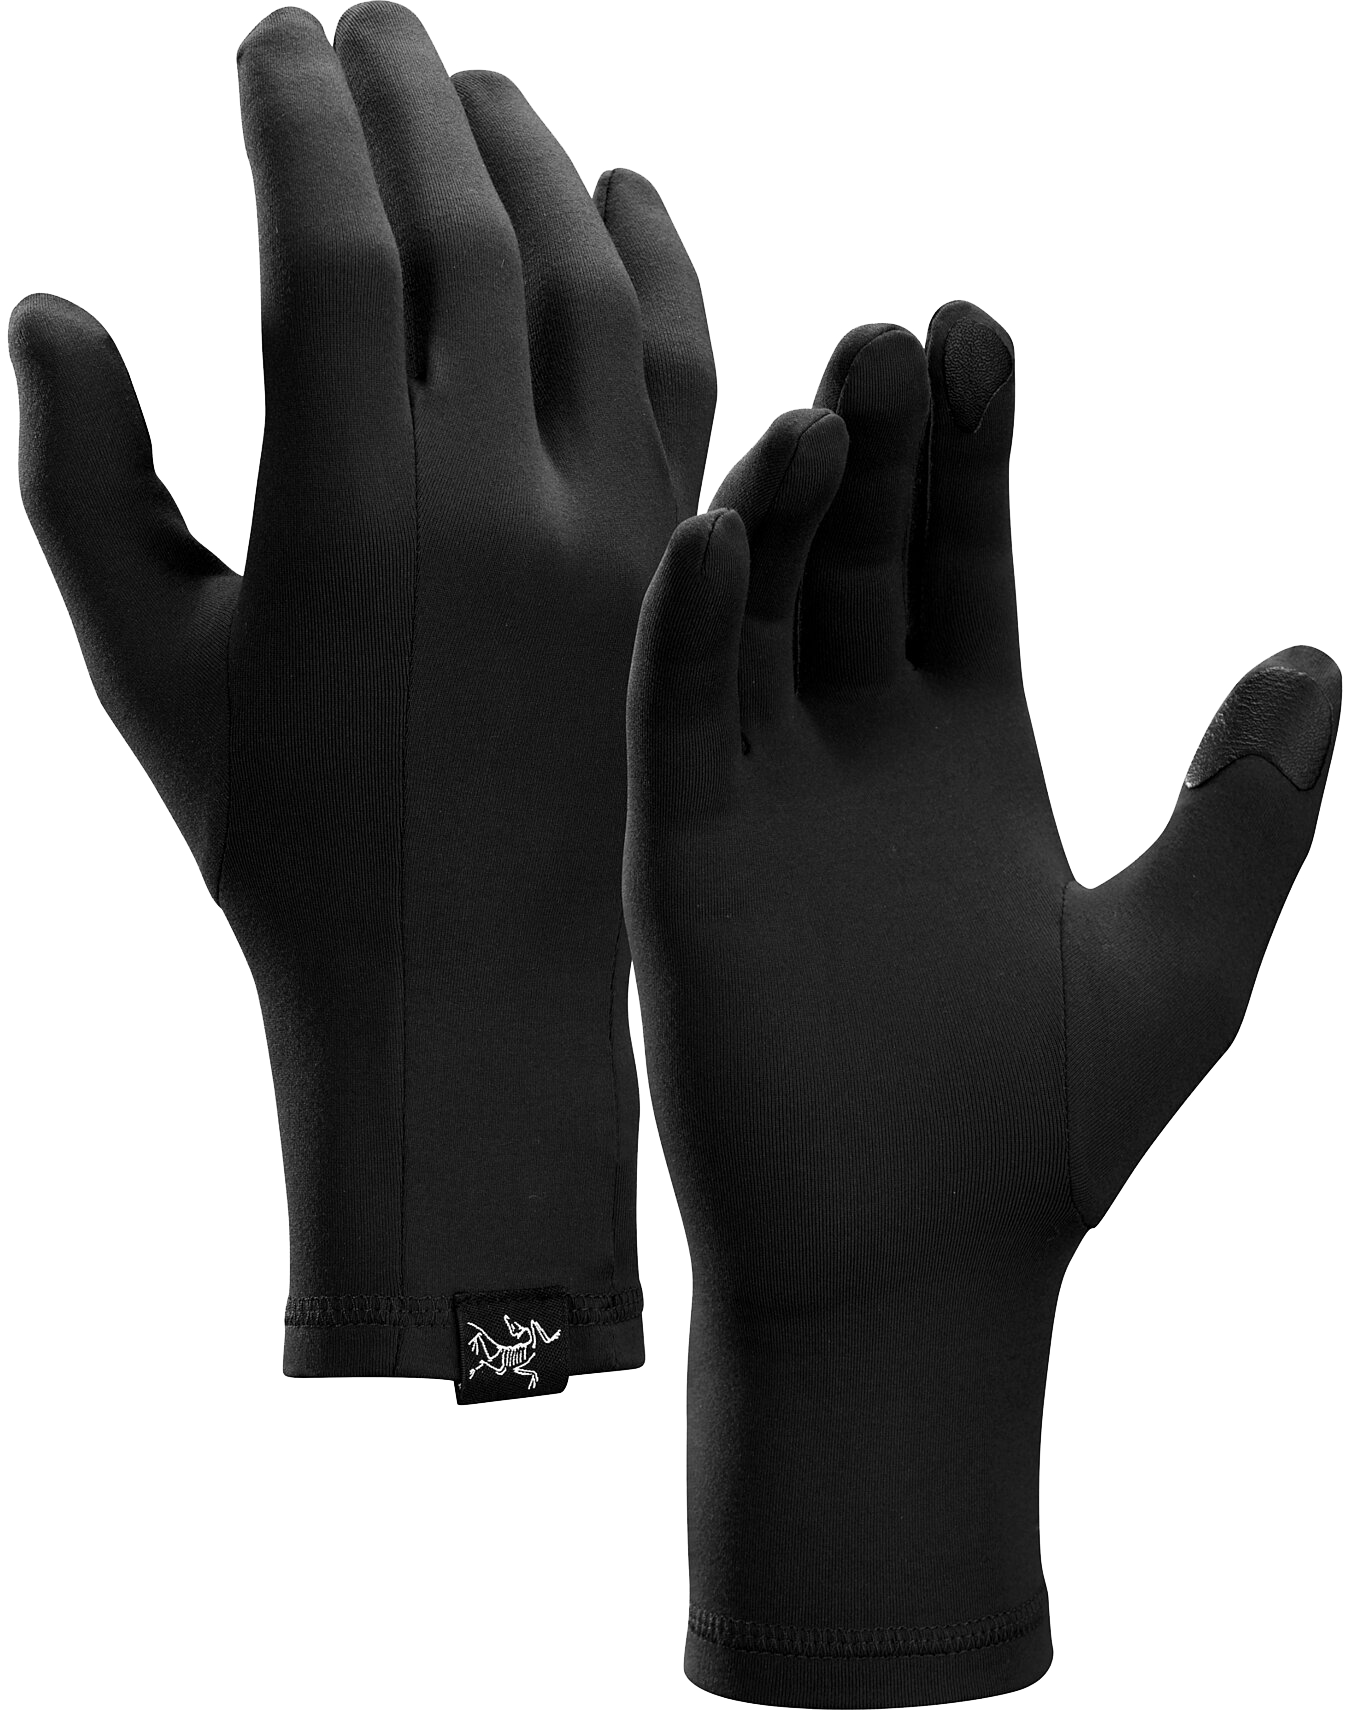
Beanie and Gloves
I have the Coal beanie and the Arc’teryx Rho Gloves. They both keep me plenty warm. The gloves have touchscreen compatibility which is a game changer.
Sun Hat
I love my Arc’teryx Gamma Hat, but any breathable sun hat will work.

Arc’teryx Gamma 5-Panel Hat
Buff
I have the Buff CoolNet UV+ Headwear. It can be used as a mask, headband, neck warmer, sun protector, etc. It’s so versatile and nice to have.

Buff CoolNet UV+ Headwear
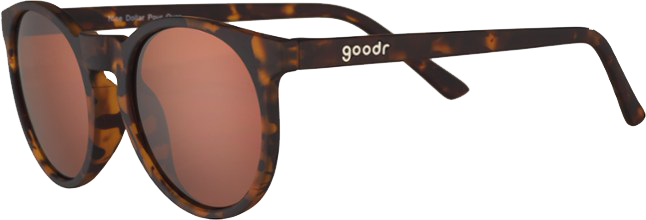
Sunglasses
I can’t tell you how many sunglasses I’ve shattered while hiking so I leave my nice ones at home. Anything polarized and lightweight will work. I use Goodr sunglasses. They’re cheap and have fun options!
TOILETRIES:
I keep all my toiletries in a Zpacks Stuff Sack (very lightweight) or a small Ziplock bag. It’s very lightweight and easy to squeeze into the top of the bear canister at night with all my scented toiletries.
Essentials:
Mini toothbrush + toothpaste + floss
Dr. Bronner’s biodegradable soap (nice to have to wash dishes or shower on days off)
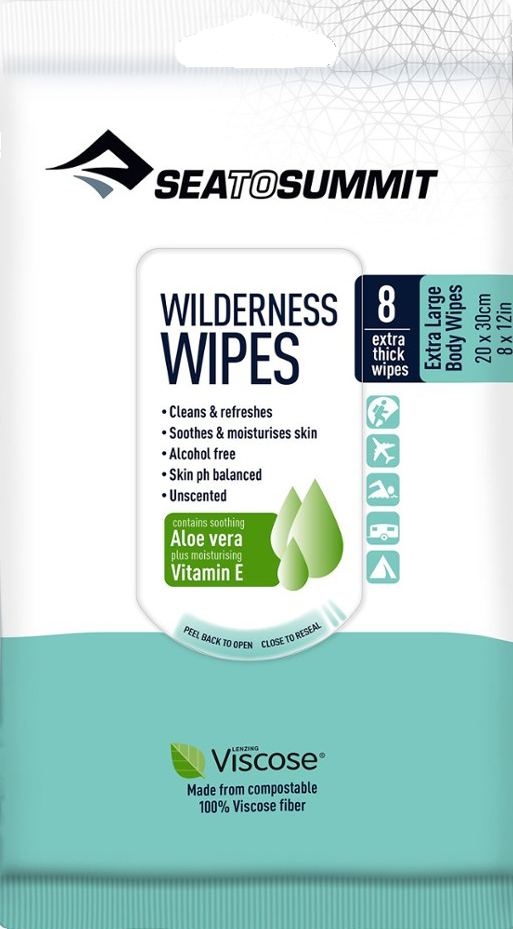
Body wipes (Sea to Summit Wilderness Wipes)
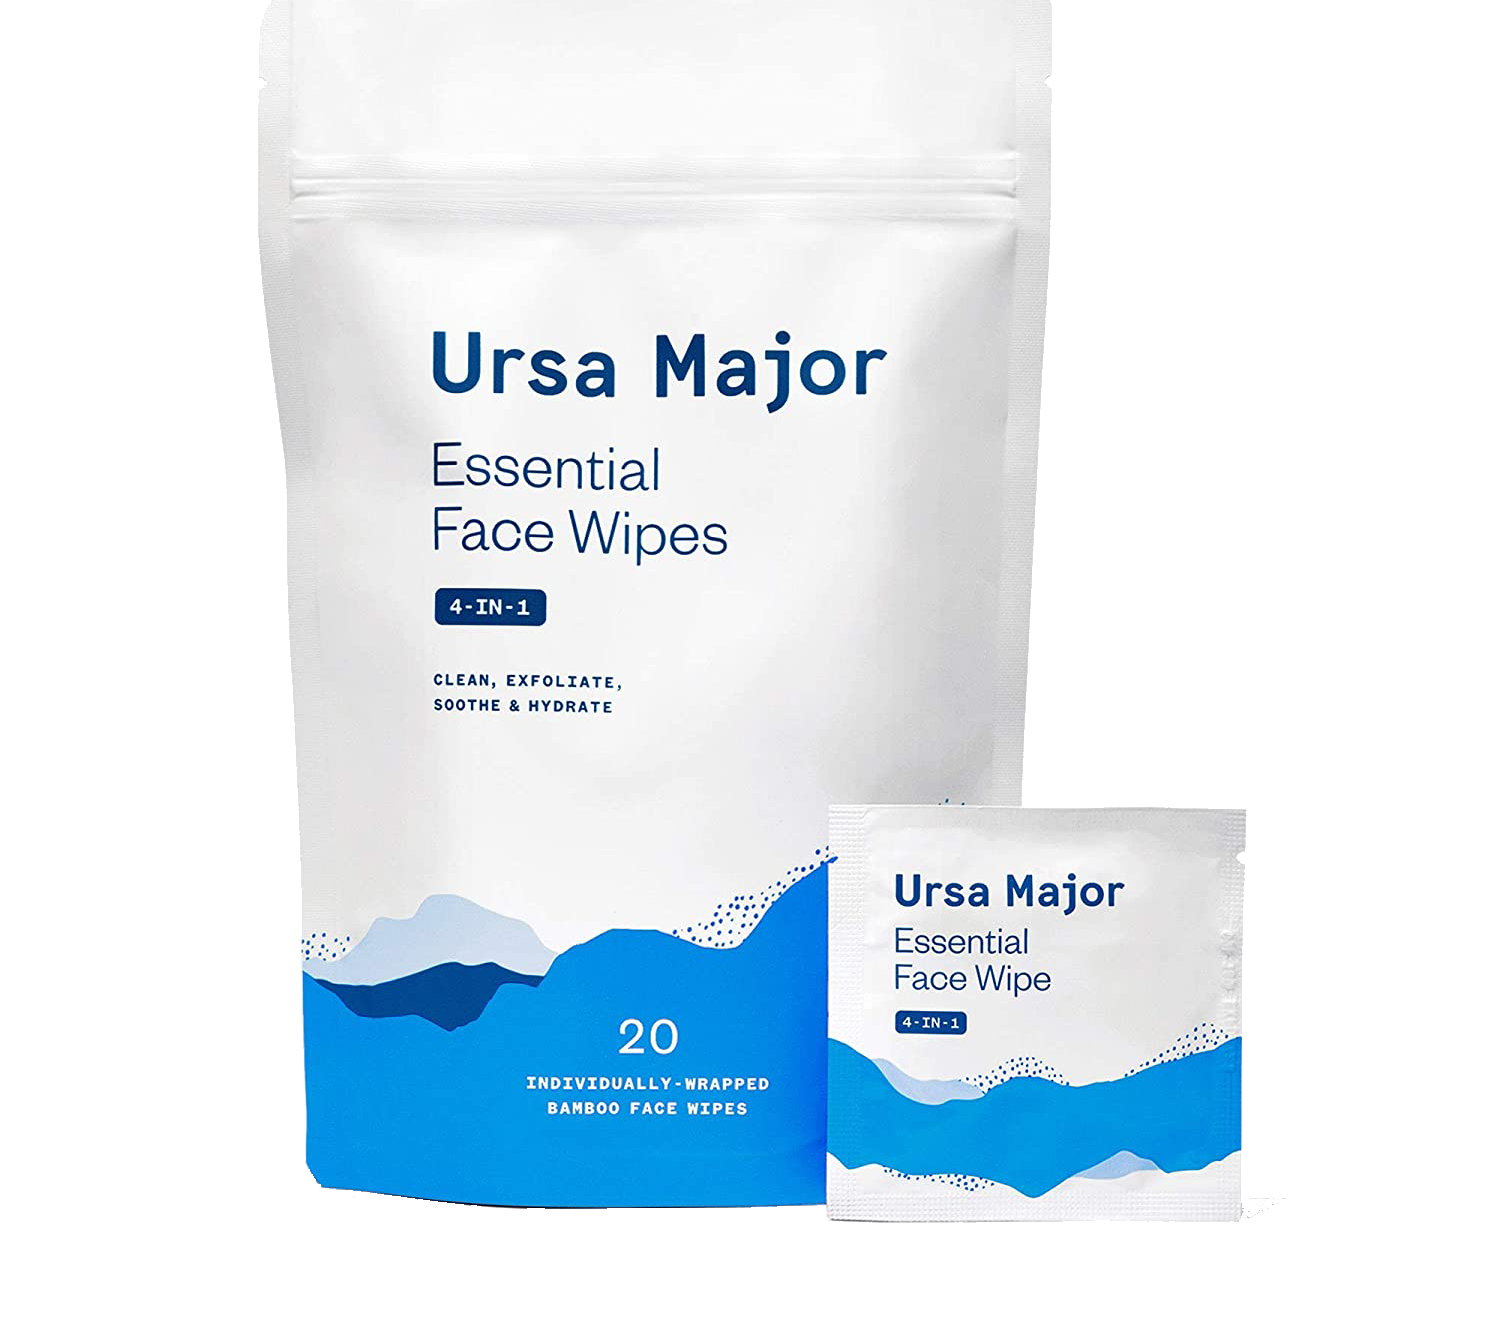
Face wipes (Ursa Major Face Wipes)
Mini hairbrush + hair ties
Mini deodorant
Sunscreen (Supergoop SPF 50)
Bug spray (Picardin)
If you’re going during a high mosquito time of year, make sure to treat all your clothes and gear with Permethrin before leaving!
Chapstick (Supergoop SPF)
Hand sanitizer
Q tips
Nail clippers
Luxury:
Day face moisturizer with sunscreen (in tiny travel container)
First Aid Extreme Moisturizer (in tiny travel container)

FIRST AID:
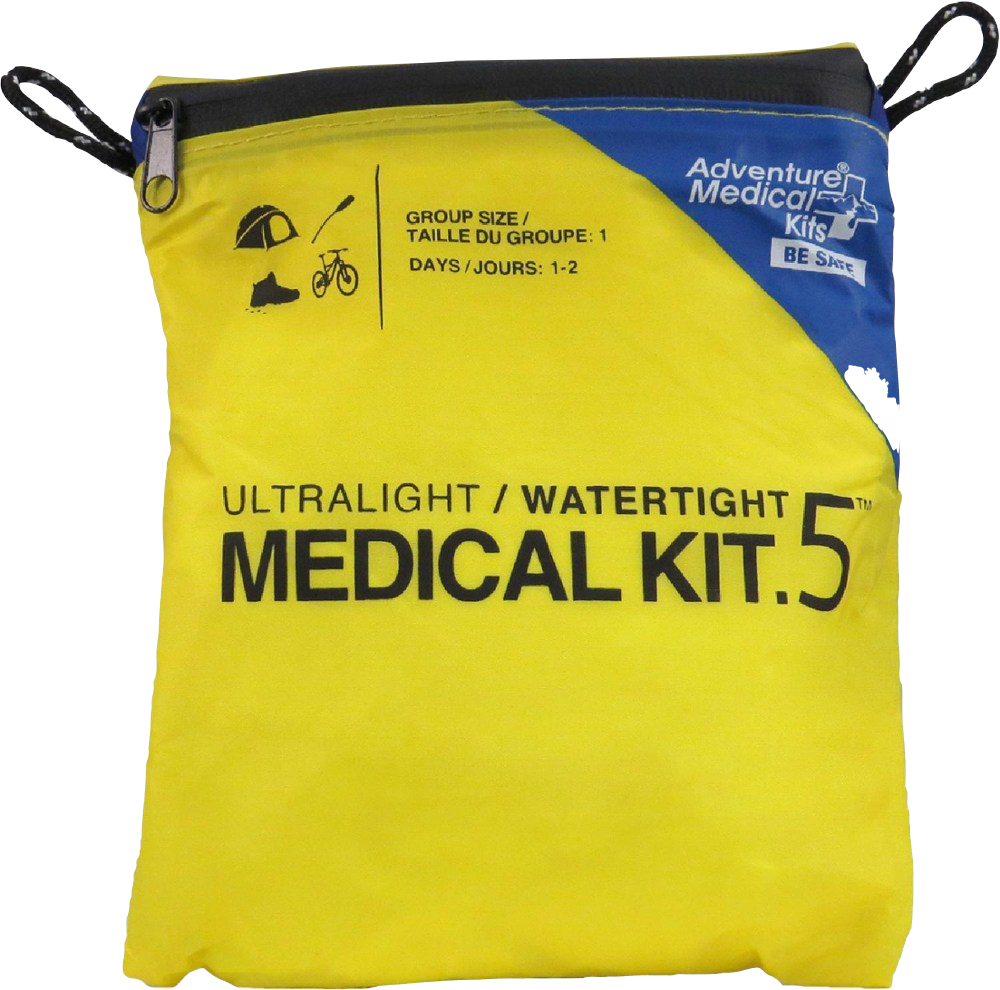
I have the Ultralight/Watertight 0.5 Medical Kit which comes with band aids, gauze, wound care, tweezers, Neosporin, safety pins, and some medications. I added to that:
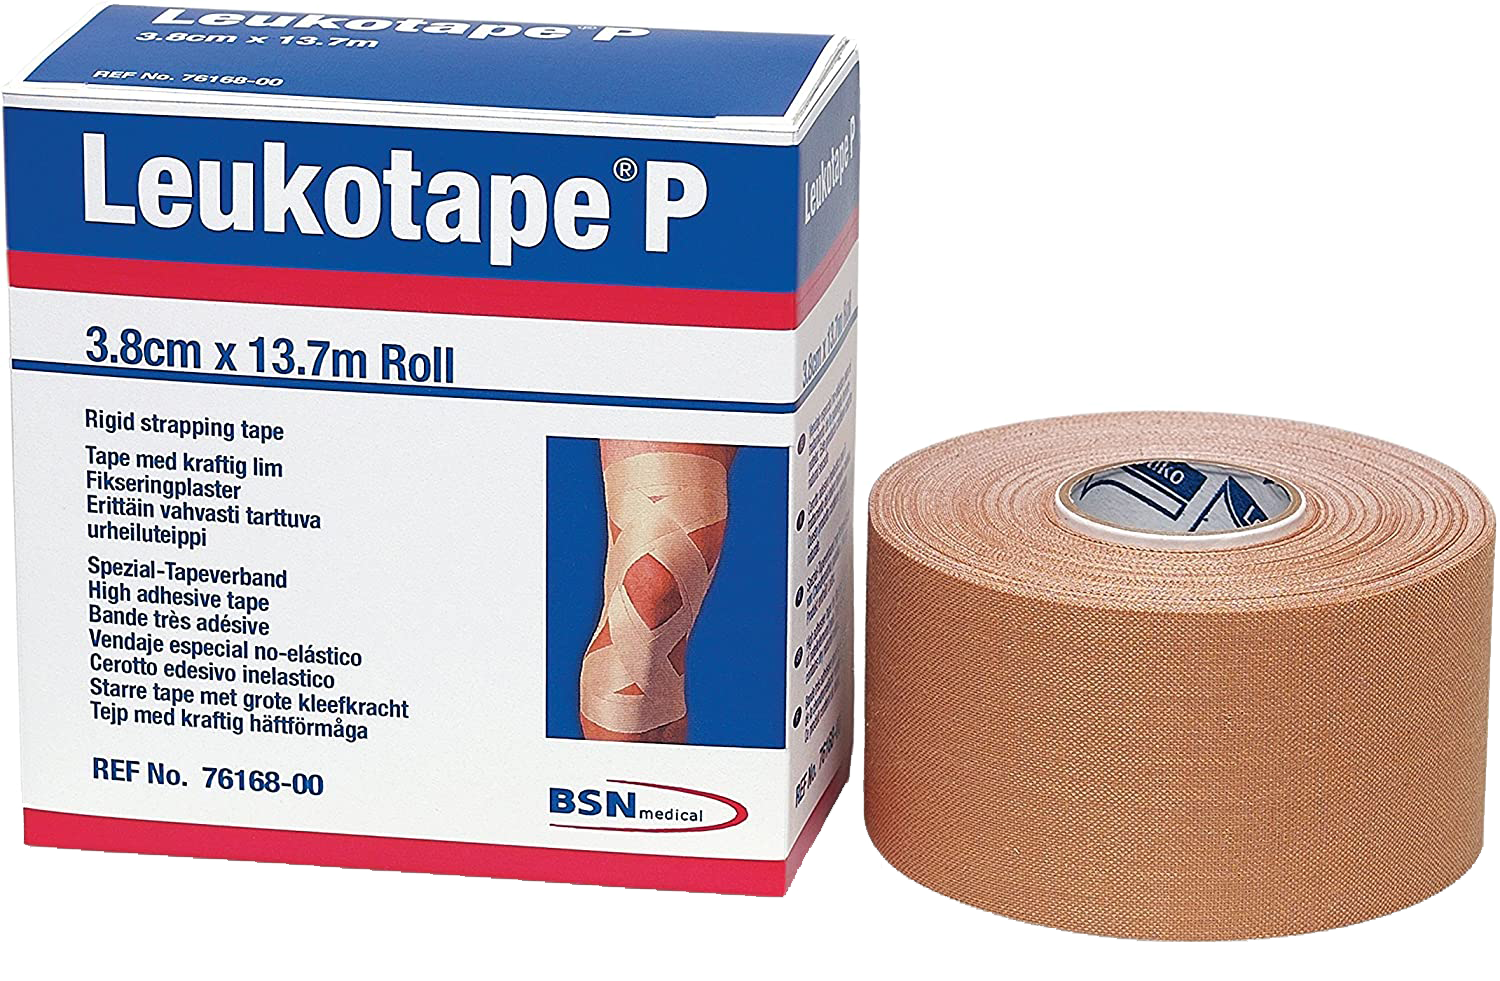
Leukotape (the best for blisters – wrap some around your trekking pole or a small piece of cardboard to save weight)
Hydrocortisone
Ibuprofen (regular and PM)
Imodium
Zofran (nausea)
Benadryl
Probiotics
*I put all medications loose in a small Ziplock bag and wrote down a small key of what each looked like.
PERSONAL:
Permit, Itinerary, Cash, Card, and ID
FOOD:
For an extensive food breakdown for the JMT, check out my JMT Complete Backpacking Food List and Food Plan

*Please note that some of the links in this post are affiliate links and I may earn a small commission if you choose to make a purchase – at no additional cost to you. As an Amazon Associate I earn from qualifying purchases. These funds help make it possible for me to provide you with these resources. Thank you!