Winter Day Hiking Essentials
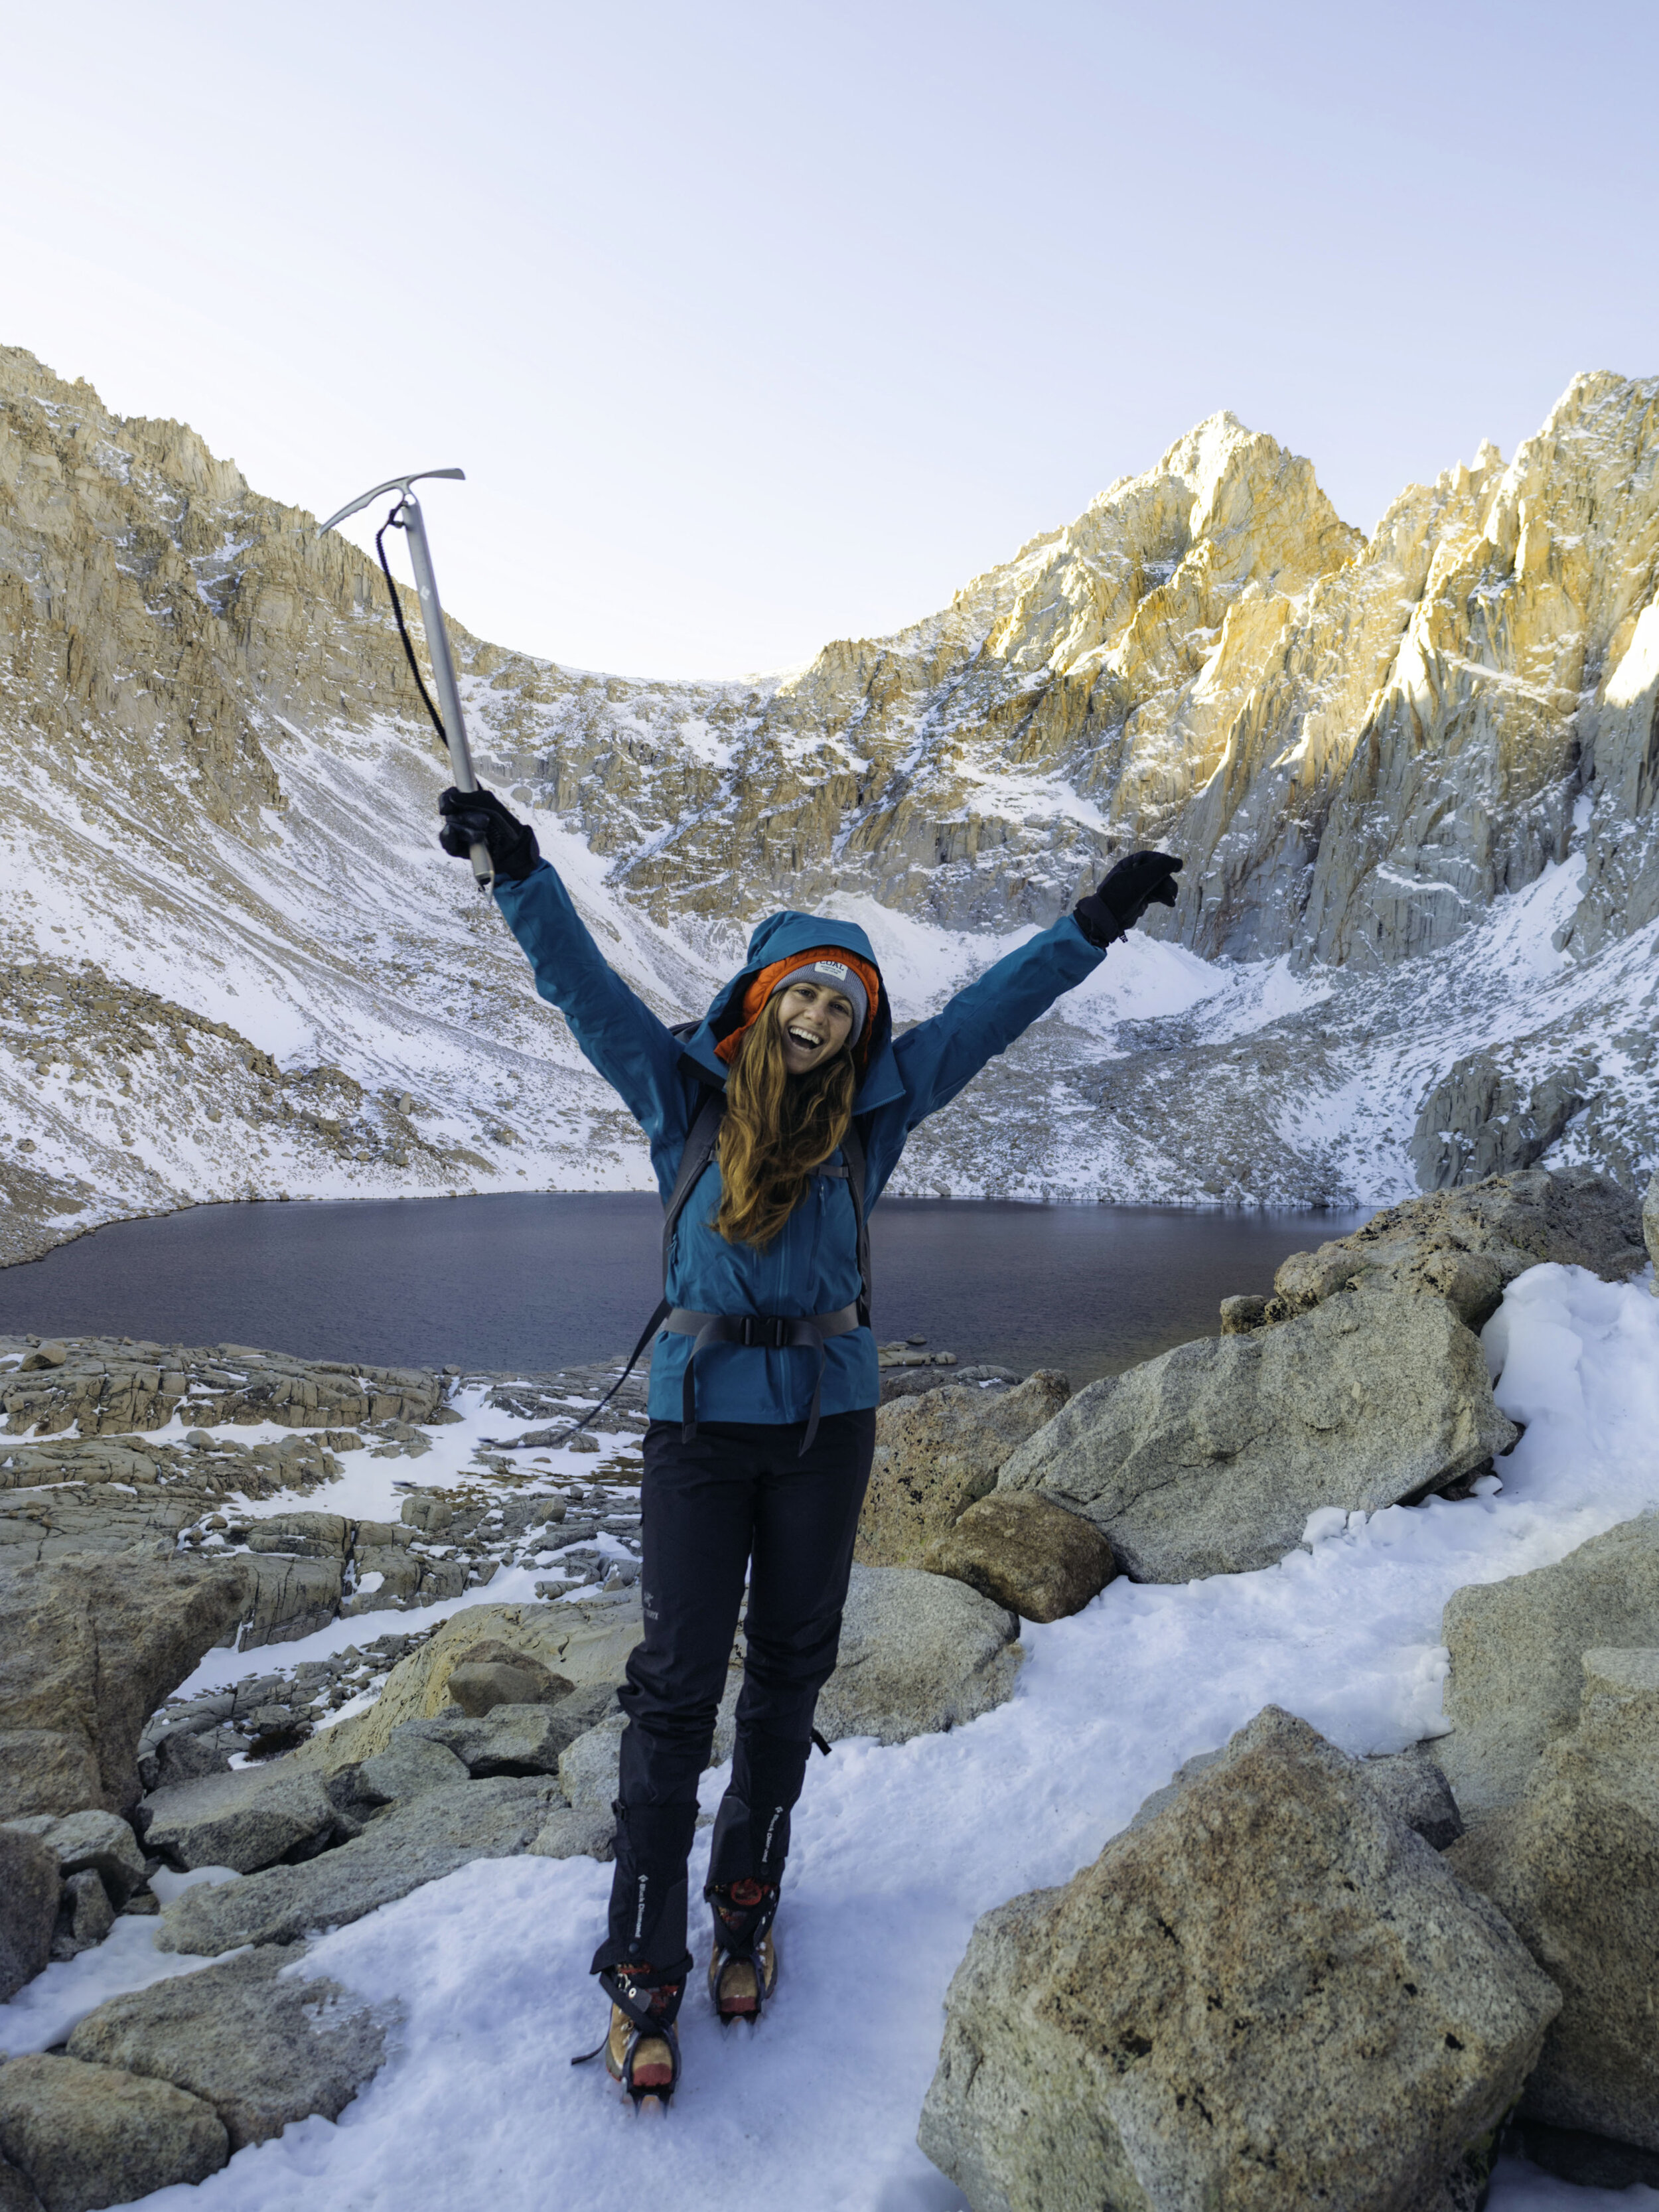
I hiked up to a beautiful frozen lake in the Colorado Rockies, surrounded by snow-covered mountains. When I arrived at the summit, the wind speed picked up and the 5° F temperature quickly felt like -30° F. Yes, it was freezing, but I came prepared. My microspikes kept the wind from knocking me over, my goggles kept my eyelashes from freezing (and let me see), my layers kept me warm and dry, and my hand warmers kept my hands extra cozy inside my mittens. I enjoyed every second of the snowy adventure.
Winter hiking takes extra planning, but is so worth it. The trails are less crowded, the air is free of wildfire smoke, the mountain views are more stunning than ever, the people you meet are more serious hikers, and the extreme weather preparation somehow makes everything more exciting. The key is to stay warm and dry, not only for comfort, but also to prevent hypothermia.
This gear list is a must for any winter day hike, no matter how short it is. If you plan to backpack or snow camp, check out my winter backpacking gear list complete winter backpacking gear list for a more extensive list. Please note that this is for non-avalanche areas. If you plan to go somewhere at risk of an avalanche, make sure to not only get the proper training but also to bring self-arrest gear and a GPS Device in case things don’t go as planned.
It’s time to bundle up and hit the trails!
TEN ESSENTIALS:
On every outdoor adventure, you should start by packing the Ten Essentials. These items are necessary to keep you safe when the unexpected happens. To learn more about them, check out my post, The Ten Essentials.
HIKE:
Backpack
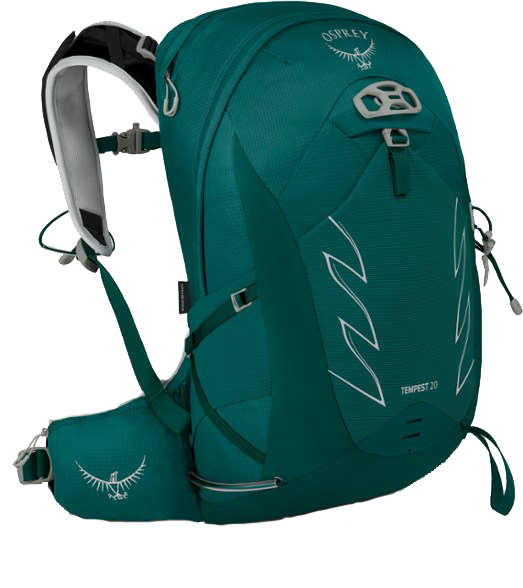
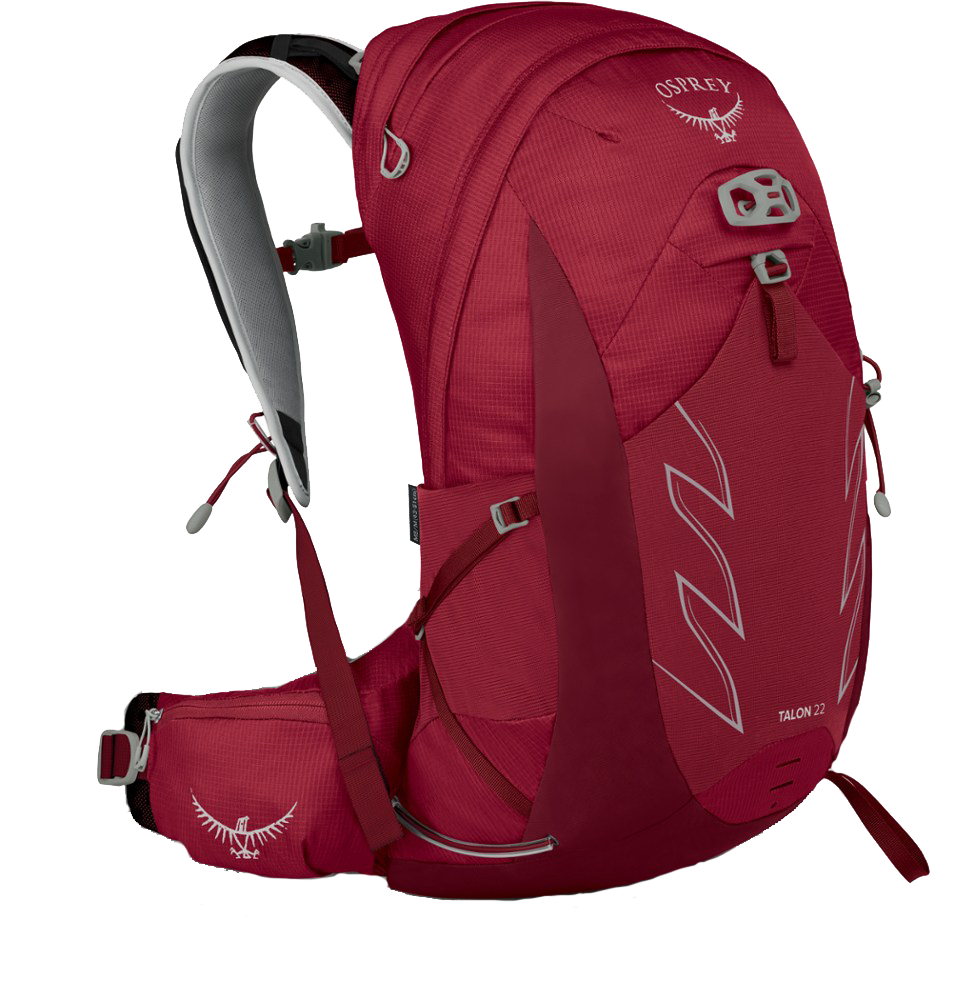
While day hiking in the winter, you’ll want a backpack that’s big enough to fit extra layers and all of the proper gear to keep you warm. My favorite day bag is the Osprey Tempest 22 (or Osprey Talon 22 for men). It’s definitely a splurge, but it’s the perfect size for a day trip. It has hip pockets (great for holding your phone or other necessities), trekking pole attachments, and even a helmet and ice axe attachment if needed. Make sure to buy a rain cover to protect it from rain or snow!
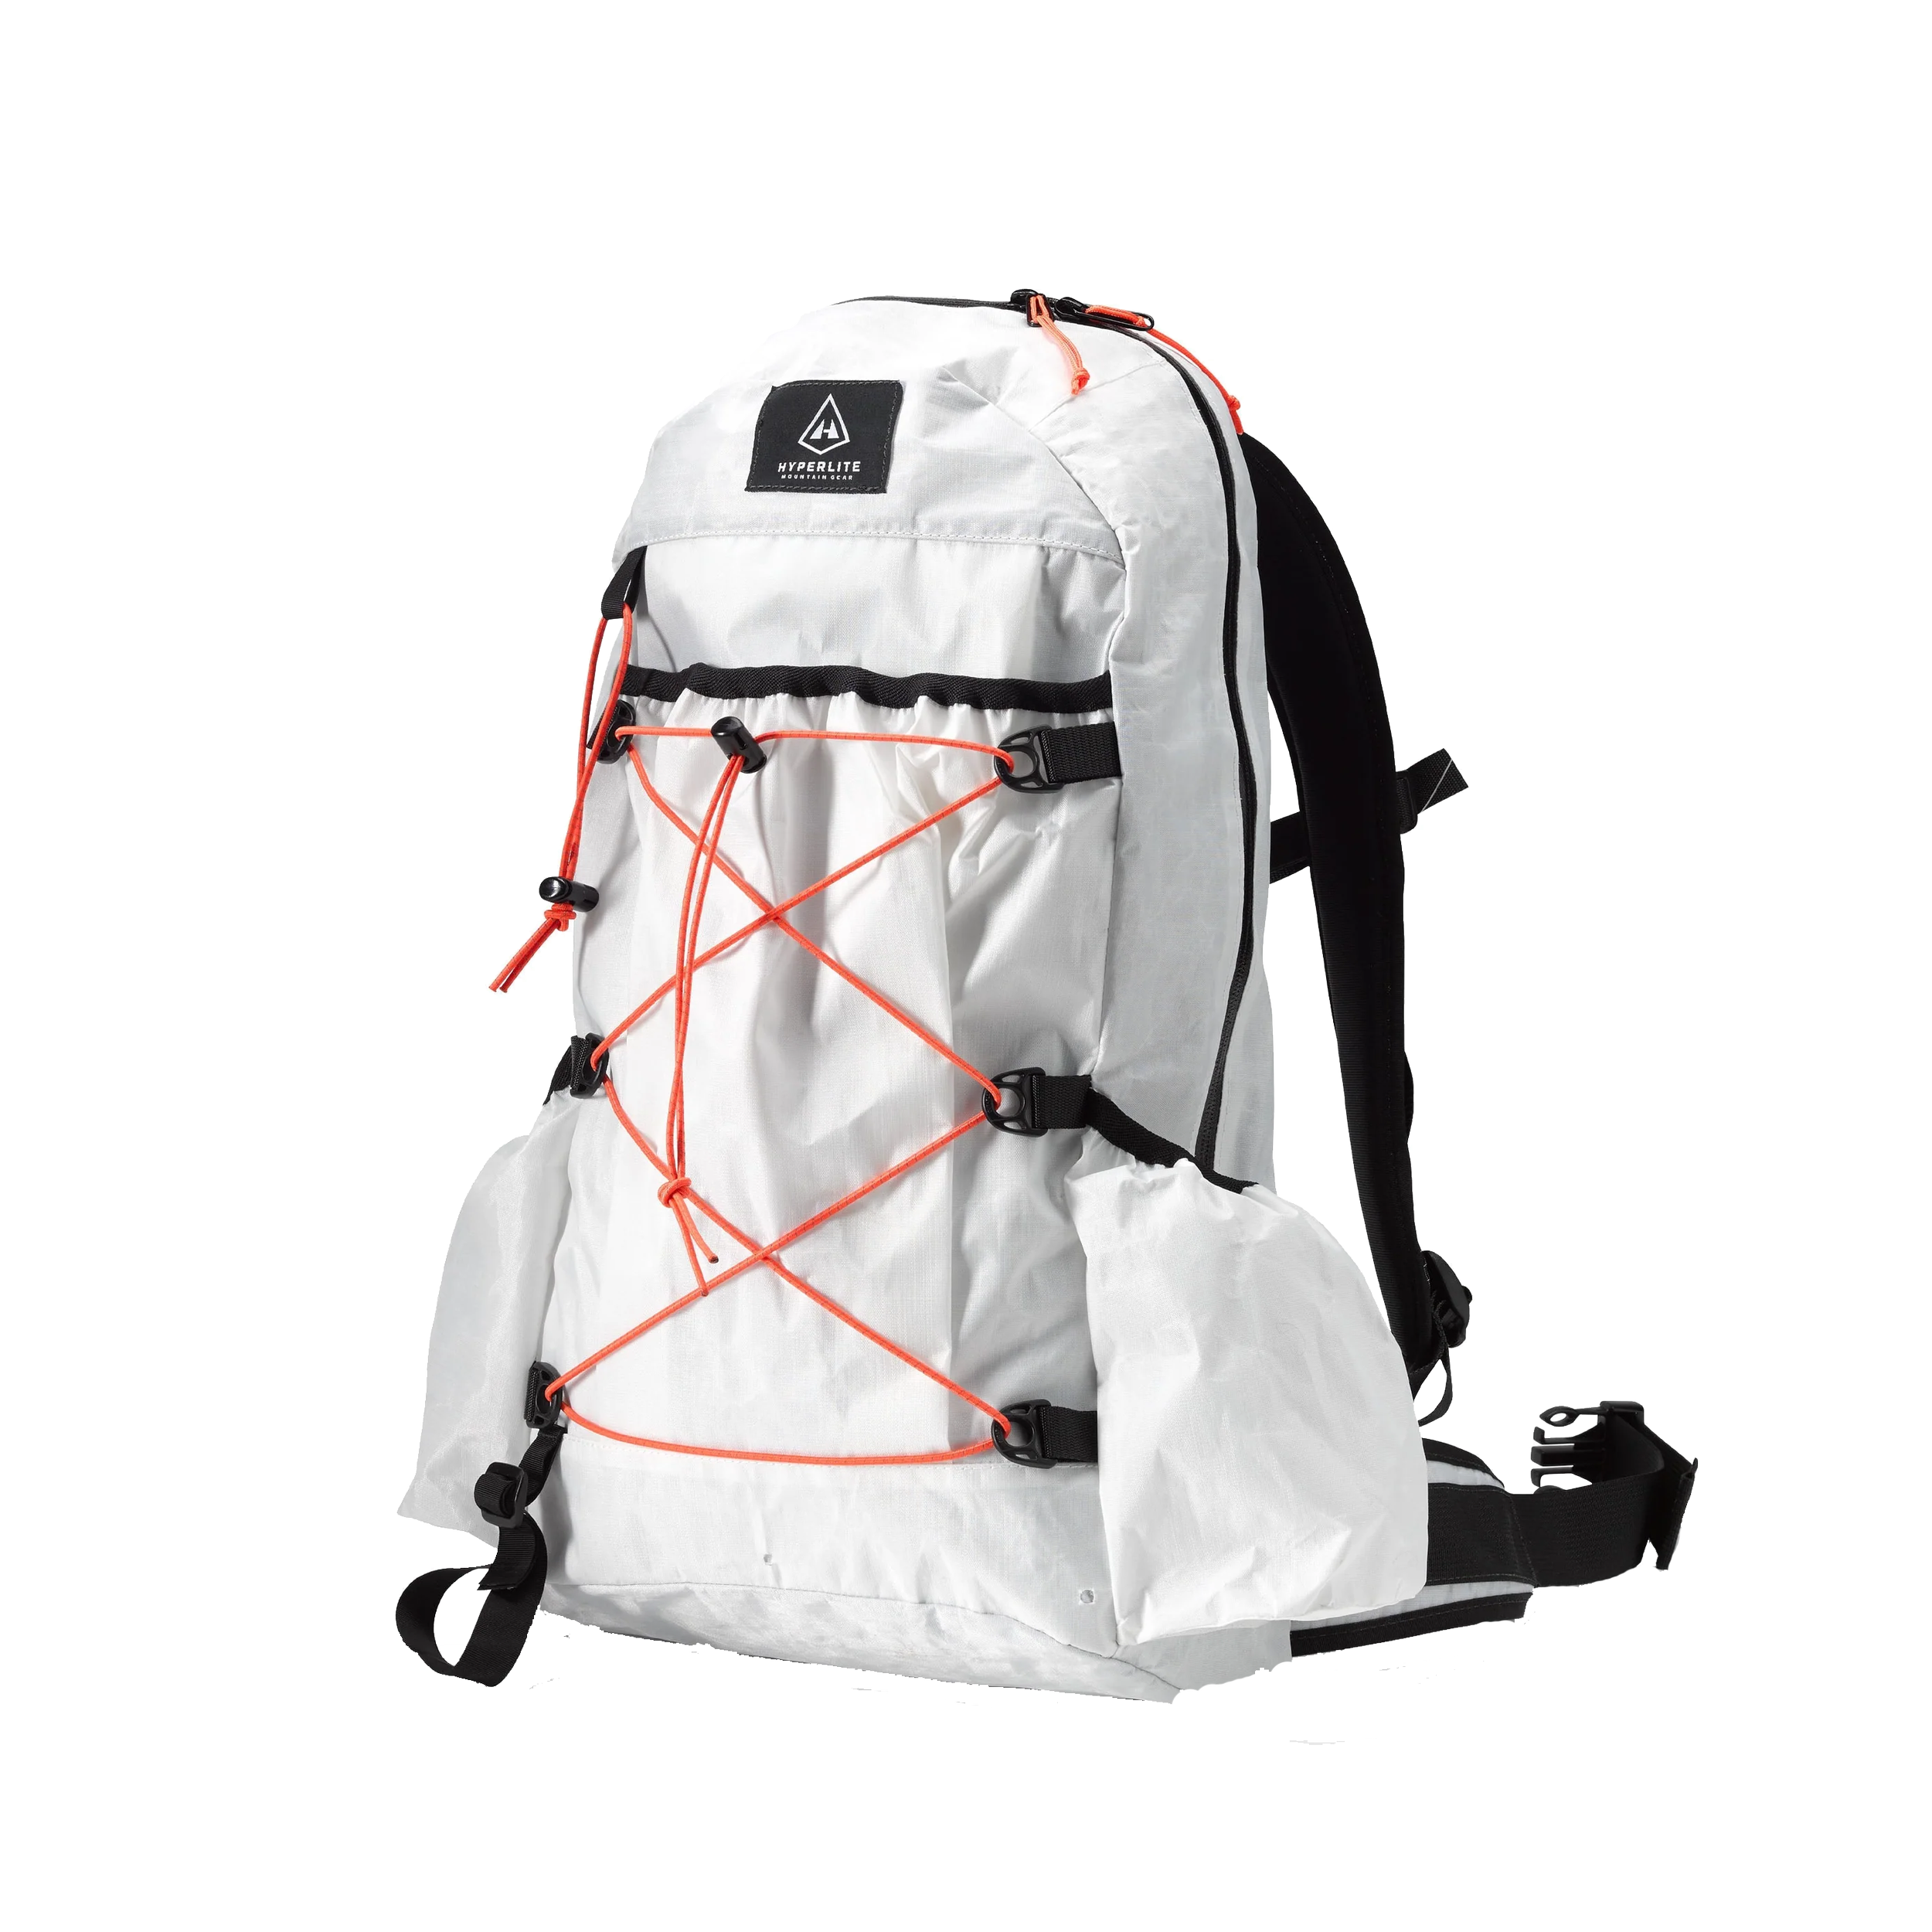
If you’re looking for a more ultralight and technical day pack, the Hyperlite Daybreak 17 is a great choice. It is water resistant (you don’t need a rain cover!) and has attachments for an ice axe, trekking poles, or other winter gear.
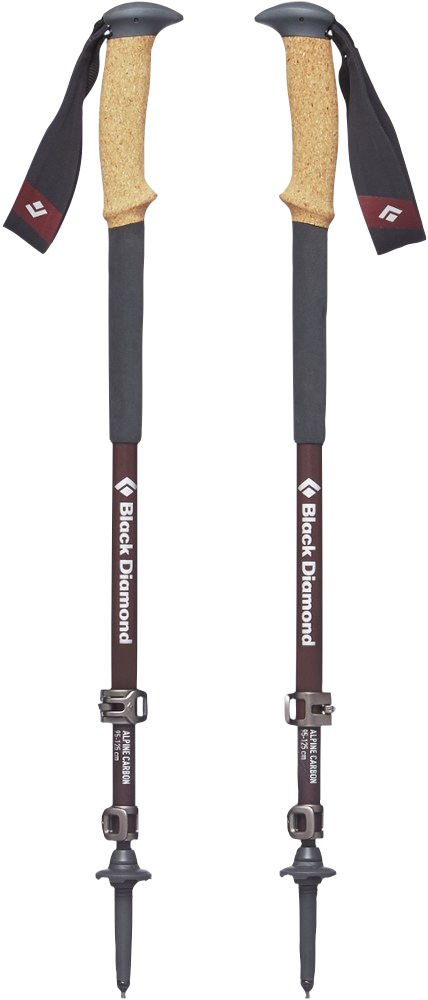
Trekking Poles
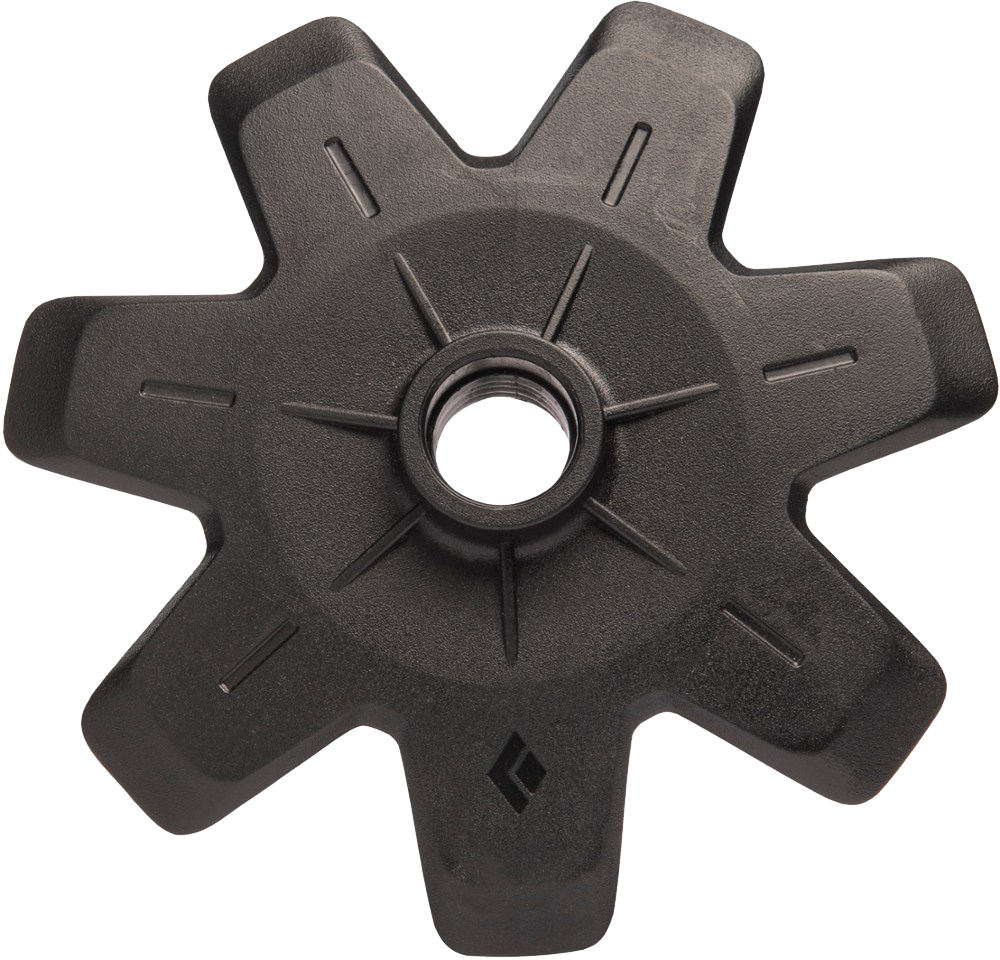
This is a must in the snow, especially if it’s icy. I prefer a cork grip as it will absorb any water if it gets wet. You’ll also want to make sure that the poles are “powder basket compatible”. When hiking in deep snow, a powder basket will prevent your poles from getting stuck with every step. My favorite trekking poles are the Black Diamond Alpine Carbon Cork. They work for every season and are all around an amazing choice. The powder baskets are sold separately if you need them.
If you’re looking for a budget-friendly option, the Cascade Mountain Tech Trekking Poles – Carbon Fiber are a great option and also “powder basket compatible”.
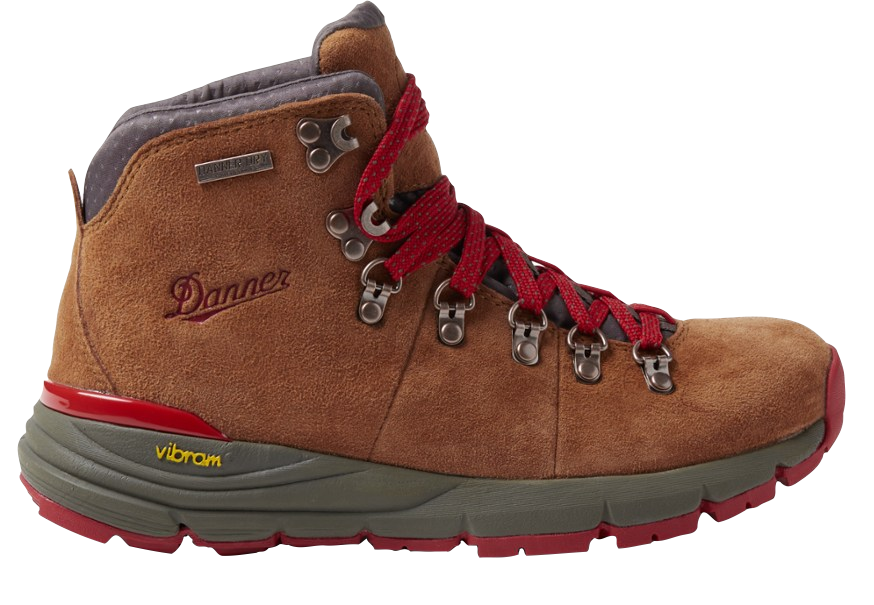
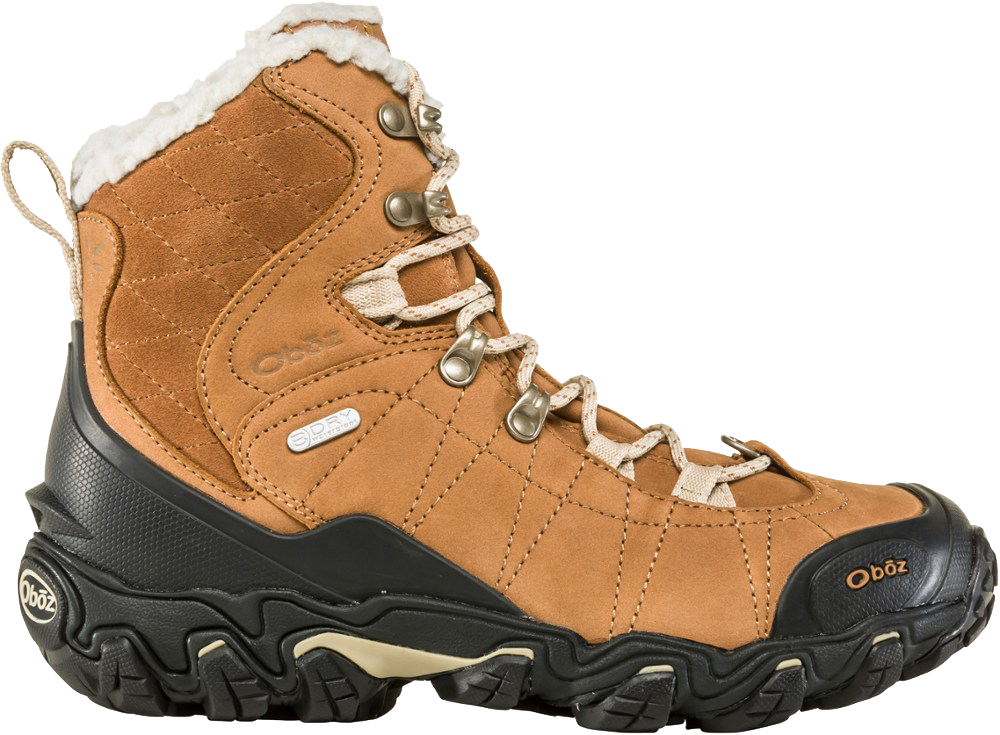
Hiking Boots
As much as I love my trail runners, hiking boots are KEY for winter hiking. You can normally get away with normal hiking boots in the snow but for added insulation, I’d recommend a winter weatherized hiking boot. Danner Mountain 600 have worked well for me in all winter conditions. They are quick to dry and keep my feet (mostly) warm. For that extra warmth, the Oboz Insulated Waterproof Boots is a good option.
As you all know, I am a huge fan of Altra shoes. They are zero drop with wide toe boxes. I’ve been looking at the Altra Lone Peak All-Weather Hiking Boots (boot version of my trail runners) and will provide my review once I give them a try!

LAYERS
This is the most important concept in winter hiking. If you’re cold, you add layers. If you’re hot, you take off layers. The key is to find comfort. If you sweat too much, your clothes will be wet which could cause hypothermia. If you aren’t wearing enough clothing, you could get hypothermia. Bring lots of options and find that sweet spot.
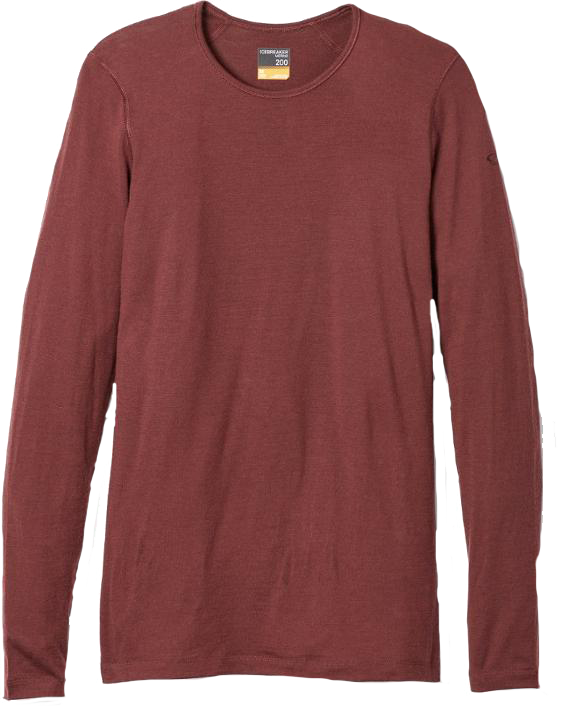
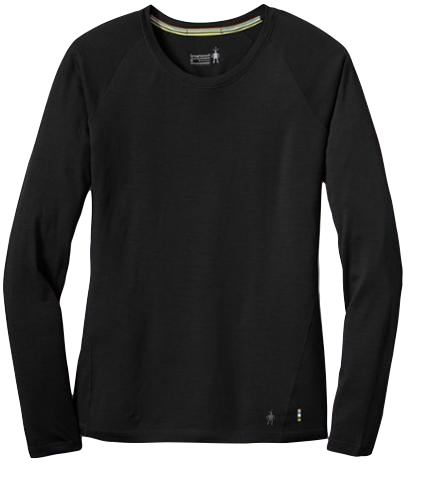
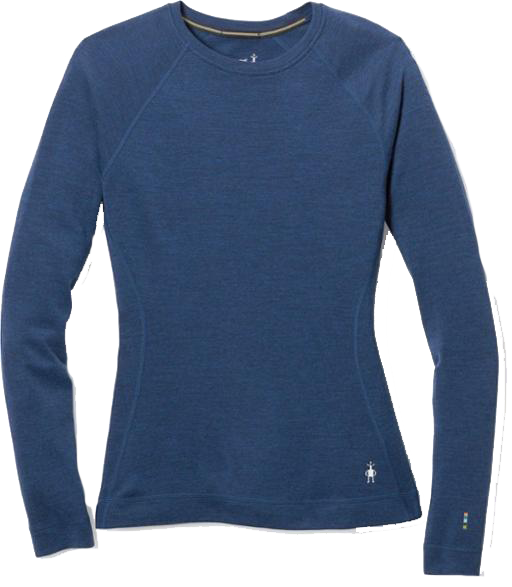
Base Layer Top
This is your most important layer. It must be breathable and sweat-wicking in order to remove sweat from your skin and keep you dry. Synthetic fabric or merino wool is best. If you wear cotton, as soon as the shirt gets damp, it’ll lose its insulation. My favorite base layers are the Icebreaker 200 Oasis Top or the Smartwool Merino 150 Base Layer. If you’re headed somewhere extremely cold and want a thicker base layer, the Smartwool Merino 250 Base Layer is a great choice.
Mid Layer Top
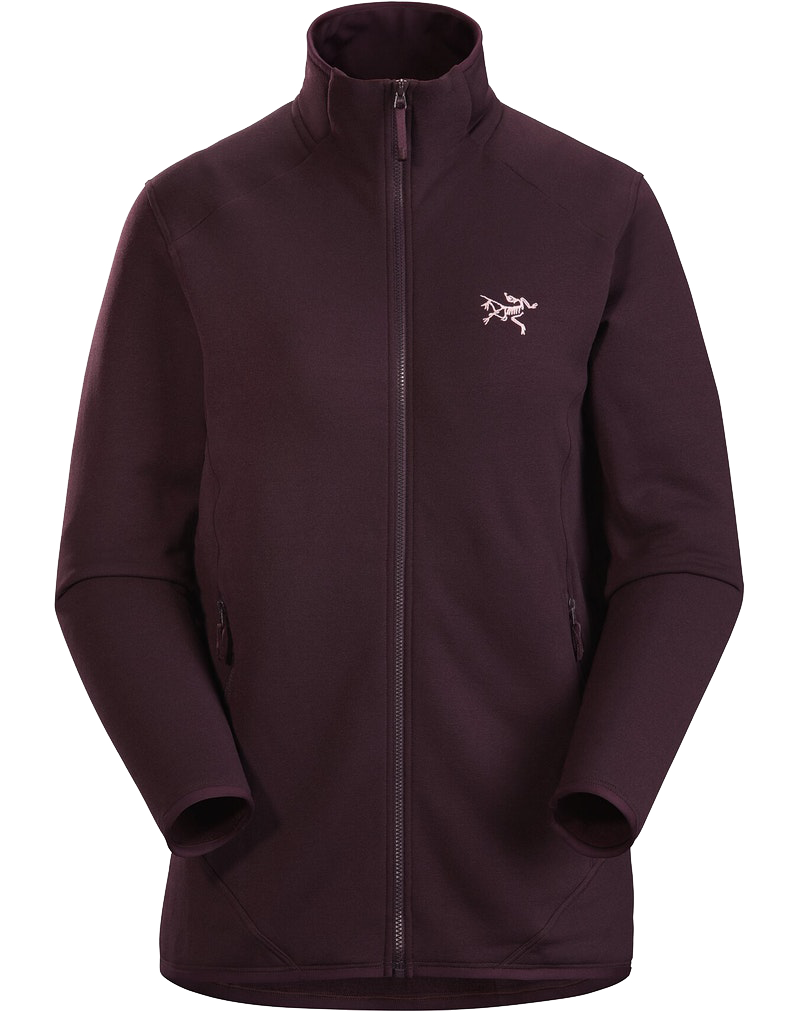
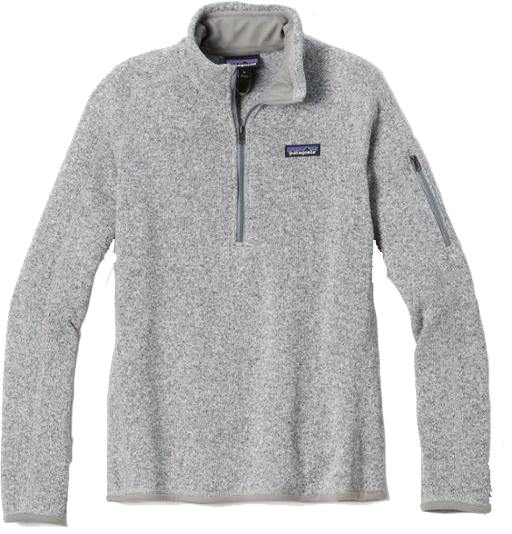
This layer tends to be added and subtracted the most. If you’re too hot to wear it hiking, you’ll be happy to have it during your lunch break. Mid-layers are meant to allow excess body heat and moisture to escape through the fabric. This allows you to stay warm and dry. I use a fleece mid-layer like the Arc’teryx Kyanite Jacket . Another great option is the Patagonia Better Sweater.
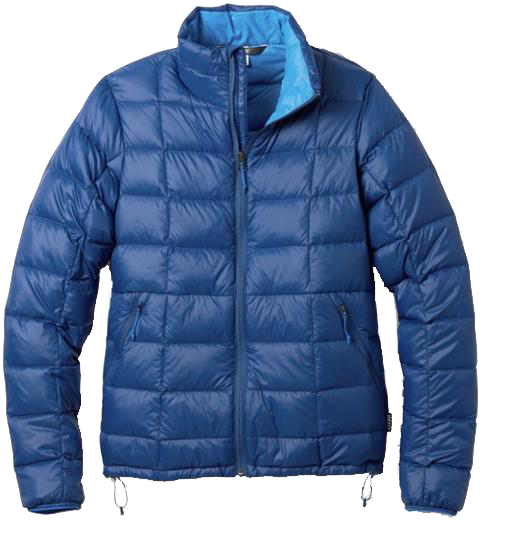
Insulating Jacket
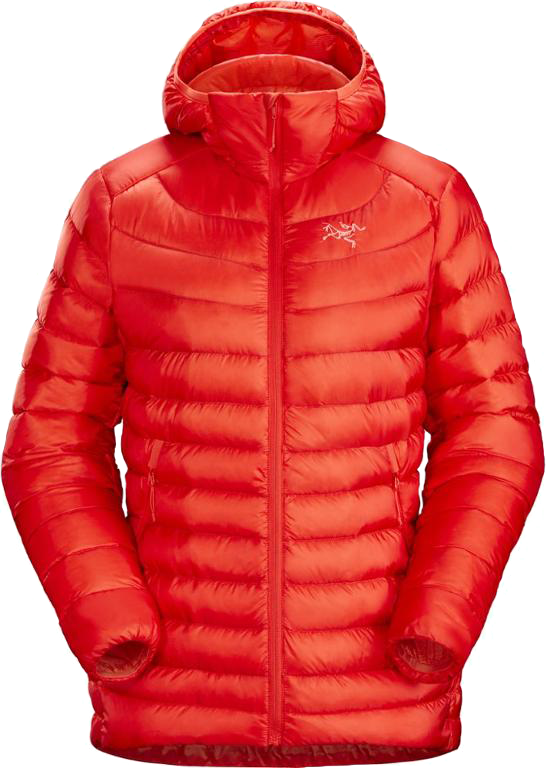
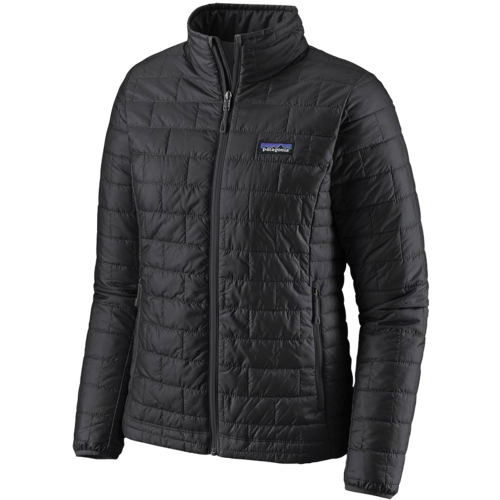
Your insulating jacket is key to keeping you warm. Normally this layer is made of down (warmest) or synthetic down. If down gets wet, it won’t be warm. If you are headed somewhere wet or humid, a synthetic down jacket is a better option. I use the Arc'teryx Cerium LT (down) or the Patagonia Nano Puff (synthetic down). A budget-friendly option is the REI Co-Op 650 Down Jacket (down).
Outer Shell Jacket
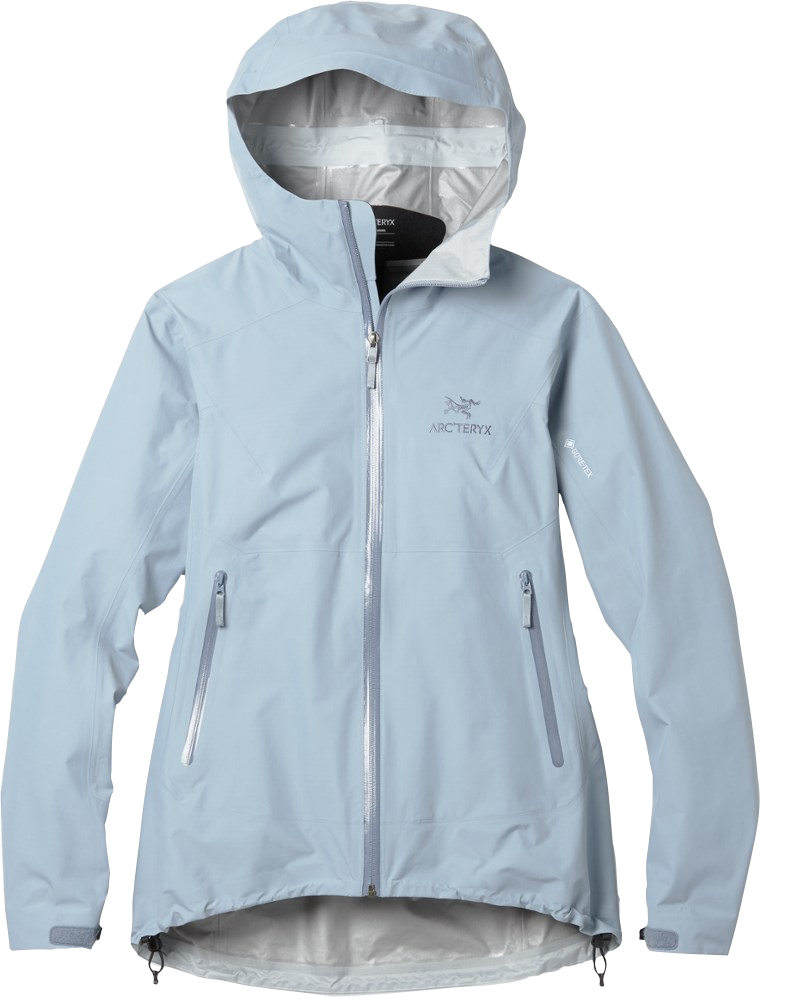
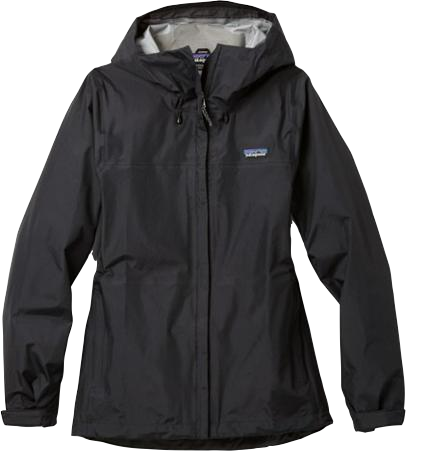
If it’s snowing, sleeting, hailing, raining, or windy, an outer shell will keep you and your other layers dry. This layer should be waterproof, breathable, and lightweight. The type of waterproofing to look for is GORTEX (completely waterproof membrane).
I love my Arc’teryx Alpha SV Jacket for extreme conditions. It’s not cheap but it’s worth it. If you’re in mediocre conditions, the Arc’teryx Beta SL Jacket or Patagonia Torrentshell 3L Jacket are great options. Make sure to keep in mind how many layers you’ll be wearing underneath when choosing a size!

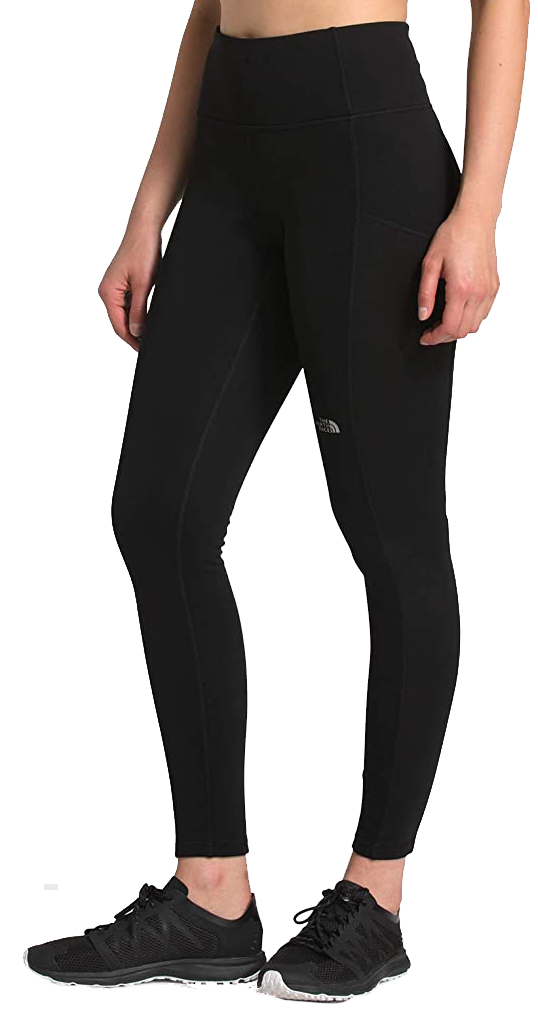
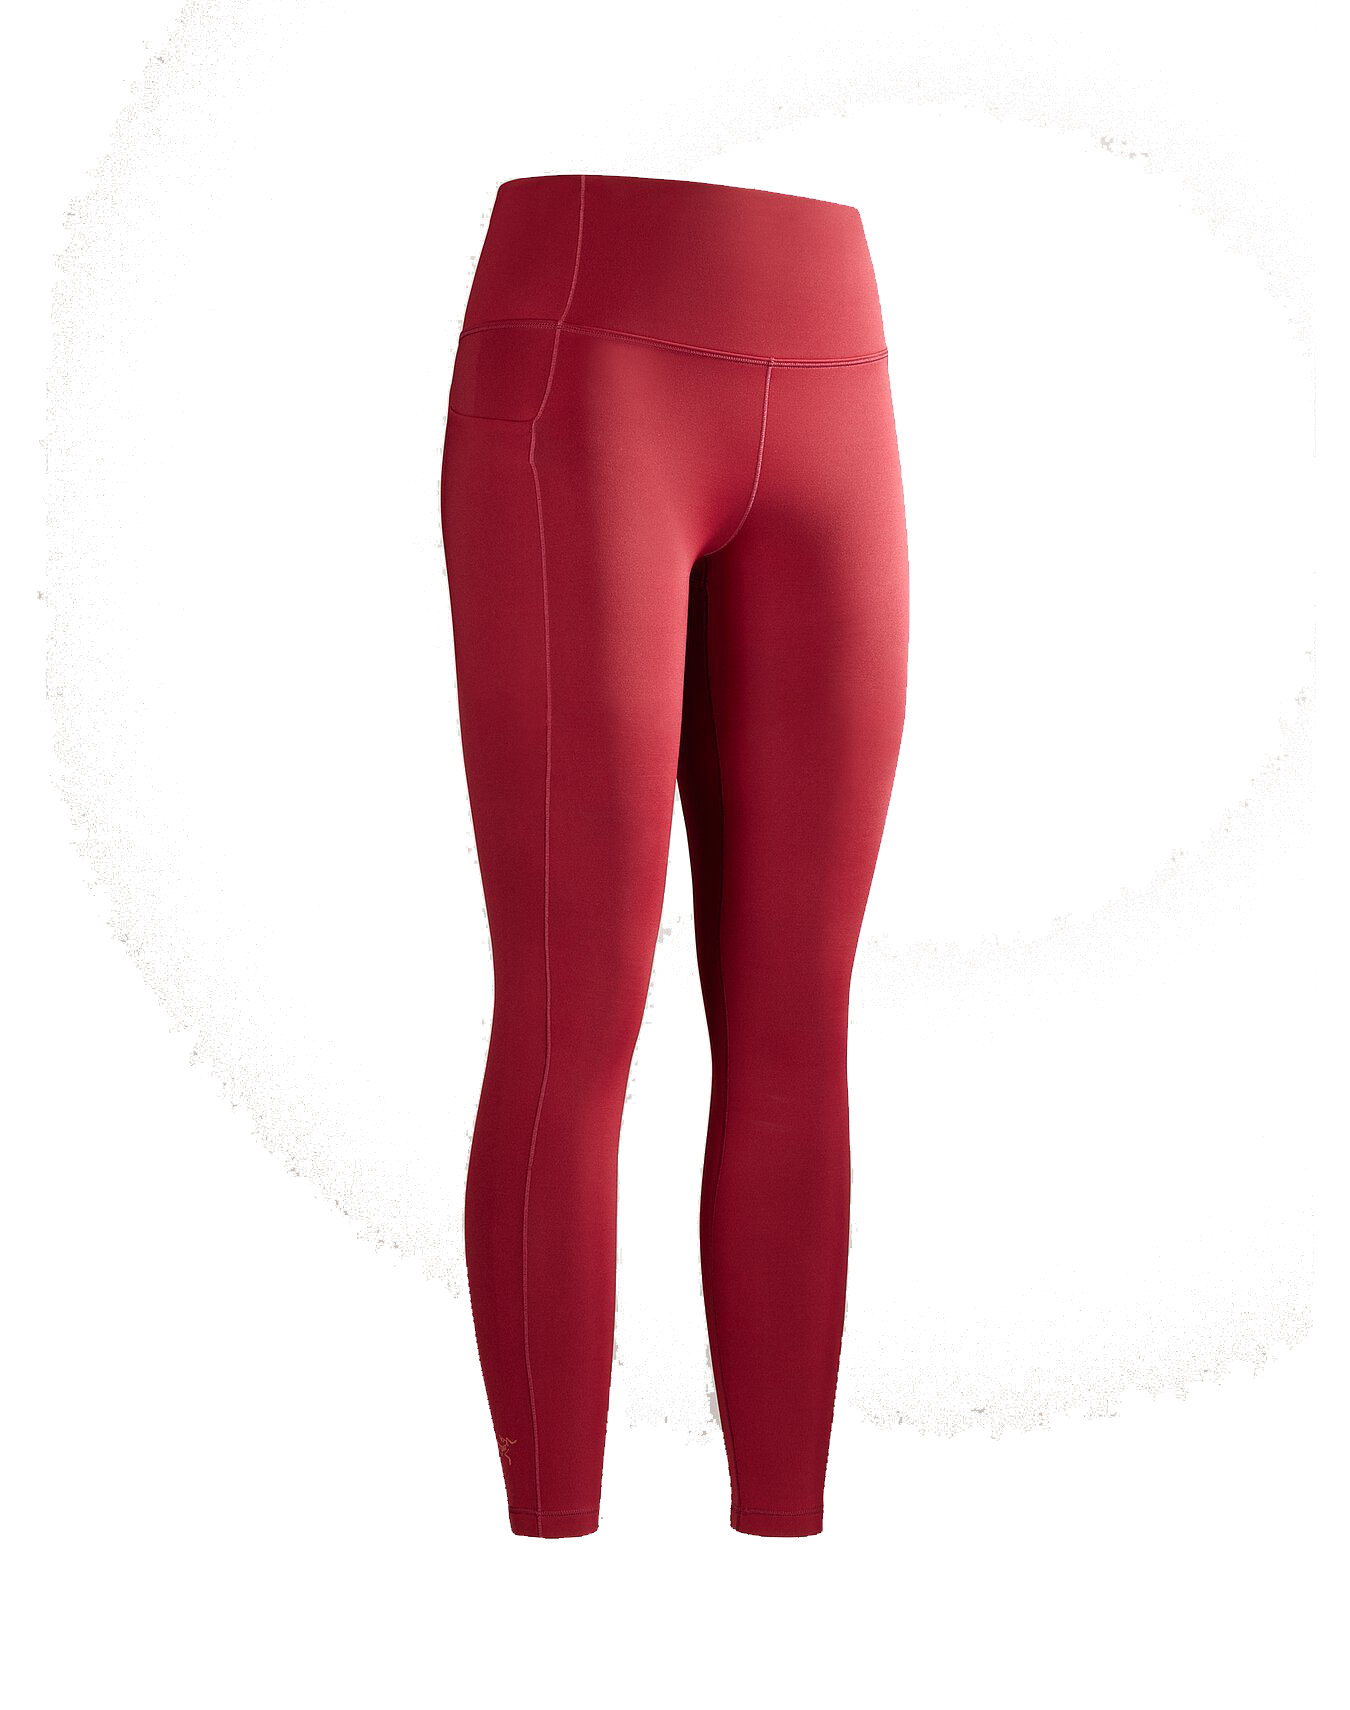
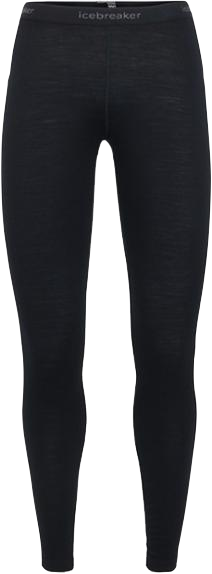
Base Layer Leggings
I wore normal leggings on my first snow hike and my legs were numb within ten minutes. It’s really important to not only layer on top but also on bottom. I recommend a fleece lined and/or wool leggings as your base layer. I like the North Face FD PRO 160 Tights layered over my Arc’teryx Rho Bottoms or Icebreaker 200 Oasis Leggings.
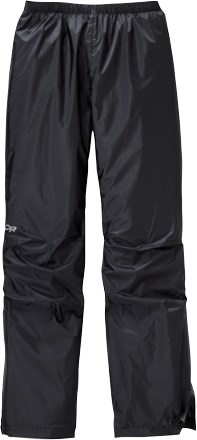
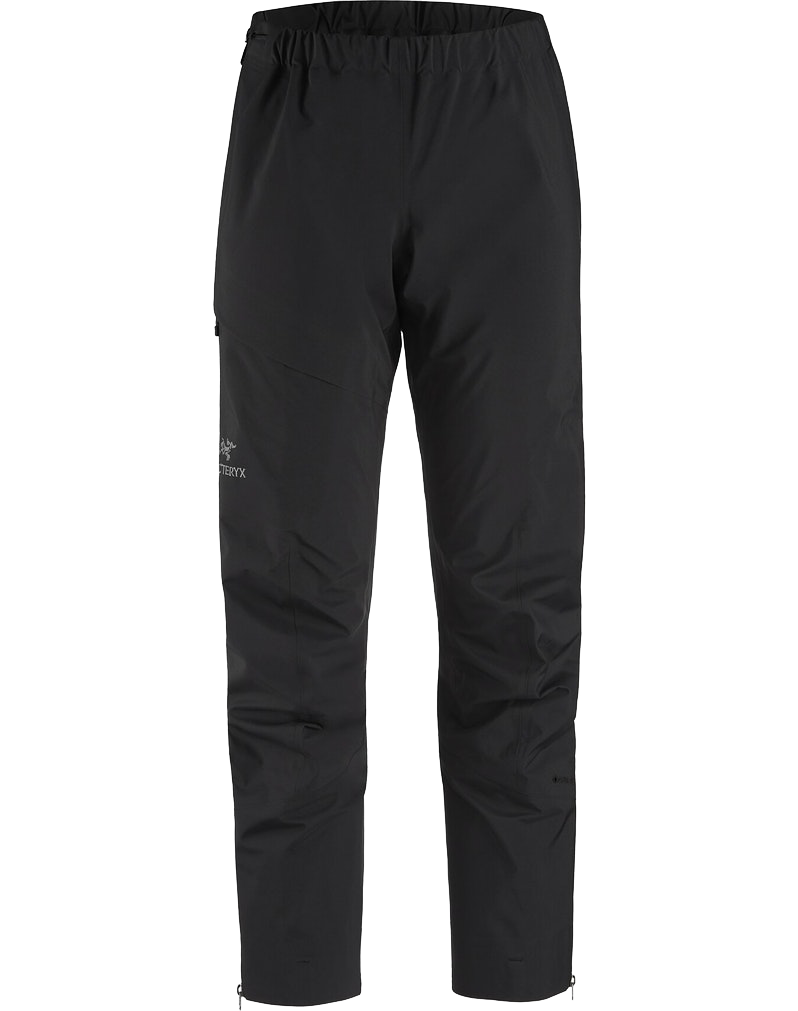
Outer Shell Pants
If it’s raining, snowing, or extremely windy, you’ll want another bottom layer. This shell will keep your legs dry and you warmer. If the weather is okay, your base layer leggings may be enough. I use my OR Helium Rain Pants when it’s just raining or windy. In snowy conditions or times I need more insulation, I opt for my Arc’teryx Beta Pants. They’re lightweight, Gortex, and comfortable.
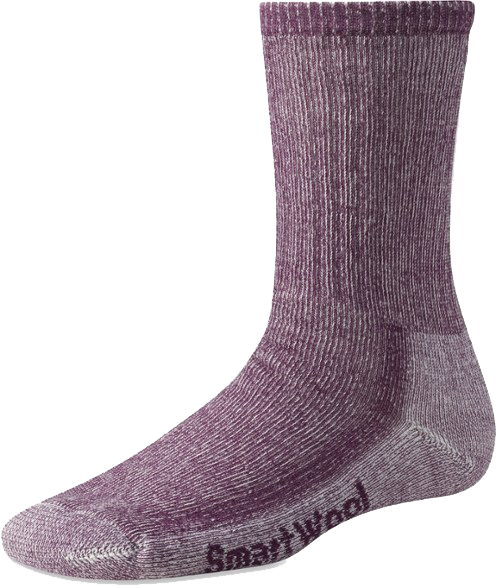
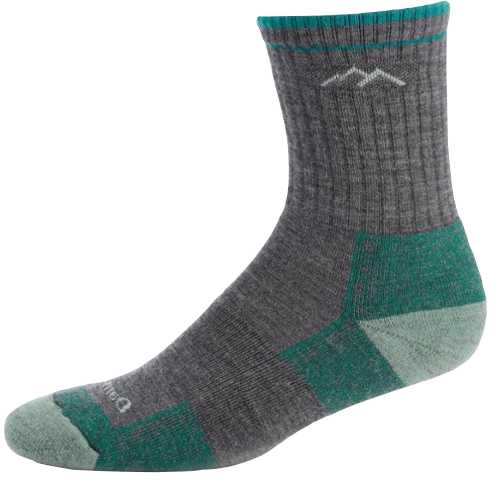
Wool Socks (and an extra pair!)
If it’s cold, wear thick socks. The thicker the sock, the more insulation. I like these Smartwool Hiking Socks. If it isn’t extremely cold, I stick with my Darn Tough Socks. Both types are made of merino wool which is breathable and helps wick away moisture. You CAN double layer socks for more insulation, but make sure they don’t cause your boots to fit too tight or it’ll cut off your circulation.
Always carry an extra pair of socks in the winter just in case they get wet!
ACCESSORIES
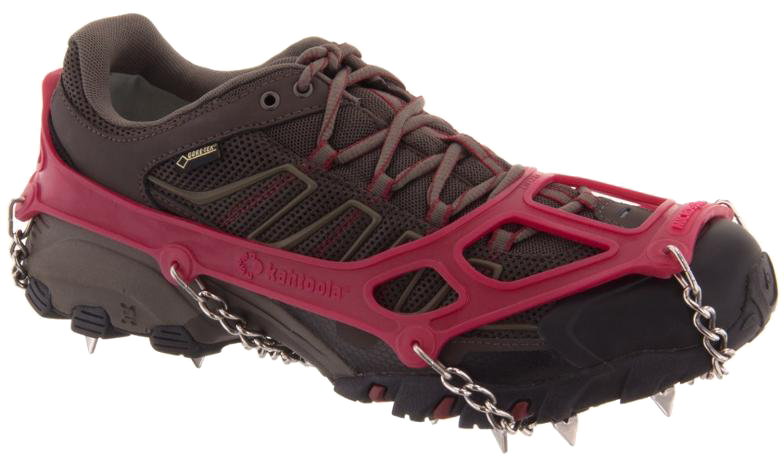
Microspikes/Crampons
My favorite winter gear item. I feel like I can accomplish anything when I wear them (or maybe just not fall and eat shit on ice). Microspikes are extremely important to prevent falling on packed snow or icy trails. I love my Kahtoola Microspikes and they fit perfectly over my hiking boots.
If you plan on going ice climbing or mountaineering, you’ll need crampons which have larger spikes. If you plan on going to deep snow, you’ll need snowshoes which allows you to float on top of unconsolidated snow.


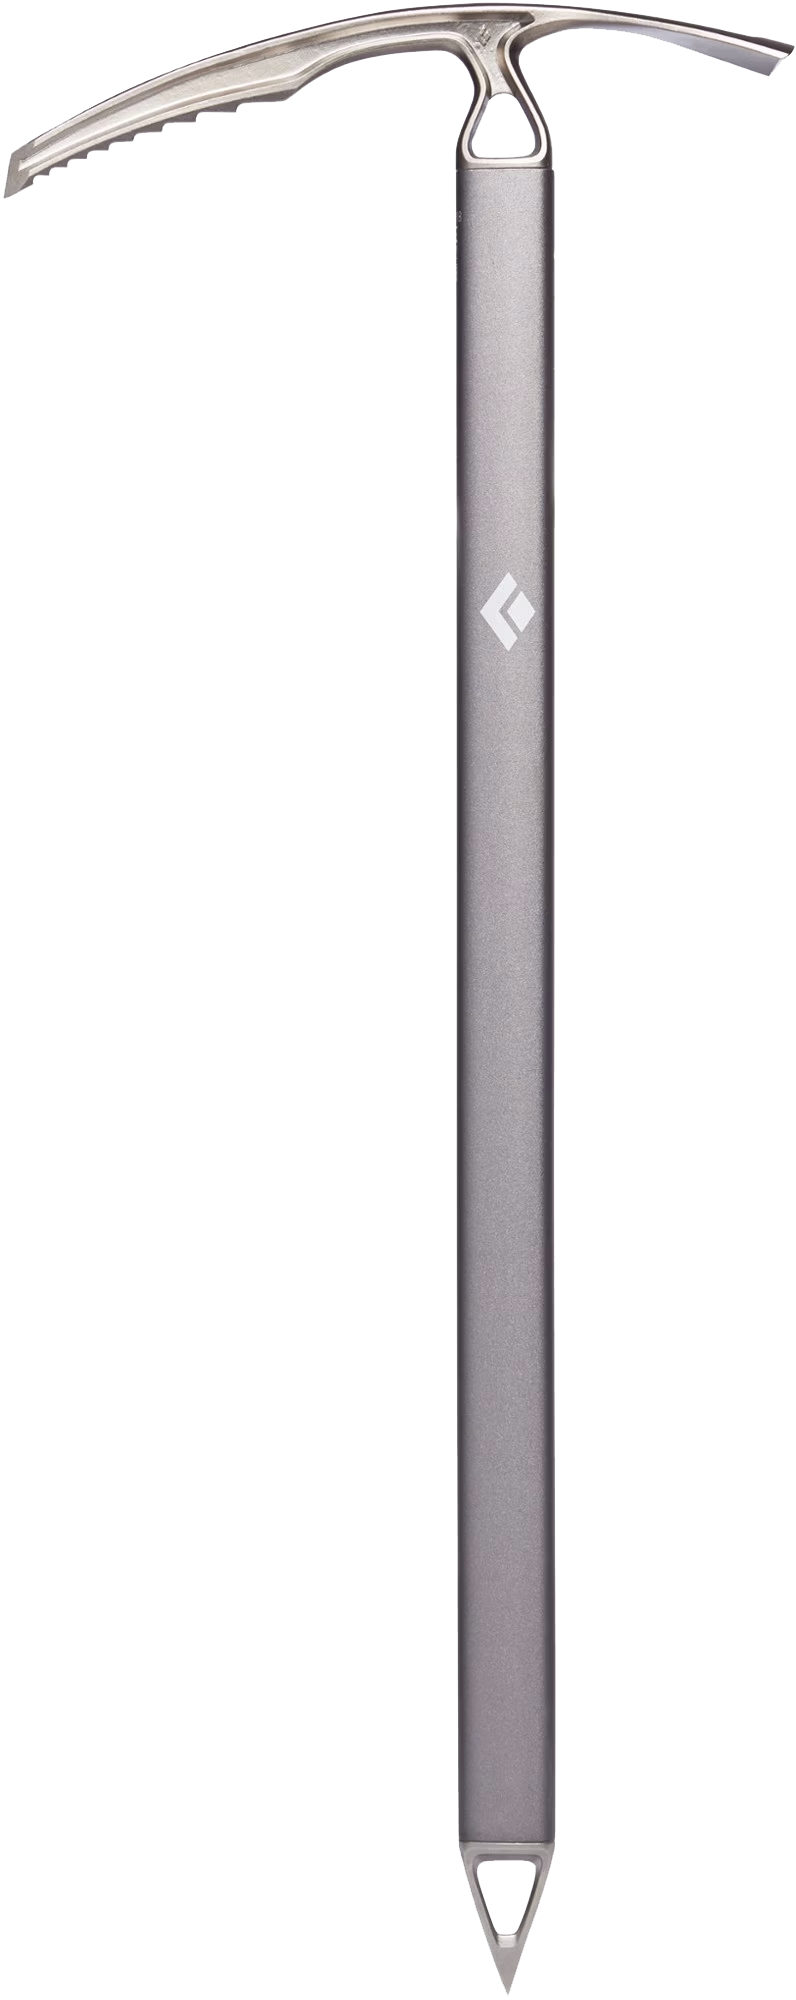
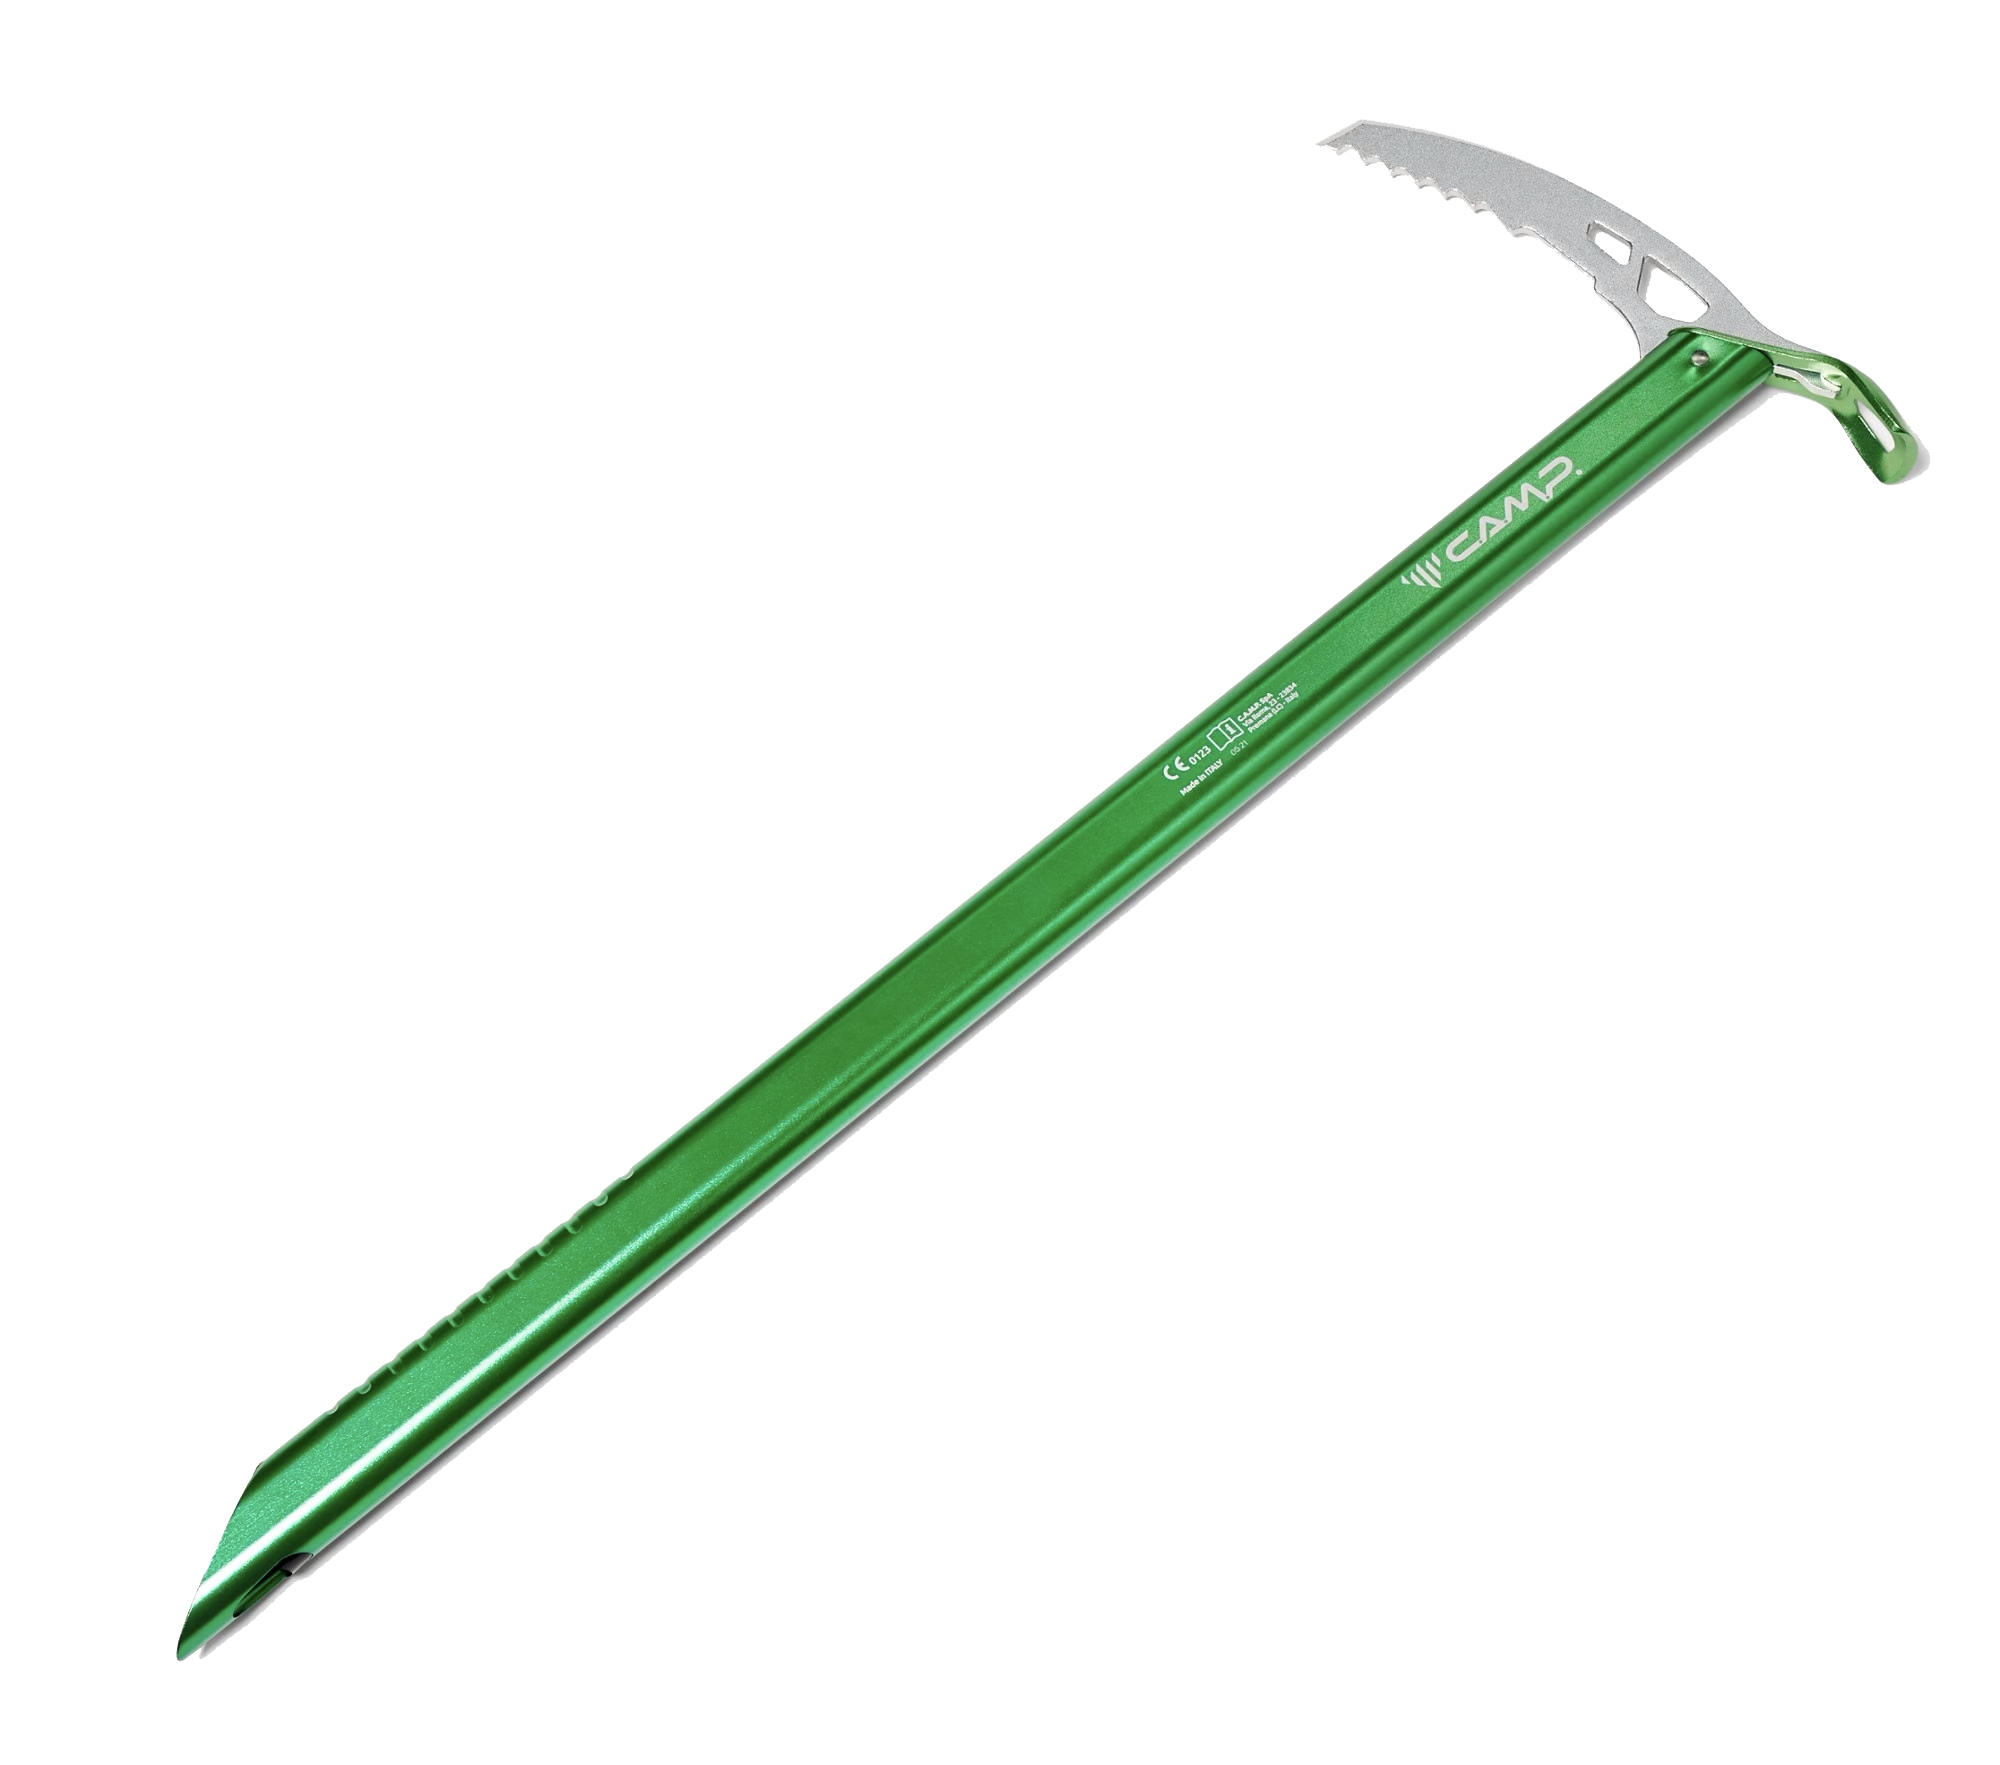
Ice Axe
If you are hiking somewhere that has steep sections covered by snow or ice, you may want to carry an ixe axe. It is important to get an ice axe that is the correct length for your height and is comfortable to hold onto. The Black Diamond Raven Ice Axe or the CAMP Corsa Ice Axe are both great options. Make sure to connect a leash to your ice axe so that it’s secured if you drop it!
It is SO important to understand and practice using an ice axe before going out with one. It can’t save you if you don’t know how to use it!
Gloves
So important. My hands are the first thing to get really cold. I always bring waterproof snow mittens and fleece liner gloves. Waterproof snow mittens will keep your hands warm and dry. I love the Hestra Fall Line Mittens. Fleece liner gloves are nice for hiking when your hands are too hot in mittens. They can also be used as an extra layer or back-up pair. I use the REI Polar Tech Wind Pro Fleece Gloves.


Coal Beanie
Buff
On cold and windy days, a buff will keep your neck and the bottom of your face warm. Plus, it works as a mask! You’ll be happy to have one.

Buff
Goggles
This is only necessary if you’re going somewhere extremely windy. I’ve had to turn around on a winter hike because I didn’t have goggles and the wind was so strong that I couldn’t open my eyes. I was extremely happy to have them the next time. In some areas, you can rent a pair for the day. If you prefer to buy your own, the Smith Snow Goggles are a great option.
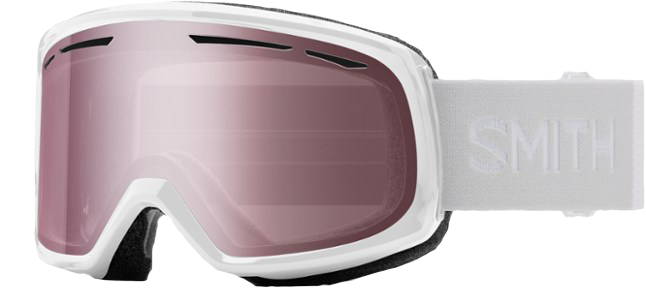
Smith Snow Goggles
Sunglasses
Just because it’s winter, doesn’t mean you don’t need sunglasses. The sun actually reflects off snow and back to you, making it more likely to get snow blindness (sunburned eyes). Always bring sunglasses. Anything polarized and lightweight will work.

Goodr Circle Gs Polarized Sunglasses
Gaiters
If you’re heading somewhere with deep snow, gaiters are extremely helpful to keep snow out of your shoes and your socks dry. You don’t need these for every winter hike. Black Diamond Frontpoint Gaiters are a good option.
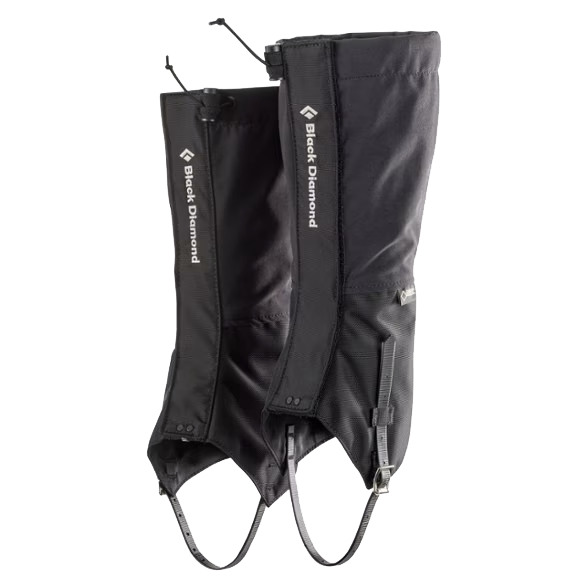
Black Diamond Frontpoint Gaiters
MISCELLANEOUS
GPS Device
Always bring an emergency communication device out in the backcountry! So much could go wrong, especially in cold and extreme weather conditions. If you’re in snow, it’s extremely easy to lose the trail without a GPS.
Plus, your family will be happier to know you have one. I’d recommend the Garmin InReach Mini 2.

Headlamp
Winter hiking means less hours of daylight. You don’t have to end your hike when the sun goes down, but make sure you have a headlamp and are prepared to hike in the dark. I use the Nitecore NU25 Headlamp. Another great option is the Black Diamond Spot 400 Headlamp.


Hand warmers
Yes, yes, and yes. Bring a lot. Hand warmers will save you. You can put them in your mittens, in your jacket pocket, in your pants pocket, in your socks, or in just about anywhere.

Hand Warmers
Survival matches (and fire starter)
You should always have survival matches (part of The Ten Essentials). However, in case of an emergency, starting a fire is key to staying warm. PLEASE check fire restrictions in the area you are going to first. Don’t start a fire if it isn’t allowed.

UCO Survival Matches
Pee Rag
A kula cloth is a must no matter what hike you’re on. It’s so important to pee when you need to pee when it’s cold out. Your body uses energy to keep your urine warm in your bladder, making the rest of your body colder. The longer you wait, the colder you’ll get.

Kula Cloth
Sunscreen
Alright here’s some advice coming from the queen of sunburns — I’m a redhead. If it’s cold and overcast, you can still get sunburned. The sun actually reflects off snow and back to you, making it more likely to get burnt. Use sunscreen (including your lips)!
WATER & FOOD
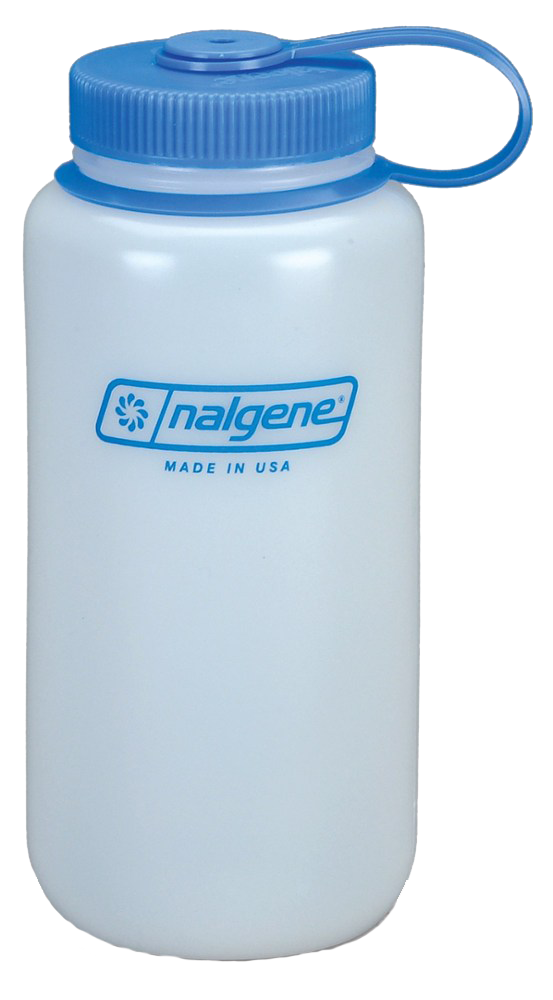
Water
Use water bottles and keep them inside your backpack to prevent freezing. Water reservoirs will freeze so they aren’t the best option. I’d recommend a Nalgene Water Bottle.
Food
When it’s cold, you’re less likely to want to stop for a lunch break. Bring lots of snacks that you can eat throughout the day. Keep in mind that some food items will freeze…no one wants to bite into a rock-hard protein bar!

*Please note that some of the links in this post are affiliate links and I may earn a small commission if you choose to make a purchase – at no additional cost to you. As an Amazon Associate I earn from qualifying purchases. These funds help make it possible for me to provide you with these resources. Thank you!